
Maximize your Raspberry Pi project’s potential with the High Quality Camera Module by enhancing image resolution and clarity. Attach the module to your Raspberry Pi using the CSI connector, ensuring a secure fit for optimal performance. Adjust camera settings via the command line to fine-tune exposure, white balance, and focus, which are crucial for high-definition photos and videos. Experiment with varying lens types to match your project’s requirements, such as surveillance, astrophotography, or DIY smart home devices, to achieve precise results. Regularly update your software, ensuring access to the latest features and bug fixes, enhancing both functionality and user experience.
Understanding the High-Quality Camera Module
Key Features
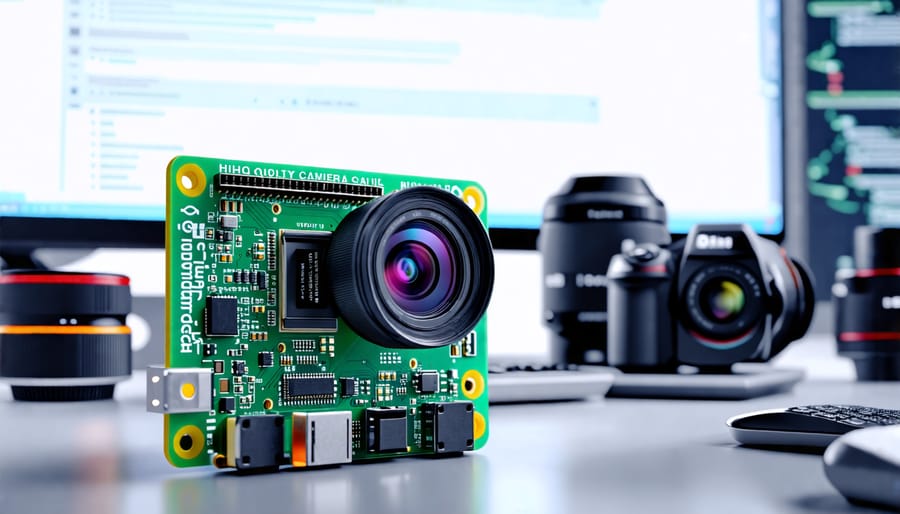
The Raspberry Pi High Quality Camera Module stands out with its impressive 12.3-megapixel Sony IMX477 sensor, offering a significant upgrade in resolution and image clarity compared to previous models. This makes it ideal for projects where high-definition photos or videos are a priority. One of the key features is its adjustable back focus, allowing for compatibility with a wide range of C-mount and CS-mount lenses. This flexibility gives users the freedom to experiment with different lenses to achieve the desired field of view and depth of focus. Whether you’re looking to dive into astrophotography or build a sophisticated surveillance system, the module’s low-light performance and broader dynamic range deliver exceptional results. Additionally, its capability to support third-party lenses means you can easily adapt it to various lighting conditions and shooting scenarios. This versatility and superior image quality make the Raspberry Pi High Quality Camera an excellent choice for tech enthusiasts and educators embarking on creative imaging projects.
Technical Specifications
The Raspberry Pi High Quality Camera Module is a versatile tool for both hobbyists and developers, offering a compelling blend of performance and adaptability. With a 12.3-megapixel Sony IMX477 sensor, it captures strikingly detailed images and video, making it perfect for high-definition photography and video projects. The module’s support for interchangeable C and CS-mount lenses adds flexibility, allowing users to tailor the setup for various focal lengths and zoom requirements. Users can explore ultimate Raspberry Pi camera guide for detailed setups and configurations.
Moreover, the adjustable back focus is a crucial feature for achieving sharp focus, especially in macro photography setups, and ensures compatibility with an array of third-party lenses. The module’s compatibility with Raspberry Pi computers via a DSI cable simplifies integration into existing projects. Whether you’re building a wildlife observation station or a smart doorbell, this camera module offers advanced functionalities, supported by community-driven software and extensive project ideas to maximize its potential.
Setting Up Your Raspberry Pi Camera Module
Hardware Setup
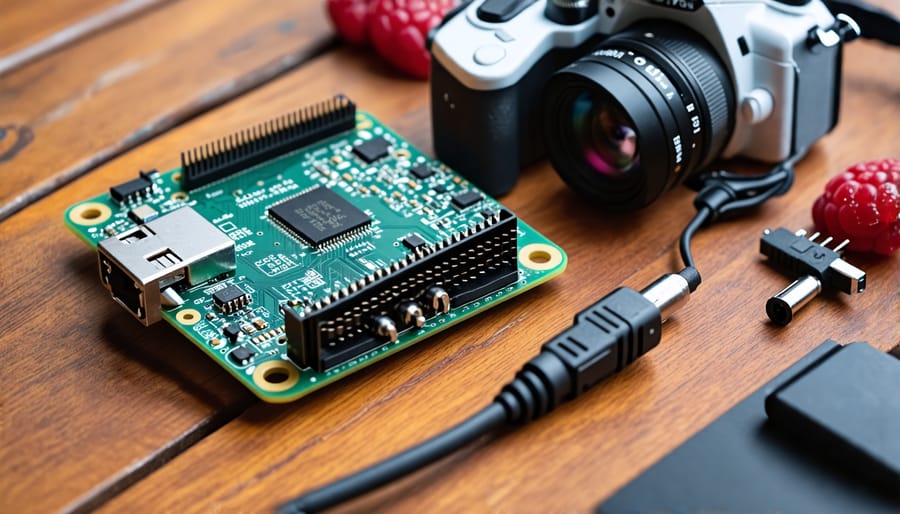
Setting up your Raspberry Pi High Quality Camera Module is an exciting step toward capturing high-resolution images and videos. Start by ensuring your Raspberry Pi is powered off to prevent any electrical issues during installation. To begin, locate the camera port on your Raspberry Pi board, typically labeled as “CAMERA” and often found near the HDMI port. Gently lift the camera port’s plastic clip, taking care not to apply excessive force.
Next, line up the connector of the camera module with the camera port, ensuring the metal connectors are facing away from the Ethernet port. Slide the connector into the port evenly, and once seated, press down on the plastic clip to secure it. This simple yet crucial step ensures stable data transmission between the camera module and your Raspberry Pi.
Once attached, power up your Raspberry Pi to test everything is working smoothly. For those interested in creating a solar-powered Raspberry Pi, integrating the high-quality camera module can lead to fascinating projects. Enjoy the exploration of countless photographic possibilities your new setup offers!
Software Configuration
To get your Raspberry Pi High Quality Camera Module up and running, the software configuration is a crucial step. First, ensure your Raspberry Pi’s operating system is up to date. You can do this by running `sudo apt update` followed by `sudo apt upgrade` in the terminal. Once that’s done, we’ll need to enable the camera interface. Open the Raspberry Pi Configuration tool by entering `sudo raspi-config`, navigate to the ‘Interfaces’ tab, and enable the camera.
After enabling the camera, it’s time to install the necessary software for capturing and processing images. Use `sudo apt install libcamera-apps` to get the Libcamera software, which provides a robust suite of tools for camera management. With Libcamera installed, you can take your first photo using the command `libcamera-still -o test.jpg`. This command captures an image and saves it as ‘test.jpg’ on your Raspberry Pi.
For those looking to experiment further, Python libraries like Picamera2 give you the flexibility to integrate the camera into custom projects. Install it with `pip install picamera2`. With a few lines of code, you can set up scripts for capturing images or streaming video, perfect for inventive Raspberry Pi projects. Now you’re all set to dive into creative possibilities with your new camera module!
Innovative Projects to Explore
Home Security System
Creating a DIY home security system using the Raspberry Pi High Quality Camera Module is an exciting project that opens up a world of possibilities. Whether you’re a tech enthusiast or a hobbyist, this project is a fantastic way to combine creativity with technology. The camera module, known for its exceptional image quality, can serve as the core of a robust security setup. By leveraging the processing power of a Raspberry Pi, you can build a surveillance system capable of monitoring your home in real-time.
To get started, you’ll need a Raspberry Pi board, the High Quality Camera Module, a compatible lens, and a microSD card with the latest Raspberry Pi OS. Assemble the camera and attach it to the Pi using the CSI interface. Once your hardware is set up, you can install software like MotionEyeOS, a user-friendly tool that transforms your Raspberry Pi into a versatile security camera system. With its web-based interface, it’s easy to configure motion detection alerts, enable video recording, and even access live streams remotely.
Additionally, you might find it helpful to explore various Raspberry Pi security projects to expand your system’s functionality. Whether you’re setting up email alerts or integrating with smart home devices, these projects can guide you through advanced features. By undertaking this project, you’ll not only enhance your home’s security but also gain valuable skills in DIY electronics and programming.
Time-Lapse Photography
Setting up a time-lapse photography project with the Raspberry Pi High Quality Camera Module is a fantastic way to capture the subtle changes in your environment over time. To get started, you’ll need your Raspberry Pi, the High Quality Camera Module, a lens (like a compatible C or CS mount), and a sturdy tripod or mount to keep your setup steady. Once you have your hardware assembled, the next step is installing the necessary software. Make sure your Raspberry Pi is running the latest version of Raspberry Pi OS for optimal compatibility.
Begin by connecting your camera module to the Pi’s camera port, ensuring the connection is secure. Then, power up your Raspberry Pi and open the terminal. You’ll want to make use of the ‘raspistill’ command, a straightforward way to capture images with your camera. For a simple time-lapse, use the command: `raspistill -t 7200000 -tl 60000 -o image%04d.jpg`, which will take a photo every minute for 2 hours, saving them as sequentially numbered files.
If you’re interested in additional Raspberry Pi projects, such as running a Minecraft server, be sure to explore various resources available. You can enhance your time-lapse project by experimenting with different intervals or resolutions, ensuring a unique and personalized final product. Remember, patience and creativity are key to crafting an impressive time-lapse masterpiece!
Comparing Camera Module Alternatives
Other Raspberry Pi Camera Modules
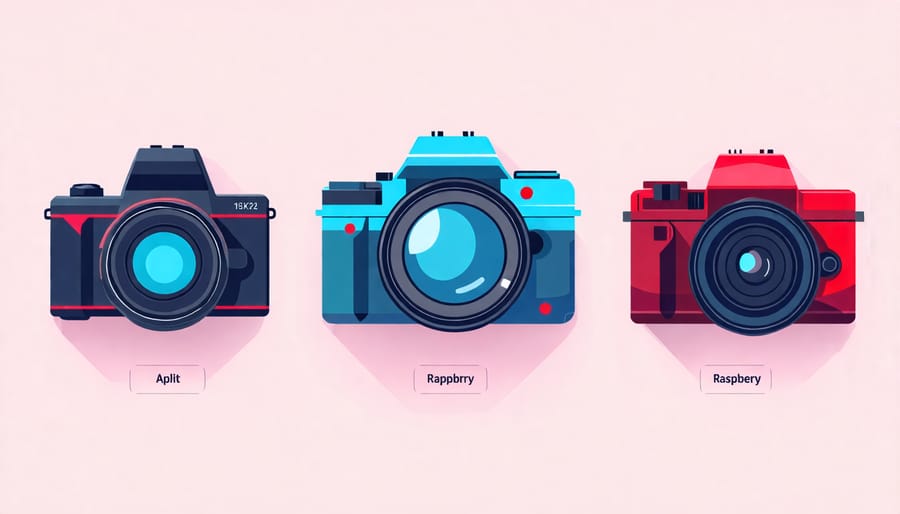
For those exploring the Raspberry Pi camera ecosystem, several alternatives complement the High Quality Camera Module. One popular option is the Camera Module V2, which offers an 8-megapixel sensor suitable for most projects, balancing performance and affordability. It’s a great choice for beginners starting with basic photography and video recording tasks. If you’re interested in night-time photography or low-light conditions, consider the NoIR Camera Module, which lacks an infrared filter, allowing it to capture clear images with the help of infrared lighting. This module is perfect for wildlife monitoring or security applications. Enthusiasts might also experiment with third-party camera modules, offering unique features and varying resolutions. Each alternative offers distinct advantages tailored to diverse project needs, encouraging creativity and innovation in your Raspberry Pi endeavors.
Third-Party Alternatives
Exploring third-party camera modules for your Raspberry Pi can be a rewarding venture, as they offer varied features and price points that the official Raspberry Pi High Quality Camera might not provide. These alternatives are often compact and versatile, perfect for projects that require a different resolution or lens type. Most third-party options are designed to be compatible with standard Raspberry Pi interfaces, making integration straightforward. However, ensure that the camera module supports the Camera Serial Interface (CSI) or USB, typically used by Raspberry Pi for seamless connectivity. Reviews and community forums can provide insights into reliability and performance. Remember, experimenting with various modules can open up new possibilities for your Raspberry Pi projects, encouraging innovation and creativity in both classroom and home settings.
Common Troubleshooting Tips
Connectivity Issues
If you’re experiencing connectivity issues with your Raspberry Pi High Quality Camera Module, don’t worry—there are a few simple steps you can take to get everything up and running smoothly. First, ensure the camera is securely connected to your Raspberry Pi. The ribbon cable should be firmly seated in the camera port, with the metal connectors facing away from the HDMI port. Double-check that the camera module is enabled in the Raspberry Pi configuration. Use the command `sudo raspi-config` and navigate to “Interface Options” to activate the camera. If issues persist, try swapping out the ribbon cable, as a faulty cable can lead to connection failures. Lastly, ensure your Raspberry Pi and camera module are updated by running `sudo apt update && sudo apt upgrade`. By following these steps, you can diagnose and resolve most connectivity problems efficiently.
Software Errors and Solutions
When using the Raspberry Pi High Quality Camera Module, software errors can interrupt your project. A common issue is the camera not being detected. First, ensure all connections are secure. If problems persist, update your Raspberry Pi’s firmware with `sudo apt-get update` and `sudo apt-get upgrade`, then enable the camera in `raspi-config`. Another snag might be incompatible software or settings, leading to poor image quality. Make sure you have the latest version of libcamera installed by running `sudo apt install libcamera-apps`. Adjust exposure settings, ISO, and other parameters for optimal results. Lastly, if image capture fails, check that your Python and camera libraries are in sync, especially if you’re using custom scripts. In most cases, these steps resolve common software issues, allowing you to capture high-quality images seamlessly.
Conclusion
Experimenting with the Raspberry Pi High Quality Camera Module opens up endless possibilities for tech enthusiasts and hobbyists alike. Its impressive performance and versatile features make it a fantastic choice for both simple and advanced projects. Whether you’re capturing stunning photos or exploring home automation, this module can enhance your Raspberry Pi experience. Beginners will find plenty of support to get started, while more seasoned tinkerers can push boundaries with creative applications. So dive in, and let your imagination guide your projects, embracing the blend of learning and innovation that the Raspberry Pi community thrives on.