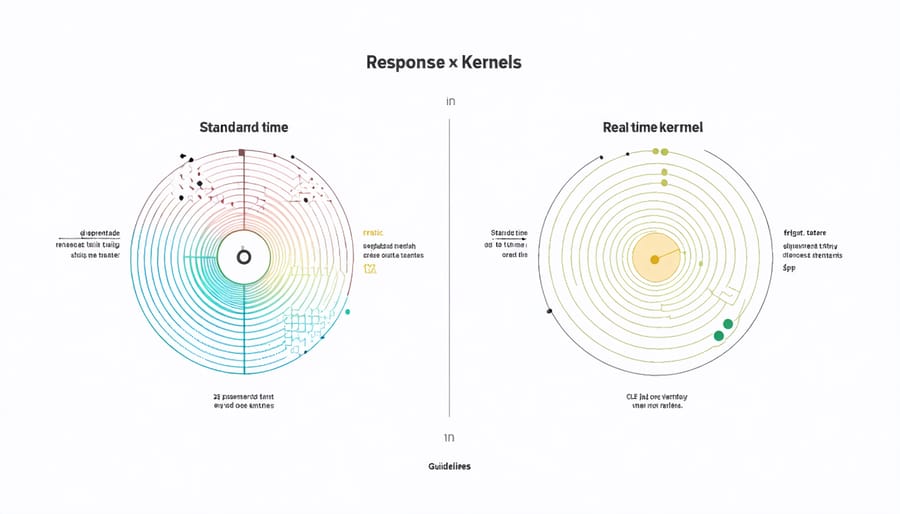
Transform your Raspberry Pi into a real-time powerhouse by implementing a preemptive kernel that guarantees microsecond-level response times. The PREEMPT_RT patch, combined with real-time operating systems, enables precise control over hardware interrupts and task scheduling, making it ideal for automation, robotics, and industrial control applications. Unlike standard Linux kernels, a real-time kernel ensures deterministic behavior by minimizing priority inversions and interrupt latencies, delivering consistent performance even under heavy system loads. Whether you’re building a high-speed data acquisition system or developing mission-critical applications, real-time capabilities transform the humble Raspberry Pi into a professional-grade control system that rivals expensive industrial hardware.
Understanding Real-Time Computing on Raspberry Pi
Standard vs Real-Time Kernels
The key distinction between standard and real-time kernels lies in their handling of task scheduling and timing guarantees. Standard Raspberry Pi kernels prioritize overall system performance and fairness, distributing CPU time among various processes without strict timing constraints. This works well for general computing tasks but can lead to unpredictable response times.
Real-time kernels, on the other hand, are specifically designed to provide deterministic behavior and guaranteed response times. They achieve this through preemptive scheduling, where high-priority tasks can immediately interrupt lower-priority ones. This ensures critical operations are executed within precise time constraints, making them ideal for applications like robotics, industrial automation, and sensor monitoring. Learn more about how Raspberry Pi is revolutionizing tech projects.
While standard kernels might offer better average performance and energy efficiency, real-time kernels excel in scenarios where timing precision is crucial. They introduce slightly higher overhead but provide essential features like priority inheritance, shorter interrupt latencies, and more predictable task execution. For most hobbyist projects, the standard kernel is sufficient, but when millisecond-precise timing matters, a real-time kernel becomes invaluable.

Use Cases for RT Kernels
Real-time kernels on Raspberry Pi find essential applications in various time-critical scenarios. One of the most common uses is in industrial automation applications, where precise timing is crucial for controlling machinery and production lines. Audio processing projects, such as digital audio workstations and sound synthesis, benefit from RT kernels to minimize latency and prevent audio glitches.
Robotics enthusiasts utilize RT kernels for better control over servo motors and sensors, enabling smoother movement and more accurate response times. In scientific data collection, real-time processing ensures no valuable measurements are missed due to system delays. Home automation systems that require immediate response to sensor inputs, like security systems or smart lighting controls, also benefit from RT kernel implementation.
Gaming and simulation projects where consistent frame timing is essential can leverage RT kernels to achieve better performance. Additionally, these kernels are valuable in educational settings for teaching operating system concepts and real-time programming principles.
Preparing Your Raspberry Pi for RT Kernel Installation
System Requirements
To implement a real-time kernel on your Raspberry Pi, you’ll need to meet specific Raspberry Pi hardware requirements and software prerequisites. The minimum recommended hardware is a Raspberry Pi 3 Model B or newer, though a Pi 4 with at least 2GB RAM provides better performance for real-time applications. You’ll need a microSD card (16GB or larger) with good read/write speeds, and a reliable 5V power supply rated at least 3A to ensure stable operation.
On the software side, you’ll need a fresh installation of Raspberry Pi OS (formerly Raspbian) Lite or Desktop, preferably the 64-bit version. Make sure you have sufficient free disk space (at least 8GB) for kernel compilation and installation. Your Pi should have an active internet connection for downloading necessary packages and source code. Basic command-line knowledge and familiarity with Linux systems will help you navigate the installation process more effectively.
Before starting, ensure your system is fully updated and you have essential development tools installed, including build-essential, git, and bc packages.
Backup and Safety Measures
Before diving into the real-time kernel installation process, it’s crucial to implement proper backup and safety measures to protect your Raspberry Pi system. First, create a complete backup of your SD card using tools like Win32 Disk Imager or dd command on Linux. This backup serves as a recovery point if anything goes wrong during the installation process.
Verify that your power supply provides stable 5V with at least 2.5A current capacity. An unstable power source can cause system crashes or data corruption during the kernel compilation process. Consider using a UPS if your power supply is unreliable.
Document your current system configuration, including installed packages, custom configurations, and any modifications you’ve made to system files. Take screenshots or notes of important settings, particularly those in /boot/config.txt and /etc/sysctl.conf.
Create a separate backup of essential project files and data on an external storage device. While the system backup covers everything, having critical files backed up separately provides an extra safety layer.
Before proceeding, ensure you have sufficient free space on your SD card – at least 8GB is recommended for the compilation process. Check your available space using the df -h command and clear unnecessary files if needed.
Finally, test your network connection stability, as you’ll need to download packages during the installation. A wired ethernet connection is preferred over Wi-Fi for reliability during the upgrade process. Having a secondary means of accessing your Pi (like a direct keyboard and monitor connection) is also recommended in case network connectivity is lost.
Installing the Real-Time Kernel
Downloading RT Kernel Sources
Before installing a real-time kernel on your Raspberry Pi, you’ll need to obtain the correct kernel source code. Start by opening a terminal on your Raspberry Pi and updating your system with ‘sudo apt update && sudo apt upgrade’. Next, identify your current kernel version by running ‘uname -r’ in the terminal.
Navigate to the Raspberry Pi kernel repository on GitHub and locate the branch matching your kernel version. You can download the sources using git by executing ‘git clone –depth=1 https://github.com/raspberrypi/linux.git’. The –depth=1 flag ensures you only download the latest version, saving time and space.
For the RT patch, visit the official kernel.org website and download the RT patch that corresponds to your kernel version. The naming format is typically ‘patch-VERSION-rt-NUMBER.patch.gz’. Make sure the patch version matches your kernel version exactly to avoid compatibility issues.
Store both the kernel sources and RT patch in a dedicated directory for easy access during the compilation process. This preparation ensures a smooth patching process in the subsequent steps.
Compilation and Installation Steps
To compile and install the real-time kernel on your Raspberry Pi, follow these carefully sequenced steps:
First, update your system and install the necessary dependencies:
“`bash
sudo apt update
sudo apt upgrade -y
sudo apt install git bc bison flex libssl-dev make
“`
Download the Raspberry Pi kernel source:
“`bash
git clone –depth=1 https://github.com/raspberrypi/linux
cd linux
“`
Apply the real-time (PREEMPT_RT) patch that matches your kernel version:
“`bash
wget https://kernel.org/pub/linux/kernel/projects/rt/[version]/patch-[version]-rt[x].patch.gz
gunzip patch-[version]-rt[x].patch.gz
patch -p1 < patch-[version]-rt[x].patch
```
Configure the kernel with RT support:
```bash
make bcm2711_defconfig
scripts/config --enable PREEMPT_RT
```
Compile the kernel (this may take several hours):
```bash
make -j4 zImage modules dtbs
```
Install the newly compiled kernel:
```bash
sudo make modules_install
sudo cp arch/arm/boot/dts/*.dtb /boot/
sudo cp arch/arm/boot/dts/overlays/*.dtb* /boot/overlays/
sudo cp arch/arm/boot/zImage /boot/kernel7l.img
```
Finally, reboot your Raspberry Pi to activate the real-time kernel. Verify the installation by checking the kernel version:
```bash
uname -a
```
The output should include "PREEMPT_RT" to confirm successful installation.
Troubleshooting Common Issues
When installing a real-time kernel on your Raspberry Pi, you might encounter several common issues. If your build fails during compilation, first ensure you have enough free disk space (at least 4GB recommended) and verify all dependencies are correctly installed. A simple “sudo apt-get update && sudo apt-get upgrade” can often resolve dependency issues.
For “Operation not permitted” errors during patch application, double-check that you’re running commands with sudo privileges. If the kernel fails to boot after installation, try reverting to your backup kernel by editing the config.txt file from another computer.
Memory allocation errors during compilation can be addressed by increasing your swap space. Edit /etc/dphys-swapfile to set CONF_SWAPSIZE to 2048, then restart the swap service.
If you experience latency issues after successful installation, verify that no unnecessary services are running in the background. Use the system monitor to identify and disable non-essential processes that might interfere with real-time performance.
For patch failures, ensure you’re using the correct patch version for your kernel version. Mismatched versions are a common source of installation problems.
Testing and Optimizing RT Performance
Latency Testing
Testing latency on your Raspberry Pi’s real-time kernel is crucial for verifying its performance and reliability. Several tools are available to help you measure and analyze system responsiveness effectively.
Cyclictest is the most widely used tool for real-time latency testing. To install it, run:
“`
sudo apt-get install rt-tests
“`
Once installed, you can perform a basic latency test with:
“`
cyclictest -l 10000 -m -n -a0 -t1 -p99 -i400 -h400
“`
This command runs 10,000 cycles and provides detailed statistics about your system’s response times. For comprehensive system performance monitoring, you might also want to use tools like stress-ng to generate artificial load during testing.
Another valuable tool is hwlatdetect, which helps identify hardware-related latency issues. To run a basic hardware latency test:
“`
sudo hwlatdetect –duration=60
“`
When interpreting results, pay attention to these key metrics:
– Maximum latency
– Average latency
– Distribution of latency values
– Number of latency spikes
For real-time applications, consistent low latency is often more important than occasional high performance. Regular testing helps ensure your system maintains its real-time capabilities under various conditions.

Performance Tuning
To achieve optimal real-time performance on your Raspberry Pi, several key optimizations can make a significant difference. Start by disabling CPU frequency scaling by setting the governor to “performance” mode. This ensures consistent CPU performance without unexpected frequency changes that could impact real-time responsiveness.
Memory management is crucial – disable swap usage unless absolutely necessary, as swap operations can introduce unpredictable latencies. Consider using the isolcpus kernel parameter to dedicate specific CPU cores exclusively to your real-time tasks, preventing interference from other system processes.
For network-sensitive applications, enable IRQ affinity to assign interrupt handling to specific cores. This prevents interrupt handling from interfering with your real-time processes. Additionally, adjust the network interface’s interrupt coalescing settings to reduce latency at the cost of slightly higher CPU usage.
Fine-tune your process priorities using the chrt command to set real-time scheduling policies. The SCHED_FIFO policy is particularly useful for time-critical tasks. Monitor your system’s performance using tools like cyclictest to measure latency and identify potential bottlenecks.
Remember to disable unnecessary system services and background processes that might compete for resources. Services like Bluetooth, WiFi, and logging daemons can be turned off if not required for your specific application. These optimizations, when properly implemented, can help achieve microsecond-level deterministic behavior in your real-time applications.
Implementing a real-time kernel on your Raspberry Pi opens up exciting possibilities for projects requiring precise timing and deterministic behavior. Throughout this guide, we’ve explored the fundamental concepts of real-time computing, the step-by-step process of installing and configuring the PREEMPT_RT patch, and essential optimization techniques to enhance performance.
Remember that achieving real-time capabilities involves careful consideration of your specific project requirements. Whether you’re building an automated control system, developing audio applications, or creating robotics projects, the real-time kernel provides the foundation for reliable and predictable operation.
To ensure success in your real-time projects, focus on proper configuration, regular testing, and monitoring of system performance. Keep your kernel and patches up to date, and always validate your setup through latency testing before deploying critical applications.
The journey doesn’t end here – consider exploring advanced topics like CPU isolation, IRQ affinity, and real-time priority scheduling to further optimize your system. Join the Raspberry Pi community forums to share experiences and learn from others working on similar projects.
With the knowledge and tools provided in this guide, you’re well-equipped to start developing your own real-time applications on the Raspberry Pi. Remember to document your experiences and contribute back to the community as you progress in your real-time computing journey.


