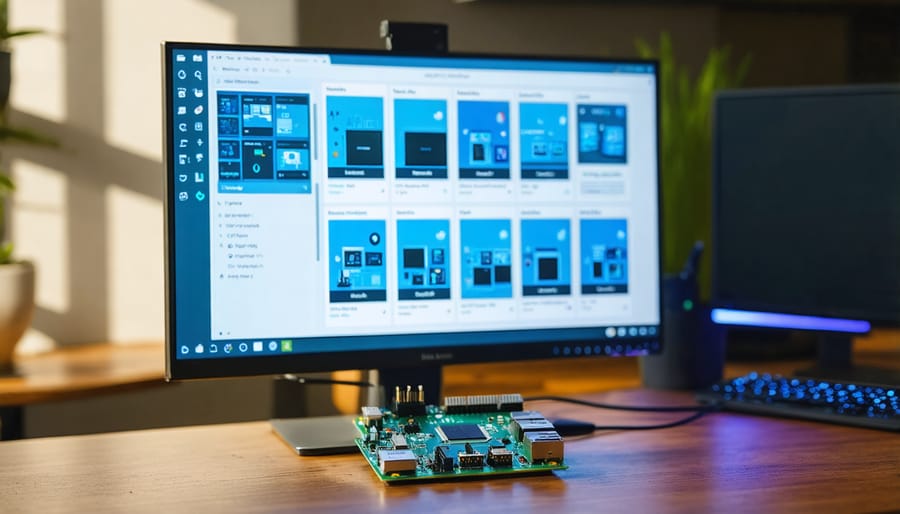
Run virtual machines on your Raspberry Pi 4 to maximize its potential. Set up an emulation setup using QEMU, a powerful open-source hypervisor. Allocate dedicated RAM and CPU cores to ensure optimal performance for your VMs. Experiment with various operating systems, from lightweight Linux distributions to full-fledged desktop environments, to unlock new possibilities for your single-board computer.
Why Run Virtual Machines on Your Raspberry Pi 4?
Running virtual machines on your Raspberry Pi 4 offers a multitude of benefits and use cases that can enhance your learning, testing, and development experiences. One of the primary advantages is the ability to test and experiment with different operating systems and software configurations without affecting your primary Pi setup. This isolation allows you to safely explore new possibilities and troubleshoot issues without risking damage to your main environment.
Virtual machines also provide an excellent platform for learning and educational purposes. By running various operating systems on your Pi 4, you can gain hands-on experience with different distributions, user interfaces, and system administration tasks. This exposure can help expand your knowledge and skills in the world of computing and open source software.
Moreover, running VMs on your Raspberry Pi 4 enables you to create isolated environments for specific projects or applications. This separation is particularly useful when working with software that has conflicting dependencies or requires a specific OS version. By compartmentalizing your projects into separate VMs, you can ensure a clean and stable environment for each task, minimizing compatibility issues and potential conflicts.
Another significant benefit of using virtual machines on your Pi 4 is the ability to run resource-intensive applications or services without bogging down your main system. By dedicating a VM to a specific purpose, such as running a web server, media center, or development environment, you can allocate the necessary resources and optimize performance for that particular task without impacting other processes running on your Pi.
In summary, running virtual machines on your Raspberry Pi 4 opens up a world of possibilities for testing, learning, and isolating environments. Whether you’re a beginner looking to explore different operating systems or an advanced user seeking to optimize your projects, VMs provide a flexible and powerful tool to enhance your Raspberry Pi experience. Explore the potential of transforming your Pi into a powerhouse with these steps to turn it into a powerful server.

Setting Up Your Raspberry Pi 4 for Virtualization

Hardware Requirements
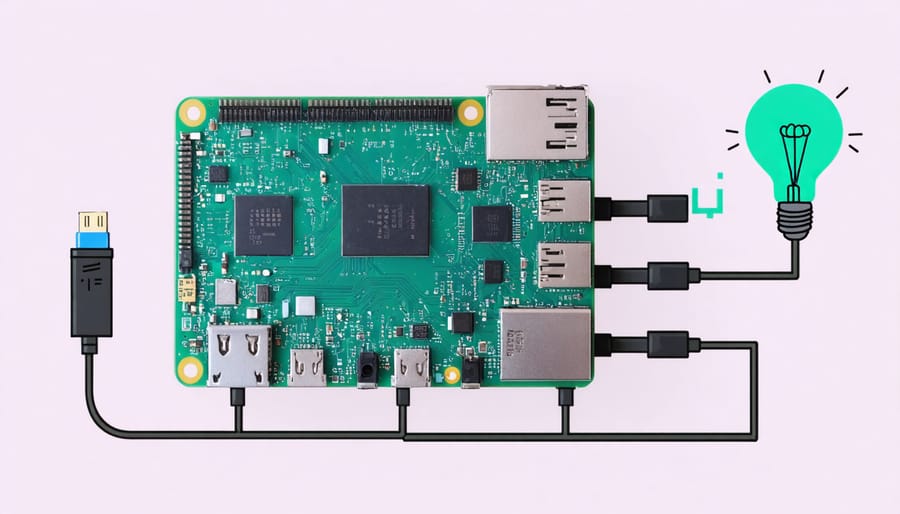
To set up a virtual machine on your Raspberry Pi 4, you’ll need the following minimum hardware specifications:
– Raspberry Pi 4 (2GB RAM model or higher recommended for optimal performance)
– microSD card (at least 16GB, Class 10 or better)
– USB-C power supply (official Raspberry Pi 4 power supply recommended for stability)
– Micro HDMI cable
– Ethernet cable or Wi-Fi connection
For enhanced functionality and ease of use, consider these optional accessories:
– Raspberry Pi 4 case with cooling fan
– USB keyboard and mouse
– External SSD or HDD for additional storage
– GPIO breakout board or breadboard for hardware projects
Keep in mind that while the 2GB Pi 4 model can handle basic virtualization tasks, opting for the 4GB or 8GB model will provide a smoother experience when running multiple VMs or resource-intensive applications. The Raspberry Pi Compute Modules offer even more flexibility and performance for advanced projects.
Installing a Hypervisor
To install a hypervisor on your Raspberry Pi 4, you have several options depending on your needs and preferences. One popular choice is VMware ESXi, a bare-metal hypervisor that provides robust virtualization capabilities. While not officially supported on the Pi, enterprising enthusiasts have created custom ESXi images tailored for the Pi 4’s architecture. Another option is Proxmox VE, an open-source virtualization platform that combines KVM and LXC, offering a user-friendly web interface for managing VMs and containers. Proxmox VE has a dedicated Raspberry Pi version that can be easily installed on an SD card or via network boot.
For those preferring a more hands-on approach, setting up KVM (Kernel-based Virtual Machine) directly on Raspberry Pi OS is a viable option. This involves installing the necessary KVM packages, configuring bridged networking, and using tools like virt-manager or virsh to create and manage your virtual machines. Whichever route you choose, be sure to follow the specific installation instructions provided by the hypervisor or the Raspberry Pi community to ensure a smooth setup process. Keep in mind that while the Pi 4 is a capable little machine, its limited RAM and processing power may constrain the number and complexity of VMs you can run simultaneously. Allocate resources wisely and adjust your expectations accordingly.

Creating Your First Virtual Machine
Allocating Resources
When allocating resources for your Raspberry Pi 4 virtual machine, carefully consider the memory, CPU cores, and storage requirements of your intended workload. The Pi 4 comes with 2GB, 4GB, or 8GB of RAM, so choose a model that suits your needs. For memory allocation, strike a balance between providing enough RAM for smooth VM performance and leaving sufficient resources for the host system. Assigning too much memory to the VM can lead to slowdowns or instability.
In terms of CPU cores, the Pi 4’s quad-core processor allows you to dedicate one or more cores to your virtual machine. Allocating more cores generally improves VM performance but may impact the host system’s responsiveness. Experiment with different core allocations to find the optimal configuration for your specific use case.
Storage is another crucial factor when setting up a virtual machine. Ensure you have ample free space on your Pi’s SD card or an external drive to accommodate the VM’s virtual disk file. The size of this file will depend on the operating system and applications you plan to run within the VM. Consider using a fast, high-capacity storage option like an SSD connected via USB 3.0 for the best performance and room for future growth.
Installing the Guest OS
To install the guest OS on your Raspberry Pi 4 virtual machine, begin by launching your preferred virtualization software and starting the VM creation wizard. Select the “New Virtual Machine” option and choose the appropriate guest OS from the list, such as Ubuntu, Raspbian, or Windows IoT Core. Allocate sufficient resources to the VM, including RAM (at least 2GB recommended) and storage space based on your requirements.
Next, specify the virtual disk size and format (e.g., VDI, VMDK, or QCOW2) and select the storage location for the VM files. Configure the network settings, opting for either NAT (Network Address Translation) or Bridged mode depending on your needs. NAT allows the VM to share the host’s IP address, while Bridged mode assigns the VM its own IP address on the local network.
Once the VM is created, it’s time to install the guest OS. Attach the installation media (ISO file or physical disk) to the VM’s virtual optical drive. Boot the VM and follow the on-screen instructions to install the OS. The installation process varies depending on the chosen OS but typically involves selecting the language, time zone, and keyboard layout, as well as creating a user account and partitioning the virtual disk.
During the installation, you may need to configure additional settings such as the network configuration, software packages, and system updates. Make sure to install any necessary virtualization tools or guest additions provided by your virtualization software to optimize performance and enable seamless integration between the host and guest systems.
After the installation is complete, reboot the VM and log in to the newly installed guest OS. Perform any post-installation tasks, such as updating the system packages, installing additional software, and configuring user preferences. Your Raspberry Pi 4 virtual machine is now ready for use, allowing you to run a variety of operating systems and applications in a flexible and isolated environment.
Performance Optimization Tips
To ensure optimal performance when running virtual machines on your Raspberry Pi 4, consider these best practices:
First, choose a lightweight operating system for your VM that doesn’t demand too many resources. Streamlined Linux distributions like Alpine or Tiny Core are great options.
Allocate resources wisely by not assigning more CPU cores or RAM than necessary to your VM. Striking the right balance prevents your Pi from being overwhelmed.
Utilize USB storage devices for your virtual machines instead of the Pi’s SD card. This approach reduces wear on the SD card and often provides faster read/write speeds.
Regularly monitor your Pi’s temperature, especially during intensive tasks, and ensure proper cooling with heatsinks or fans. Thermal throttling can significantly impact performance optimization.
Consider overclocking your Pi 4 to squeeze out extra performance, but do so carefully. Incremental adjustments and thorough stability testing are crucial.
Compress virtual machine disk images to save space and potentially improve disk I/O performance. Tools like gzip or xz can efficiently compress large files.
By following these tips and experimenting to find the perfect configuration for your needs, you’ll be well on your way to running virtual machines smoothly on your Raspberry Pi 4.
Conclusion
In conclusion, the Raspberry Pi 4 offers an affordable and versatile platform for running virtual machines, enabling users to explore multiple operating systems, test software, and develop applications in a sandboxed environment. With its enhanced processing power, increased RAM options, and improved connectivity, the Pi 4 is well-equipped to handle the demands of virtualization. By following the step-by-step guides and optimization tips provided in this article, you can successfully set up and configure virtual machines on your Raspberry Pi 4. Whether you’re a hobbyist, educator, or developer, experimenting with Pi virtualization can open up a world of possibilities and enhance your skills in the realm of computing. So, grab your Raspberry Pi 4, dive into the exciting world of virtual machines, and unleash your creativity!


