Discover the power of parallel computing with a Raspberry Pi cluster! Building your own mini supercomputer is easier than you think. With just a few affordable Raspberry Pi boards, some networking equipment, and a bit of know-how, you can unlock incredible performance for tasks like machine learning, data analysis, and distributed computing. Follow our step-by-step guide to assemble your cluster, install the necessary software, and start harnessing the combined processing might of multiple Pis working together in perfect harmony. Whether you’re a hobbyist looking for an exciting weekend project or an educator wanting to teach parallel programming concepts, building a Raspberry Pi cluster is a fun, hands-on way to dive into the world of high-performance computing. Get ready to take your Raspberry Pi projects to the next level!
Gather Your Components
Raspberry Pi Boards
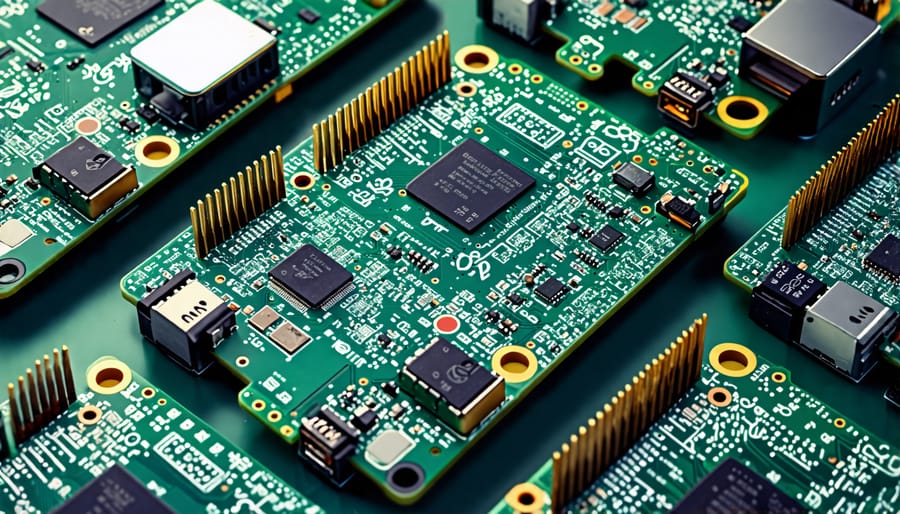
When building a Raspberry Pi cluster, you have several board options to choose from. The most popular choice is the Raspberry Pi 4 Model B, which offers powerful performance and enhanced connectivity features. This model comes in 2GB, 4GB, and 8GB RAM variants, allowing you to select the one that best fits your needs and budget.
As for the number of boards to use in your cluster, it depends on your specific project requirements and the level of performance you aim to achieve. A typical Raspberry Pi cluster consists of at least two nodes, but you can scale up to dozens of boards for more demanding tasks. Consider starting with a smaller cluster of 2-4 nodes to familiarize yourself with the setup process and gradually expand as needed. Keep in mind that each additional board will increase power consumption and require proper cooling solutions.

Power Supply and Cables
When building a Raspberry Pi cluster, it’s crucial to choose the right power supply and cables to ensure stable and reliable operation. Each Raspberry Pi requires a 5V power supply with a minimum current rating of 2.5A. For a cluster, it’s recommended to use a single high-capacity power supply that can handle the total current draw of all the Pis. Look for power supplies specifically designed for Raspberry Pi clusters, or consider using a solar-powered Raspberry Pi setup for an eco-friendly option. As for cables, use high-quality USB cables with sufficient gauge to minimize voltage drop. Ensure the cables are long enough to reach all the Pis in your cluster setup. Investing in good power supplies and cables will help prevent issues like undervoltage warnings and ensure your cluster runs smoothly.
Networking Equipment
To connect your Raspberry Pi cluster, you’ll need a network switch with enough ports for each Pi node. An unmanaged Gigabit Ethernet switch is ideal for optimal performance and simplicity. Use Ethernet cables to connect each Pi to the switch, ensuring reliable connectivity between nodes. Alternatively, for a wireless setup, consider using high-quality Wi-Fi dongles or a dedicated wireless router configured with strong security settings. Remember to assign static IP addresses or configure your DHCP server to provide consistent IPs for seamless communication within the cluster. With the right networking equipment, your Raspberry Pi cluster will be ready to tackle parallel computing tasks efficiently.

Assemble the Cluster Hardware
Mount the Raspberry Pis
To securely mount your Raspberry Pis, you have several options depending on your desired setup and aesthetics. One popular choice is using a stackable case specifically designed for Raspberry Pi clusters. These cases allow you to neatly arrange multiple Pis on top of each other, keeping them organized and well-ventilated. Alternatively, you can opt for a rack-mounted solution, which involves attaching the Pis to a metal frame or rack using standoffs and screws. This method provides a more professional look and allows for easy access to individual Pis.
Whichever mounting option you choose, ensure that the Pis are firmly secured to prevent any movement or disconnection of cables. Pay attention to proper spacing between the Pis to facilitate adequate airflow and prevent overheating. If using a case, follow the manufacturer’s instructions for assembly and mounting. For a rack-mounted setup, carefully measure and mark the positions of the Pis before attaching them to the frame. Double-check that all connections are secure and that the Pis are level and evenly spaced. With your Raspberry Pis securely mounted, you’ll have a stable foundation for your cluster, ready to take on various computational tasks and projects.
Wire the Power Supply
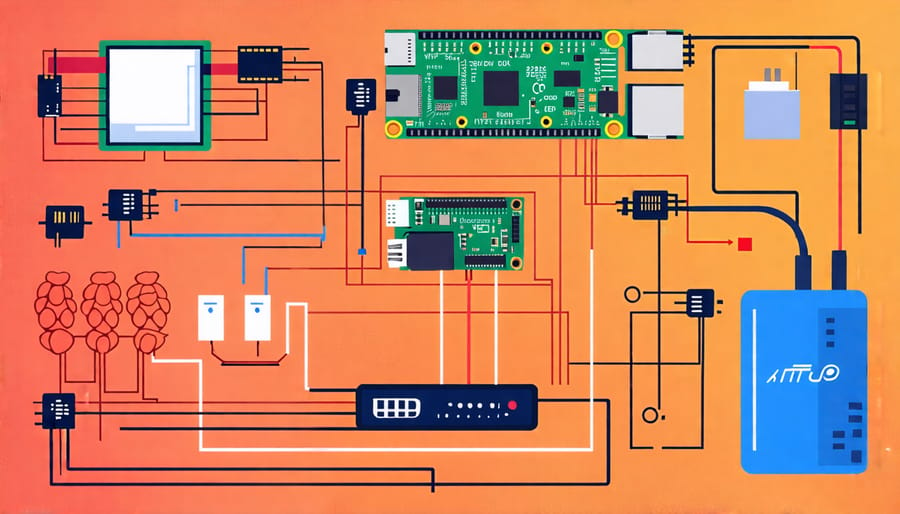
To wire the power supply, you’ll need a multi-port USB charger capable of providing sufficient amperage for all your Pis. A 6-port, 60W charger is a solid choice. Use high-quality micro USB cables to connect each Pi to the charger. Ensure the cables are long enough to reach the Pis without strain. If using Power over Ethernet (PoE) HATs, you can power the Pis through the Ethernet cables connected to a PoE switch. This reduces cable clutter but requires compatible hardware. Double-check all connections before powering on the cluster. Consider using cable ties or velcro straps to keep the wiring organized and tidy. With the power supply wired correctly, you’re one step closer to having a functional Raspberry Pi cluster.
Connect the Networking
To connect your Raspberry Pis to the network, you’ll need an Ethernet switch or router with enough ports for each Pi. Start by connecting an Ethernet cable from each Pi’s Ethernet port to an available port on the switch or router. Make sure to use high-quality cables to ensure stable connections and optimal performance.
Next, power on the switch or router and wait for it to initialize. Once ready, your Pis should automatically establish a connection and receive an IP address via DHCP. You can verify the connection by running the `ifconfig` command on each Pi and checking for a valid IP address on the Ethernet interface.
If you prefer static IP addresses, you can configure them in the `/etc/dhcpcd.conf` file on each Pi. This can make it easier to manage and access individual nodes in the cluster consistently.
With the networking set up, your Raspberry Pi cluster is ready to communicate and work together as a unified system.
Install and Configure the Operating System
Install Raspbian
To install Raspbian on your Raspberry Pis, start by downloading the latest version of the Raspbian operating system from the official Raspberry Pi website. Next, use a tool like Etcher to write the Raspbian image to your microSD cards. Insert a microSD card into your computer, launch Etcher, select the Raspbian image file, choose the microSD card, and click “Flash” to begin the process. Once complete, safely eject the microSD card and repeat this process for each Pi in your cluster.
Before booting up your Pis, it’s a good idea to enable SSH by placing an empty file named “ssh” (without any extension) in the boot partition of each microSD card. This will allow you to remotely access your Pis later on. Finally, insert the microSD cards into your Pis, connect them to power, and let them boot up. Your Pis are now ready with Raspbian installed, and you can proceed to configure them for your cluster setup.

Configure the OS
Configuring the operating system is a crucial step in setting up your Raspberry Pi cluster. To ensure smooth communication between the nodes, it’s essential to assign static IP addresses. This can be done by modifying the dhcpcd.conf file on each Pi. Open the file with a text editor, uncomment the static IP configuration lines, and set unique IP addresses for each node, such as 192.168.1.101, 192.168.1.102, etc.
Next, update the package list and upgrade the system to ensure you have the latest software versions. Run “sudo apt update” followed by “sudo apt full-upgrade”. Once the upgrade is complete, reboot your Pis.
To enhance security, change the default password for each Pi using the “passwd” command. It’s also a good practice to create a new user account with sudo privileges and disable SSH access for the default “pi” user.
Finally, configure SSH key-based authentication to simplify access between nodes. Generate an SSH key pair on the master node using “ssh-keygen” and copy the public key to each worker node using “ssh-copy-id”. This allows passwordless SSH access, making managing your cluster more efficient.
By completing these initial configuration steps, you’ll have a solid foundation for your Raspberry Pi cluster.
Set Up Cluster Management Software
Install Management Tools
Installing cluster management software on your Raspberry Pi nodes is essential for efficient administration and orchestration. One popular choice is Kubernetes, an open-source platform that automates container deployment, scaling, and management. To install Kubernetes on your Raspberry Pi cluster, start by setting up a master node and worker nodes.
On the master node, install kubeadm, kubelet, and kubectl using the official Kubernetes packages. Initialize the cluster with kubeadm and configure the network plugin. Then, join the worker nodes to the cluster using the generated token.
Another option is Apache Mesos, a distributed systems kernel that abstracts CPU, memory, storage, and other resources away from machines, enabling fault-tolerant and elastic distributed systems. Install Mesos on each Raspberry Pi node and configure a master node to manage resource allocation and scheduling across the cluster.
For a lightweight alternative, consider Docker Swarm, native clustering for Docker. Initialize a swarm on the manager node and join the worker nodes using the provided join token. Docker Swarm allows you to deploy and manage containerized applications across the cluster easily.
Regardless of your chosen management tool, ensure that you follow best practices for securing your cluster, such as using strong authentication and enabling network encryption between nodes.
Configure the Cluster
To configure your Raspberry Pi cluster, you’ll need to set up cluster management tools. These tools enable you to efficiently manage and control all the Pis in your cluster from a single master node. One popular option is Ansible, an open-source IT automation platform. With Ansible, you can automate tasks like software installation, configuration management, and system updates across your cluster.
First, install Ansible on the master Pi. Then, create an inventory file that lists the IP addresses of all the worker nodes. This allows Ansible to communicate with each Pi in the cluster. Next, define playbooks – YAML files that specify the desired state of your cluster. Playbooks can include tasks like setting up user accounts, installing packages, and configuring network settings.
Once your playbooks are ready, run them using the `ansible-playbook` command. Ansible will execute the tasks on each worker node, ensuring a consistent configuration across the cluster. With Ansible, you can easily manage your Raspberry Pi cluster, automate repetitive tasks, and maintain a stable, efficient computing environment for your projects.
Conclusion
Building a Raspberry Pi cluster is an exciting and rewarding project that offers numerous benefits for tech enthusiasts, hobbyists, and educators alike. By following the step-by-step process outlined in this article, you can create a powerful, scalable, and cost-effective computing solution that opens up a world of possibilities.
From gathering the necessary components and assembling the hardware to installing the operating system and configuring the cluster, each phase of the build process is designed to be accessible and manageable for beginners and experienced users alike. With a little patience and attention to detail, you’ll soon have a fully functional Raspberry Pi cluster ready to tackle a wide range of tasks and projects.
Once your cluster is up and running, the real fun begins! Whether you’re interested in exploring parallel computing, learning about distributed systems, or simply want to put the cluster to use for your own unique projects, the possibilities are virtually endless. From web hosting and gaming servers to scientific simulations and machine learning, a Raspberry Pi cluster is a versatile tool that can grow and adapt to your needs.
So what are you waiting for? Embrace the excitement of building your own Raspberry Pi cluster and discover the joy of creating something truly remarkable with your own hands. The only limit is your imagination!


