Why Use a Raspberry Pi as a Router?

Cost Savings
Using a Raspberry Pi as a router can lead to significant cost savings compared to traditional routers. A Raspberry Pi board typically costs around $35-$55, depending on the model. The required accessories, such as an SD card, power supply, and a case, can add another $20-$30 to the total cost. In contrast, a mid-range traditional router can cost anywhere from $50 to $150 or more. High-end routers with advanced features can even exceed $200. By opting for a Raspberry Pi setup, you can save a considerable amount of money while still enjoying the benefits of a customizable and feature-rich router solution. Additionally, the low power consumption of the Raspberry Pi can lead to long-term energy cost savings compared to traditional routers.

Flexibility and Customization
One of the key advantages of using a Raspberry Pi as a router is the flexibility and customization it offers. Unlike pre-configured routers, a Raspberry Pi allows you to have complete control over your network settings. You can customize firewall rules, implement advanced routing protocols, and even set up VPN servers or ad-blocking solutions like Pi-hole. This level of control enables you to tailor your network to your specific needs, whether it’s prioritizing certain devices, setting up guest networks, or implementing custom security measures. With a Raspberry Pi, you have the freedom to experiment and learn, making it an excellent choice for those who want to dive deeper into networking concepts and configurations.
Learning Opportunities
Setting up a Raspberry Pi router provides an excellent opportunity to learn about networking concepts and gain hands-on experience with Linux. Throughout the process, you’ll become familiar with network configuration files, IP addressing, DHCP, and DNS. You’ll also learn how to install and configure software packages on a Linux-based system. Working with the command line interface will deepen your understanding of Linux commands and file structures. Additionally, you can explore advanced networking topics like VLANs, QoS, and VPN server configuration. This project not only results in a functional router but also equips you with valuable skills applicable to various IT and networking roles.
Hardware and Software Requirements
Hardware Components
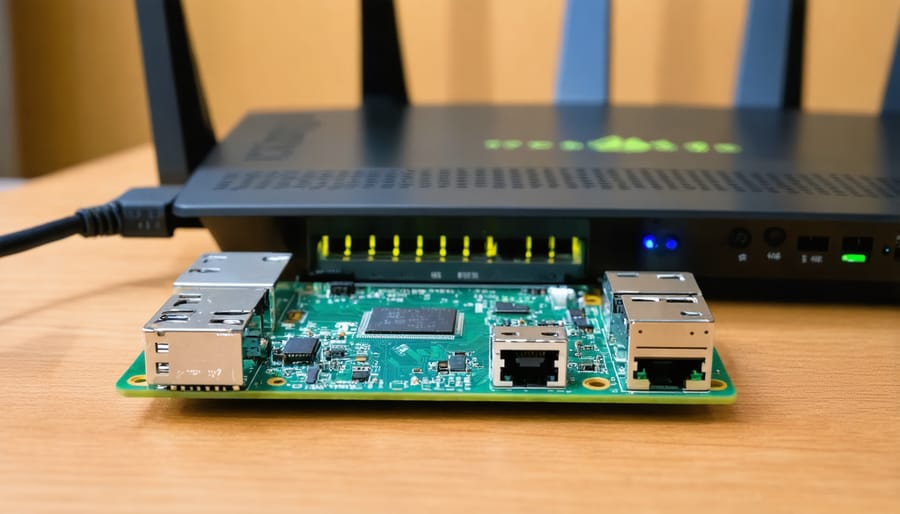
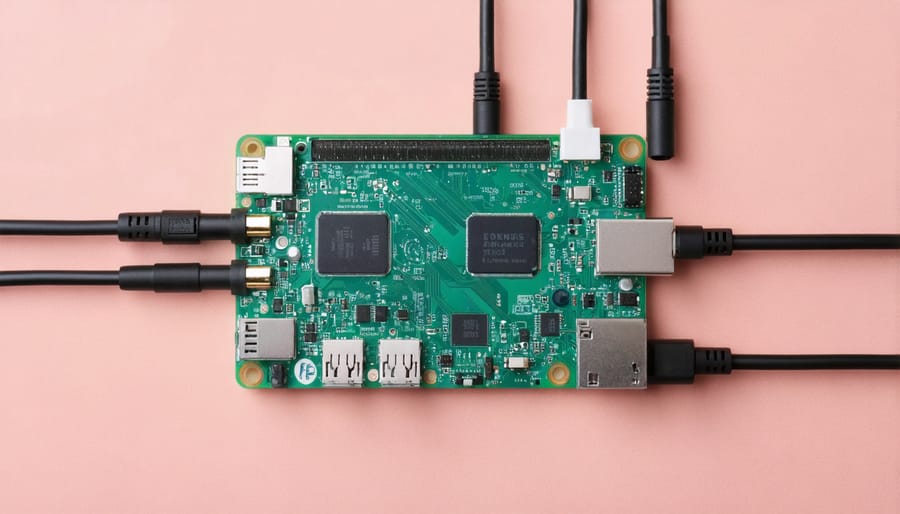
To set up a Raspberry Pi as a router, you’ll need a Raspberry Pi 4 Model B with at least 2GB of RAM for optimal performance. The Raspberry Pi 4 comes equipped with two USB 3.0 ports, two micro HDMI ports, and a Gigabit Ethernet port, making it an ideal choice for this project. In addition to the Raspberry Pi itself, you’ll need at least one USB Ethernet adapter to provide the second network interface required for routing functionality. A reliable power supply, such as the official Raspberry Pi 4 power adapter, is also essential to ensure stable operation. Depending on your setup, you may want to consider a case for your Raspberry Pi and a microSD card with at least 16GB of storage for the operating system and additional software.
Software Requirements
To use a Raspberry Pi as a router, you’ll need to install a compatible operating system, such as Raspberry Pi OS (formerly Raspbian) or OpenWRT. Raspberry Pi OS is a Debian-based Linux distribution optimized for the Raspberry Pi hardware, while OpenWRT is a lightweight, highly customizable operating system designed for routers and embedded devices.
After installing the operating system, you’ll need to set up the necessary software packages. These include dnsmasq for DHCP and DNS services, hostapd for creating a wireless access point, and iptables for configuring firewall rules and network address translation (NAT). You may also want to install additional tools like remote access software, such as VNC or SSH, to manage your Raspberry Pi router remotely.
Most of these software packages can be easily installed using the package manager included with your chosen operating system, such as apt for Raspberry Pi OS or opkg for OpenWRT.

Step-by-Step Guide: Setting Up Your Raspberry Pi Router
Installing the Operating System
To get started with your Raspberry Pi router project, you’ll need to install a compatible operating system on your device. We recommend using the Raspberry Pi OS (previously known as Raspbian), which is the official operating system optimized for Raspberry Pi hardware.
First, download the latest version of Raspberry Pi OS from the official website. You can choose between the desktop or lite version, depending on your needs. Next, write the operating system image to a microSD card using a tool like Etcher or Raspberry Pi Imager. This process will format the microSD card and make it bootable.
Once the image is written, insert the microSD card into your Raspberry Pi and power it on. The device will boot into the Raspberry Pi OS, and you’ll be guided through the initial setup process, including setting your locale, keyboard layout, and password. You can also configure your Wi-Fi connection during this step.
After the initial setup, it’s a good idea to update your system to ensure you have the latest security patches and software versions. Open a terminal and run the following commands:
sudo apt update
sudo apt upgrade
With your Raspberry Pi OS now installed and updated, you’re ready to proceed with installing the operating system and configuring your device to function as a router.
Configuring Network Settings
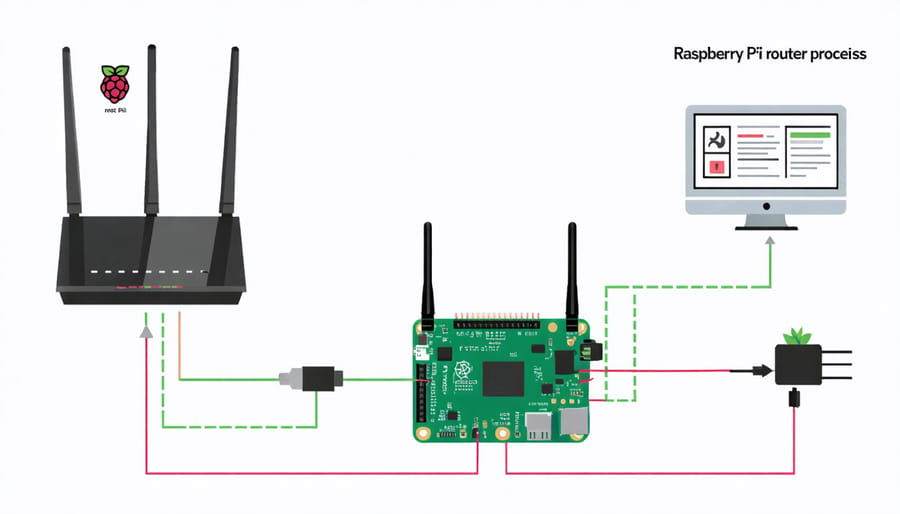
To configure network settings on your Raspberry Pi router, you’ll need to set up the network interfaces and configure DHCP and DNS. Begin by connecting your Raspberry Pi to your modem or upstream network using an Ethernet cable. Then, open the configuration file for the network interfaces by running sudo nano /etc/network/interfaces in the terminal.
In this file, define the settings for the Ethernet interface (eth0) connected to your modem or upstream network. Set it to use DHCP to automatically obtain an IP address. Next, define the settings for the Wi-Fi interface (wlan0) that will serve as your local network. Assign it a static IP address, such as 192.168.0.1, and specify the netmask and broadcast address.
Save the changes and exit the editor. Now, install the DHCP server by running sudo apt-get install isc-dhcp-server. Open the DHCP server configuration file with sudo nano /etc/dhcp/dhcpd.conf and define the network range, default gateway, and DNS servers for your local network. Specify the range of IP addresses to be assigned to clients, such as 192.168.0.100 to 192.168.0.200. Set the default gateway to the static IP address of your Raspberry Pi (192.168.0.1) and choose appropriate DNS servers, like Google’s public DNS (8.8.8.8 and 8.8.4.4).
Finally, install the DNS server by running sudo apt-get install bind9. Configure the DNS server by editing the file /etc/bind/named.conf.options and specifying the forwarders to use, such as Google’s DNS servers. Restart the DHCP and DNS services with sudo systemctl restart isc-dhcp-server and sudo systemctl restart bind9.
Your Raspberry Pi router should now be configured to assign IP addresses, provide network connectivity, and resolve DNS queries for devices connected to your local network. You can further customize the DHCP and DNS settings based on your specific requirements and preferences.
Enabling Wireless Access Point
To set up your Raspberry Pi as a wireless access point, you’ll need to configure the device to act as a DHCP server and create a new wireless network. Begin by updating your Raspberry Pi’s package list and installing the necessary software, including hostapd and dnsmasq. Hostapd is a user-space daemon that allows the Raspberry Pi to create a wireless hotspot, while dnsmasq provides DNS and DHCP services.
Next, configure the DHCP server by editing the dnsmasq configuration file. Specify the range of IP addresses to assign to connected devices, along with the lease time and other relevant settings. Create a new configuration file for hostapd and set up the wireless network name (SSID), password, and security protocol (e.g., WPA2).
To ensure that the Raspberry Pi forwards traffic between the wireless and wired interfaces, enable IP forwarding in the system configuration. Additionally, set up iptables rules to enable Network Address Translation (NAT), allowing connected devices to access the internet through the Raspberry Pi’s wired connection.
Finally, configure the Raspberry Pi to start the hostapd and dnsmasq services automatically on boot. This ensures that the wireless access point is available whenever the device is powered on. Reboot your Raspberry Pi, and you should now have a fully functional wireless access point.
With your Raspberry Pi set up as a wireless access point, you can connect various devices, such as smartphones, tablets, and laptops, to the newly created network. This configuration is particularly useful in situations where you need to extend your existing network coverage or create a separate network for specific purposes, such as IoT projects or guest access.
Advanced Configuration Options
QoS and Traffic Shaping
Quality of Service (QoS) and traffic shaping are essential for optimizing network performance when using your Raspberry Pi as a router. QoS allows you to prioritize specific types of traffic, such as video calls or gaming, ensuring a smooth experience even during peak usage times. To implement QoS, you can use tools like tc (Traffic Control) and htb (Hierarchical Token Bucket) to classify and prioritize traffic based on various criteria, such as source or destination IP, port numbers, or packet size.
Traffic shaping, on the other hand, helps you manage bandwidth allocation and prevent network congestion. By setting up traffic shaping rules, you can limit the bandwidth consumed by certain applications or devices, ensuring fair distribution of resources. Popular tools for traffic shaping on the Raspberry Pi include wondershaper and sqm-scripts. These tools allow you to define upload and download speed limits, as well as apply shaping rules based on network interfaces or IP ranges.
Implementing QoS and traffic shaping on your Raspberry Pi router requires some command-line configuration and a basic understanding of networking concepts. However, with the right tools and guidance, you can significantly enhance your network’s performance and stability, providing a better experience for all connected devices.
VPN Server Integration
Integrating a VPN server on your Raspberry Pi router provides an additional layer of security and enables secure remote access to your network. To set this up, you’ll need to install a VPN server software like OpenVPN or WireGuard on your Raspberry Pi. These open-source solutions offer robust encryption and are well-suited for the Raspberry Pi’s limited resources.
Begin by installing the necessary dependencies and the VPN server software of your choice. Follow the installation guide provided by the software, as the process may vary slightly between different VPN solutions. Once installed, configure the VPN server by generating encryption keys, setting up user authentication, and defining the VPN network settings.
After the initial setup, create configuration files for your VPN clients. These files contain the necessary information for clients to connect securely to your Raspberry Pi VPN server. Distribute these configuration files to your trusted devices, ensuring to keep them confidential.
Finally, configure your Raspberry Pi’s firewall to allow incoming VPN connections and ensure that the VPN server starts automatically on boot. With the VPN server up and running, you can now connect to your home network securely from anywhere in the world, knowing that your data is encrypted and your online activity is protected.
Conclusion
In conclusion, using a Raspberry Pi as a router offers numerous benefits, from cost-effectiveness and customization to enhanced security and the opportunity to learn valuable networking skills. By following the step-by-step guide provided in this article, you can successfully set up your own Raspberry Pi router and explore advanced configuration options to tailor it to your specific needs. As the world continues to evolve with technologies like 5G, understanding the fundamentals of networking becomes increasingly important. Embarking on this DIY project not only provides a practical solution for your home network but also equips you with hands-on experience that can be applied to future tech endeavors. So why not give it a try and unlock the full potential of your Raspberry Pi?


