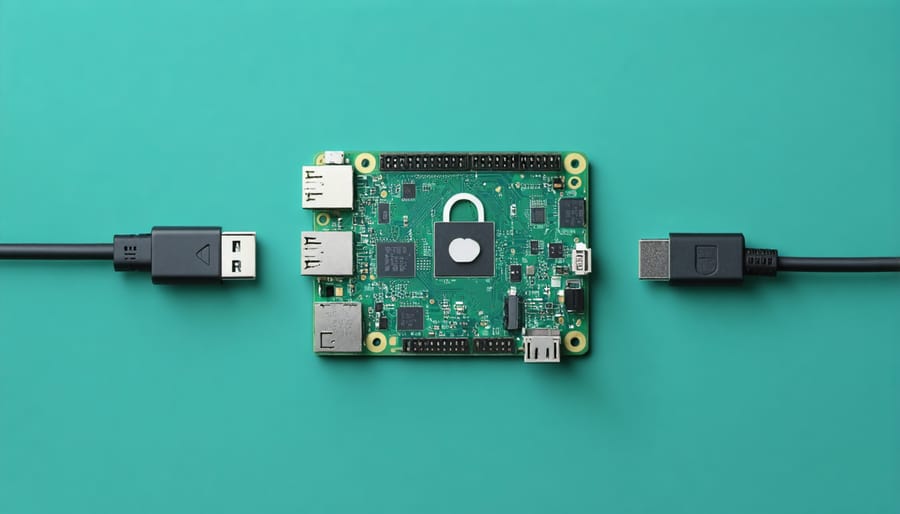
Transform your home network into an impenetrable fortress with a Raspberry Pi. This credit card-sized computer packs a powerful punch when it comes to network security. Set up a Pi-hole to block ads, trackers, and malware at the DNS level, shielding every device on your network. Deploy a Raspberry Pi as an Intrusion Detection System using open-source tools like Snort or Suricata to monitor traffic and alert you to potential threats. Create a VPN server on your Pi to encrypt your internet connection and access your home network securely from anywhere. With its low cost, flexibility, and vibrant community, the Raspberry Pi is the ultimate tool for hobbyists and enthusiasts looking to take their network security to the next level.

Setting Up a Raspberry Pi Network Security Tool
Gathering the Necessary Hardware
To get started with your network security Raspberry Pi project, you’ll need the following hardware components:
- Raspberry Pi board (Raspberry Pi 4 with at least 4GB RAM recommended for optimal performance)
- MicroSD card (minimum 16GB, Class 10 or higher)
- Power supply (USB-C for Raspberry Pi 4, micro USB for earlier models)
- Ethernet cable (to connect your Raspberry Pi to your router or network switch)
- HDMI cable (for initial setup and configuration, if not using SSH)
- USB keyboard and mouse (for initial setup and configuration, if not using SSH)
- Case (optional but recommended for protection)
When selecting your Raspberry Pi board, consider the specific requirements of the security projects you plan to implement. While a Raspberry Pi 4 with 4GB or 8GB of RAM offers the best performance, a Raspberry Pi 3B+ or earlier model may suffice for less resource-intensive applications. Explore the wide range of models, such as the Raspberry Pi 4 Model B, for various use cases to ensure you choose the right one for your needs. Ensure that you have a reliable power supply and a high-quality microSD card for optimal stability and performance.
Installing and Configuring the Operating System
To install a security-focused operating system on your Raspberry Pi, start by downloading the OS image from a trusted source. Popular options include DietPi, which is lightweight and customizable, or Kali Linux, which comes pre-loaded with penetration testing tools. Once downloaded, use a tool like Etcher to flash the image onto a microSD card. Insert the card into your Raspberry Pi, connect it to a monitor, keyboard, and mouse, and power it on.
During the initial setup, follow the on-screen instructions to configure basic settings like language, time zone, and password. For enhanced security, create a strong password and enable SSH key-based authentication. Update the system packages to ensure you have the latest security patches by running `sudo apt update` and `sudo apt upgrade` in the terminal.
Consider enabling a firewall to control incoming and outgoing network traffic. You can use the built-in `ufw` (Uncomplicated Firewall) by running `sudo ufw enable` and configuring rules based on your needs. Additionally, explore essential IoT security practices to further minimize potential attack surfaces. With these steps completed, your Raspberry Pi is now ready to be configured for specific network security tasks.
Installing Essential Security Software
Installing essential security software on your Raspberry Pi is crucial for protecting your network. One must-have open-source tool is Fail2Ban, which scans log files and bans IP addresses exhibiting suspicious behavior, such as repeated failed login attempts. Another key software is UFW (Uncomplicated Firewall), a user-friendly interface for managing firewall rules and controlling network traffic. To monitor network activity and detect potential threats, consider installing an intrusion detection system like Snort or Suricata. These tools analyze network packets in real-time, alerting you to any suspicious activity. Additionally, using a VPN client on your Raspberry Pi can encrypt your internet traffic and hide your IP address, providing an extra layer of security and privacy. By installing these essential security tools, you’ll be well on your way to creating a robust and secure network environment using your Raspberry Pi.
Raspberry Pi Security Projects to Harden Your Home Network
Create a Network Intrusion Detection System
A Raspberry Pi can be transformed into a powerful network intrusion detection system (NIDS) to monitor your home network for suspicious activities. By installing and configuring specialized software like Snort or Suricata, your Pi can analyze network traffic in real-time, alerting you to potential security threats such as unauthorized access attempts, malware infections, or unusual network behavior.
To set up an NIDS on your Raspberry Pi, start by installing the necessary software and configuring it to match your network settings. Define rules and signatures that describe known attack patterns or suspicious behavior, allowing the NIDS to identify and flag potential threats. As network traffic passes through the Pi, the NIDS analyzes each packet, comparing it against the defined rules and generating alerts when suspicious activities are detected. For a more comprehensive approach, consider building a powerful Raspberry Pi network security monitor.
In addition to real-time monitoring, an NIDS can also log network traffic for later analysis, helping you investigate security incidents or identify patterns over time. By placing your Raspberry Pi NIDS at strategic points within your network, such as between your router and connected devices, you can gain comprehensive visibility into network activity and quickly respond to potential threats.
Implementing a Raspberry Pi-based NIDS provides an additional layer of security for your home network, complementing other measures like firewalls and antivirus software. With its low cost and flexibility, a Raspberry Pi NIDS is an excellent choice for tech enthusiasts and hobbyists looking to enhance their network security skills and protect their connected devices from potential attacks.

Set Up a Pi-Hole to Block Ads and Malware
Setting up a Pi-Hole on your Raspberry Pi is an effective way to block ads and malicious content at the network level. Begin by installing the Pi-Hole software on your Raspberry Pi using the official installation script. During the installation process, you’ll be prompted to configure your network settings, including your router’s IP address and the IP address you want to assign to your Pi-Hole.
Once installed, access the Pi-Hole web interface by entering your Pi-Hole’s IP address into a web browser. From here, you can configure your blocklists, which are lists of known ad servers and malicious domains that Pi-Hole will block. You can use pre-configured blocklists or add your own custom lists.
Pi-Hole works by acting as a DNS server for your network. When a device on your network requests a website, Pi-Hole checks if the domain is on your blocklist. If it is, the request is blocked, and the device is prevented from accessing the malicious content. This process happens seamlessly in the background, protecting all devices on your network without the need for individual ad-blocking software.
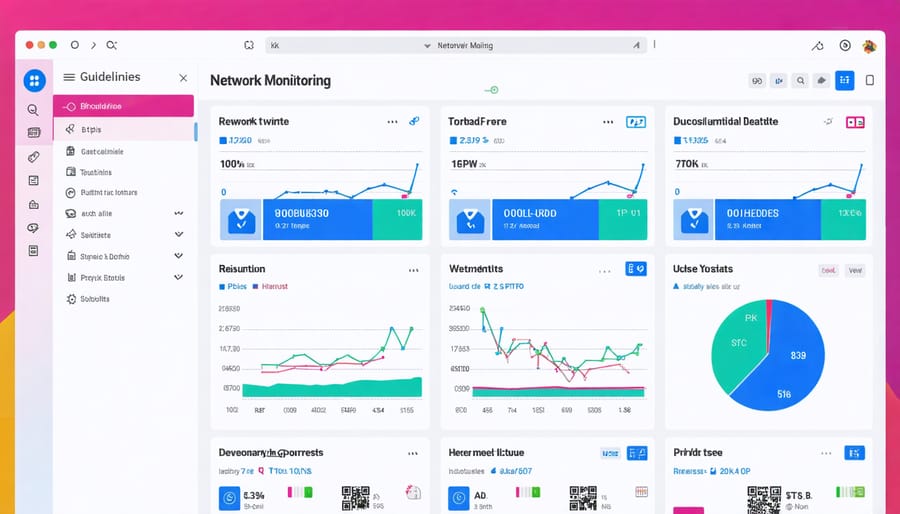
In addition to blocking ads and malware, Pi-Hole provides a detailed dashboard that shows you statistics about your network traffic, including the number of blocked requests and the most frequently accessed domains. This information can help you identify potential security threats and adjust your blocklists accordingly.
By setting up a Pi-Hole on your Raspberry Pi, you can create a secure and ad-free network environment, protecting your devices from malicious content and enhancing your online experience.

Use the Pi as a VPN Server
Setting up your Raspberry Pi as a VPN server is an excellent way to secure your network and enable remote access. By creating your own VPN server, you can encrypt your internet traffic, bypass geo-restrictions, and access your home network from anywhere in the world.
To get started, you’ll need to install a VPN server software on your Raspberry Pi. OpenVPN and WireGuard are two popular options that offer robust security features and easy setup. Follow the installation instructions provided by the software and configure the server settings according to your preferences.
Next, set up port forwarding on your router to allow incoming connections to your Raspberry Pi VPN server. This step is crucial for enabling remote access from outside your local network. Make sure to choose a strong password and enable two-factor authentication for added security.
Once your VPN server is up and running, you can connect to it using a VPN client on your devices. Most operating systems have built-in VPN clients, but you can also use third-party apps like OpenVPN Connect or WireGuard for a more user-friendly experience.
With your Raspberry Pi VPN server, you can enjoy secure and private internet access, whether you’re at home or on the go. It’s a cost-effective and customizable solution for protecting your online activities and maintaining control over your data.
Conclusion
In conclusion, using a Raspberry Pi for network security offers numerous benefits, including cost-effectiveness, customization, and the ability to create a dedicated security device. By implementing the projects discussed in this article, such as setting up a Pi-hole ad blocker, creating a VPN server, or configuring a network monitoring system, you can significantly strengthen your network security. The Raspberry Pi’s versatility and ease of use make it an excellent tool for both beginners and experienced users looking to enhance their network’s defenses. We encourage you to experiment with these projects and explore the many other possibilities the Raspberry Pi offers for improving your network security. With a little effort and creativity, you can create a more secure and private network environment using this small but mighty single-board computer.


