

Unlock the true potential of your Raspberry Pi 4 by harnessing the power of network booting. This revolutionary technique allows your Pi to boot directly from a network, eliminating the need for a local SD card. With network boot, you can centrally manage and deploy operating systems, simplify maintenance, and enhance the flexibility and scalability of your Raspberry Pi projects. Embrace the future of Raspberry Pi computing and dive into the world of network booting today.
What is Network Booting?
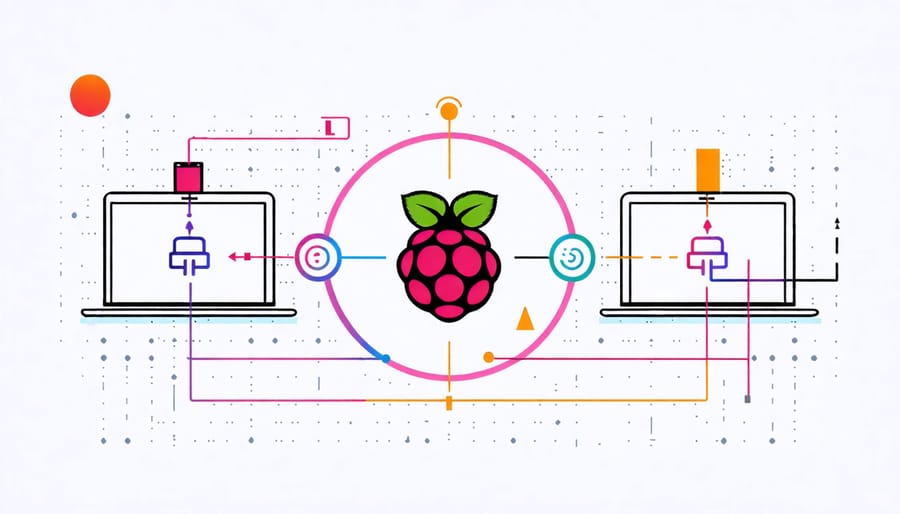
Network booting, also known as network boot or PXE (Preboot Execution Environment) boot, is a method of starting up a computer using files loaded from a network server instead of the local storage drive. When a device is configured for network boot, it looks for a DHCP server on the network during startup. The DHCP server assigns an IP address to the device and directs it to a TFTP (Trivial File Transfer Protocol) server, which hosts the necessary boot files.
The device then downloads these boot files, which typically include a small operating system or a bootloader, and loads them into memory. This allows the device to boot up without relying on its internal storage, making it an excellent solution for devices with limited or no local storage, such as thin clients or diskless workstations.
Network booting offers several benefits, including centralized management, easy deployment of operating systems and software updates, and reduced hardware costs. It simplifies the process of maintaining multiple devices, as changes can be made on the server and propagated to all connected devices upon reboot. This is particularly useful in educational settings, labs, or offices where many identical devices need to be managed efficiently.
Furthermore, network booting enables the use of a Raspberry Pi as a low-cost, energy-efficient thin client. By loading the operating system and applications from a network server, the Raspberry Pi can be used for various purposes without the need for a large local storage device, reducing overall costs and power consumption.
Benefits of Network Booting Your Raspberry Pi
Eliminating SD Card Failures
Network booting a Raspberry Pi can effectively eliminate issues related to SD card corruption. By loading the operating system and files from a network server instead of an SD card, you reduce the risk of data loss and system failure due to SD card wear and tear. Since the SD card is no longer the primary storage medium, its potential failure won’t impact the Pi’s functionality. This setup is particularly beneficial for scenarios where the Raspberry Pi operates 24/7 or in environments prone to power fluctuations, as it minimizes the chances of SD card corruption. With network booting, you can enjoy a more stable and reliable Raspberry Pi experience.
Centralized Management and Updates
Network booting centralized management of multiple Raspberry Pis, making it an excellent solution for classrooms, labs, or any environment with numerous devices. By storing the operating system and configuration files on a central server, you can easily push updates, install software, and modify settings across all connected Pis simultaneously. This approach saves time and effort compared to manually updating each device individually. With network booting, you can enable easy management of a fleet of Raspberry Pis, ensuring they all run the same software version and have consistent configurations. It simplifies maintenance tasks and allows for quick deployment of new applications or features to all devices in the network.
Faster Boot Times
Network booting a Raspberry Pi can significantly reduce boot times compared to traditional SD card booting. By loading the operating system and necessary files from a network server, the Pi can boot up much faster. This is because network speeds are typically faster than the read speeds of SD cards, especially if you’re using an older or slower card. With a properly configured network boot setup, your Raspberry Pi can go from powered off to fully operational in a matter of seconds. This is particularly beneficial for projects that require frequent reboots or for situations where you need to deploy multiple Pis quickly.
Setting Up Network Boot on Your Raspberry Pi
Prerequisites
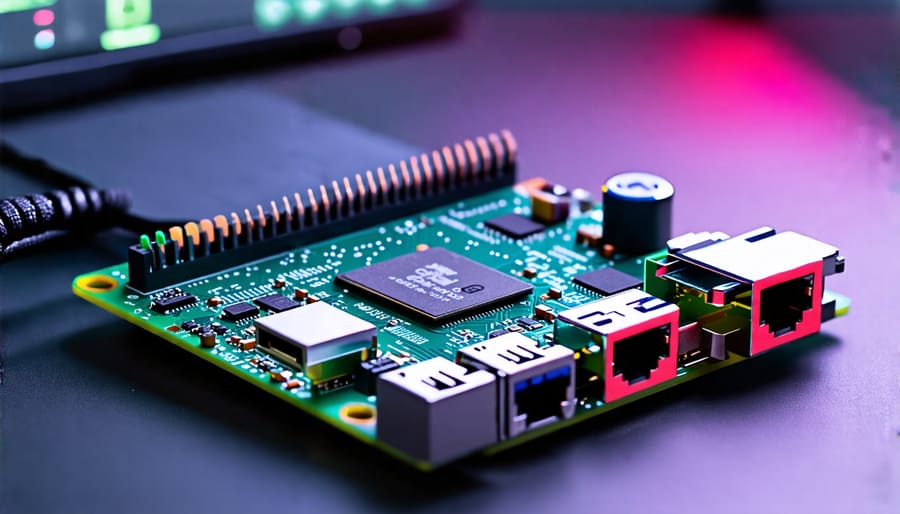
To network boot your Raspberry Pi, you’ll need a Raspberry Pi board (any model with an Ethernet port), a power supply, and an Ethernet cable. A microSD card is optional for initial setup. On the software side, you’ll require a compatible operating system that supports network booting, such as Raspberry Pi OS or Ubuntu Server. Additionally, you’ll need a TFTP server to host the boot files and an NFS or HTTP server to serve the root filesystem. These server components can be set up on another Raspberry Pi, a desktop computer, or a network-attached storage device. Ensure that your network infrastructure supports DHCP for IP address assignment to the Raspberry Pi during the boot process.
Configuring the DHCP Server
To set up a DHCP server for network booting your Raspberry Pi, you’ll need to install and configure a DHCP server software on your main computer or a dedicated device. One popular option is “dnsmasq”, a lightweight DHCP and DNS server. Install dnsmasq using your package manager, then edit its configuration file (usually located at /etc/dnsmasq.conf). Uncomment and modify the “dhcp-range” setting to specify the IP address range and lease time for your network. Add a “dhcp-boot” directive to define the boot filename (e.g., “pxelinux.0”) and the location of the TFTP server (your main computer’s IP address). Save the changes and restart the dnsmasq service. Your Raspberry Pi should now receive an IP address and the necessary boot files from the DHCP server when connected to the network. Make sure to configure your router to forward DHCP requests to your dnsmasq server if needed.
Preparing the Raspberry Pi
To prepare your Raspberry Pi for network boot, you’ll need to enable the feature in the bootloader configuration. Start by mounting the boot partition of your Raspberry Pi’s SD card on your computer. Open the “config.txt” file in a text editor and add the following line at the bottom:
program_usb_boot_mode=1
Save the file and safely eject the SD card. Insert it into your Raspberry Pi and boot it up. Once the Pi has booted, open a terminal and run the following command:
sudo raspi-config
Navigate to “Advanced Options” and select “Boot Order.” Choose “Network Boot” as the default boot option and exit the configuration tool. Your Raspberry Pi is now set to prioritize network boot over booting from the SD card.
Next, prepare a TFTP server on your network to host the necessary boot files for your Raspberry Pi. Install a TFTP server software on a computer or another Raspberry Pi connected to the same network. Create a directory for your Raspberry Pi’s boot files and configure the TFTP server to point to that directory.
Copy the boot files from your Raspberry Pi’s SD card to the TFTP server directory. These files include the kernel image, device tree blob, and any additional configuration files specific to your setup.
With the bootloader configured and the TFTP server set up, your Raspberry Pi is now ready to boot over the network. Connect your Pi to the network using an Ethernet cable, ensuring it has access to the TFTP server. Power on your Raspberry Pi and watch as it retrieves the necessary boot files from the network and starts up without relying on the SD card.
Troubleshooting Common Issues
When setting up network boot for your Raspberry Pi, you may encounter a few common issues. One of the most frequent problems is a misconfigured DHCP server. Ensure that your DHCP server is correctly configured to provide the necessary boot files and network settings to the Raspberry Pi. Double-check the DHCP configuration file and make sure it points to the correct location of the boot files on the TFTP server.
Another issue that may arise is firewall restrictions blocking the necessary network traffic. Make sure that your firewall allows UDP traffic on ports 67 and 68 for DHCP, and UDP traffic on port 69 for TFTP. Additionally, ensure that the TFTP server is accessible from the Raspberry Pi’s network segment.
If your Raspberry Pi fails to boot or gets stuck during the boot process, it may be due to incorrect boot files or network settings. Verify that the boot files on the TFTP server are compatible with your Raspberry Pi model and that they are properly named and located in the correct directory. Also, check the network settings provided by the DHCP server to ensure they are accurate for your network environment.
In some cases, you may encounter issues with the Raspberry Pi’s bootloader. If the bootloader is outdated or corrupted, it can prevent the device from booting over the network. To resolve this, you can update the bootloader on the SD card and then try network booting again.
If you’ve verified all the configurations and settings but still face issues, it’s helpful to consult the Raspberry Pi documentation and community forums for further Troubleshooting Common Issues. The Raspberry Pi community is active and supportive, and you can often find solutions to specific problems shared by other users who have encountered similar challenges.

Conclusion
In conclusion, network booting a Raspberry Pi offers numerous benefits, making it a valuable technique for enthusiasts and professionals alike. By enabling centralized management, simplified maintenance, and efficient resource utilization, network booting streamlines the deployment and administration of multiple Raspberry Pi devices. It eliminates the need for individual SD cards, reduces setup time, and ensures consistent configurations across all connected devices. Moreover, network booting facilitates remote access, allowing users to control and update their Raspberry Pis from anywhere on the network. With the step-by-step guide provided in this article, users can confidently set up and troubleshoot network booting on their Raspberry Pis, unlocking a world of possibilities for their projects and applications.