
Monitor your environment with a Raspberry Pi and uncover insights into temperature, humidity, air quality and more. Build a solar-powered Raspberry Pi station to track conditions outdoors 24/7. Equip your Pi with sensors, log data over time, and create powerful visualizations to spot trends and anomalies. Gain a deeper understanding of your surroundings and contribute to citizen science initiatives with a customized Raspberry Pi environmental monitoring solution. Whether you’re a beginner or an experienced maker, learn how to harness the power of Raspberry Pi to keep a pulse on the world around you.
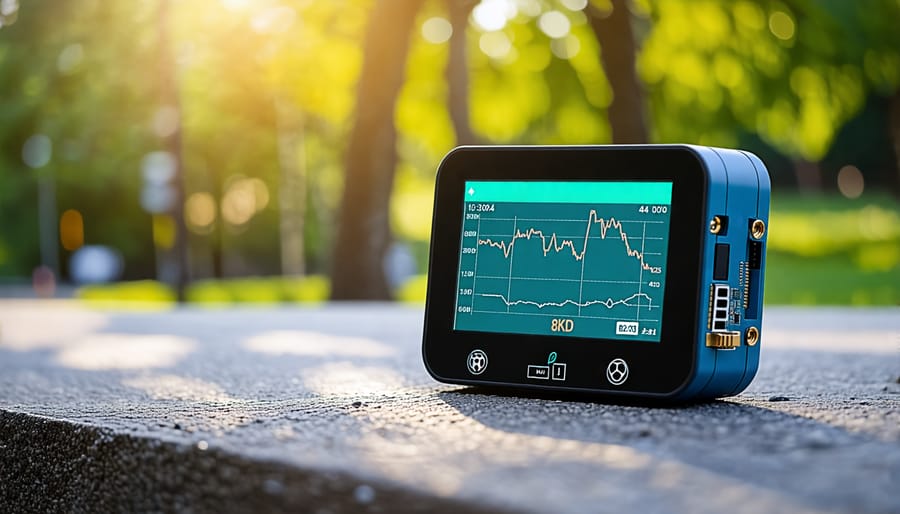
Build a Portable Air Quality Monitor
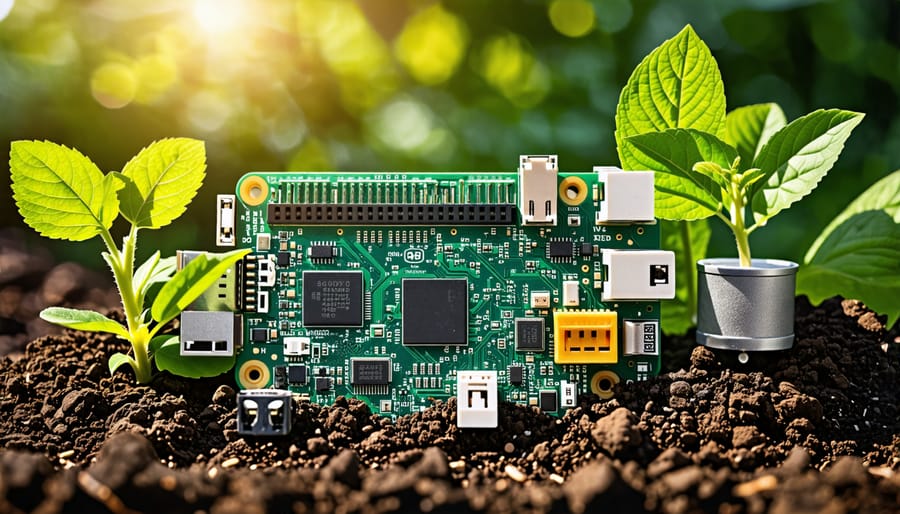
Gathering Materials
To gather the necessary materials for your Raspberry Pi environmental monitoring project, you’ll need the following components:
Raspberry Pi board (any model)
MicroSD card (8GB or larger)
Power supply for the Raspberry Pi
Environmental sensors (e.g., temperature, humidity, air quality)
Breadboard and jumper wires for connecting sensors
Ethernet cable or Wi-Fi dongle for internet connectivity
Computer with SD card reader for setting up the Raspberry Pi
Optional: case or enclosure for the Raspberry Pi and sensors
Having these materials on hand will ensure a smooth start to your project. Don’t forget to double-check the compatibility of your chosen sensors with the Raspberry Pi before purchasing.
Assembling the Device
To assemble your Raspberry Pi environmental monitoring device, start by gathering the necessary components: a Raspberry Pi board, environmental sensors, jumper wires, a breadboard, and a power supply. Begin by connecting the sensors to the Raspberry Pi’s GPIO pins using jumper wires and the breadboard. Refer to the sensor’s documentation for specific wiring instructions. Ensure that the sensors are securely connected and oriented correctly. Next, attach the Raspberry Pi to a stable surface or enclosure to protect it from environmental factors. Connect the power supply to the Raspberry Pi, ensuring that it provides sufficient power for both the board and the connected sensors. Double-check all connections to prevent any loose wires or short circuits. Once the hardware is assembled, proceed to install the necessary software and libraries on your Raspberry Pi to interface with the sensors and collect environmental data. With careful assembly and configuration, your Raspberry Pi environmental monitoring device will be ready to gather valuable insights about your surroundings.
Configuring the Software
To configure your Raspberry Pi for environmental monitoring, start by setting up the operating system. Download the latest version of Raspbian and install it on an SD card using a tool like Etcher. Connect the Raspberry Pi to a monitor, keyboard, and mouse, then insert the SD card and power it on.
Once the Raspberry Pi boots up, open a terminal and update the system by running “sudo apt-get update” and “sudo apt-get upgrade”. Next, connect your sensors to the Raspberry Pi’s GPIO pins according to their respective pinouts. For example, connect the DHT22 temperature and humidity sensor to GPIO 4, and the BMP180 pressure sensor to the I2C pins.
To program the sensors, install the necessary libraries by running “sudo pip3 install Adafruit_DHT” for the DHT22 sensor and “sudo apt-get install python-smbus” for the BMP180 sensor. Create a new Python script and import the libraries:
import Adafruit_DHT
from Adafruit_BMP import BMP085
Define the sensor pins and read the data:
humidity, temperature = Adafruit_DHT.read_retry(Adafruit_DHT.DHT22, 4)
pressure = BMP085.BMP085()
Print the results or store them in a database for further analysis. With the software configured, your Raspberry Pi is now ready to monitor environmental conditions.
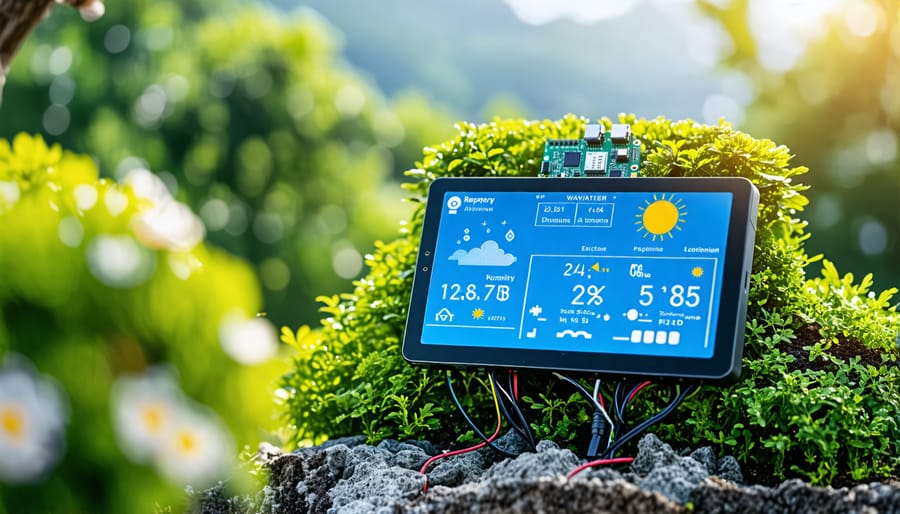
Create a Weather Station
Hardware Setup
To set up your Raspberry Pi for environmental monitoring, you’ll need to connect various weather sensors. Start by gathering the necessary components, such as a DHT11 or DHT22 temperature and humidity sensor, a BMP180 barometric pressure sensor, and a photoresistor for measuring light intensity. Ensure you have the appropriate jumper wires and breadboard for making connections.
Begin by connecting the DHT sensor to the Raspberry Pi’s GPIO pins. Typically, the sensor has three pins: VCC, GND, and DATA. Connect VCC to a 3.3V pin, GND to a ground pin, and DATA to a digital GPIO pin like GPIO4. Similarly, connect the BMP180 sensor to the Raspberry Pi using the I2C interface. Refer to the sensor’s documentation for the specific pin connections.
For the photoresistor, create a voltage divider circuit by connecting one end to a 3.3V pin, the other end to a ground pin, and the middle pin to an analog input pin on the Raspberry Pi, such as GPIO18. This setup allows the Raspberry Pi to read the varying voltage levels based on the light intensity.
Double-check all connections to ensure they are secure and properly wired. With the hardware setup complete, you’re ready to move on to configuring the software and libraries required for reading data from the sensors and integrating them into your environmental monitoring project.
Software Configuration
To set up the software for your Raspberry Pi weather station, start by installing the latest version of Raspbian, the official operating system for Raspberry Pi. Once Raspbian is installed, connect your sensors to the appropriate GPIO pins on the Raspberry Pi.
Next, install the necessary software packages for your specific sensors. For example, if you’re using a DHT11 or DHT22 temperature and humidity sensor, you’ll need to install the Adafruit_DHT library. Open a terminal and run the following commands:
sudo apt-get update

sudo apt-get install python3-pip

sudo python3 -m pip install --upgrade pip setuptools wheel

sudo pip3 install Adafruit_DHT
For other sensors, refer to their respective documentation for installation instructions.
To log and visualize your sensor data, consider using a database like SQLite or InfluxDB, along with a visualization tool like Grafana. Install these packages using apt-get or pip, depending on your preference.
Create a Python script to read data from your sensors and store it in the database. Use the Python libraries specific to your sensors to retrieve the data, and then use the database library (e.g., sqlite3 or influxdb-python) to log the data.
Finally, configure Grafana to connect to your database and create dashboards to display your environmental data. Customize the dashboards with various graphs, gauges, and maps to visualize your data effectively.
With the software configured, your Raspberry Pi weather station is ready to monitor and log environmental data.
Monitor Soil Moisture for Smart Gardening

Sensor Selection and Setup
When selecting soil moisture sensors for your Raspberry Pi environmental monitoring project, consider factors such as accuracy, durability, and compatibility with your setup. Capacitive soil moisture sensors are a popular choice due to their corrosion resistance and low power consumption. To connect the sensor to your Raspberry Pi, you’ll typically need to wire the VCC pin to a 3.3V or 5V pin, the GND pin to a ground pin, and the SIG pin to an analog input pin. Some sensors may require an additional analog-to-digital converter (ADC) for accurate readings. Be sure to calibrate your sensor according to the manufacturer’s instructions to ensure reliable measurements. With the right sensor and proper setup, you’ll be well on your way to monitoring soil moisture levels and optimizing your plant care or agricultural projects using your Raspberry Pi.
Programming the Watering System
To automate plant watering based on soil moisture levels, create a Python script that reads data from the moisture sensor and triggers the water pump when needed. Begin by setting up the necessary GPIO pins for the sensor and pump. Then, define a function to read the moisture level and another to activate the pump for a set duration. In your main script, continuously monitor the moisture level at regular intervals. When the level falls below a predefined threshold, call the watering function to irrigate the plants. Consider adding logging functionality to track watering events and sensor readings over time. Ensure your setup follows proper IoT security practices to protect your system from unauthorized access. With this automated watering system, you can ensure your plants receive the optimal amount of water based on their specific needs, promoting healthy growth and reducing manual intervention.
Track Noise Pollution Levels
Sound Sensor Integration
To integrate a sound sensor with your Raspberry Pi, you’ll need a compatible microphone or sound sensor module. Connect the sensor to the appropriate GPIO pins on the Pi, following the manufacturer’s instructions. Once connected, install any necessary drivers or libraries for your specific sensor.
With the hardware set up, you can use Python libraries like PyAudio or libraries specific to your sensor to capture and process audio data. These libraries allow you to record audio, analyze sound levels, and even perform more advanced tasks like speech recognition or noise detection.
By combining sound sensor data with other sensors like the high-quality camera module, you can create powerful multi-sensory monitoring systems. For example, you could trigger a camera to capture images or video when sound levels exceed a certain threshold, enabling you to monitor and respond to specific environmental events.
Data Analysis and Visualization
To analyze and visualize the collected noise level data, you can use Python libraries like Pandas and Matplotlib. First, read the CSV file containing the data into a Pandas DataFrame. Perform any necessary data cleaning and preprocessing steps, such as removing outliers or aggregating data points. Next, create informative visualizations using Matplotlib, such as line graphs showing noise levels over time or bar charts comparing average noise levels across different periods. Customize the graphs with clear labels, titles, and legends to enhance readability. Consider adding annotations or highlighting key events or thresholds to provide more context. Experiment with various graph types and styles to effectively communicate insights from the data. Finally, save the generated visualizations as image files or integrate them into a web-based dashboard for easy sharing and monitoring. By leveraging these powerful Python libraries, you can transform raw noise level data into meaningful visual representations that facilitate analysis and decision-making.
Create a Flood Detection System
Water Level Sensor Setup
To set up the water level sensor, begin by connecting the sensor’s VCC pin to the Raspberry Pi’s 3.3V pin and the GND pin to a ground pin on the Pi. Next, connect the sensor’s signal pin to a GPIO pin, such as GPIO18. Ensure the connections are secure and double-check the pin assignments.
Before submerging the sensor in water, it’s crucial to waterproof the connections. Apply a generous amount of waterproof sealant or epoxy to the connections, covering them completely. Allow the sealant to dry according to the manufacturer’s instructions.
Once the connections are waterproofed, you can place the sensor in the desired location, such as a tank or reservoir. Adjust the sensor’s position to ensure it can accurately measure the water level within the required range.
With the hardware setup complete, you can proceed to configure the software components to read and process the sensor data, enabling your Raspberry Pi to monitor water levels effectively.
Configuring Alerts
To configure alerts for water level thresholds, you’ll need to write a Python script that reads the sensor data and sends notifications when the levels exceed a predefined limit. Start by importing the necessary libraries, such as RPi.GPIO for interacting with the water sensor and smtplib for sending email alerts. Set up the GPIO pins and configure the threshold value based on your requirements. In the main loop, continuously read the sensor data and compare it against the threshold. If the water level exceeds the limit, trigger an alert by sending an email notification using smtplib. You can customize the email message to include relevant details like the current water level and timestamp. Test your script to ensure it accurately detects high water levels and sends alerts as expected. With this setup, you’ll have a reliable system for monitoring water levels and receiving timely notifications when action is needed.
Conclusion
The Raspberry Pi has proven to be a versatile and powerful tool for environmental monitoring, enabling users to create custom, low-cost solutions tailored to their specific needs. From weather stations and air quality monitors to soil moisture sensors and water quality testers, the possibilities are endless. By leveraging the Raspberry Pi’s capabilities, individuals and organizations can gain valuable insights into their surroundings, make data-driven decisions, and contribute to environmental conservation efforts. Whether you’re a hobbyist looking for a new project, an educator seeking to engage students in STEM, or a professional in need of an affordable monitoring solution, the Raspberry Pi offers a compelling platform to explore. With its growing community, extensive resources, and ongoing developments, there has never been a better time to dive into the world of Raspberry Pi environmental monitoring. So, grab your Pi, sensors, and a sense of curiosity, and start building your own monitoring projects today!