
Choose the right Raspberry Pi model for your project by evaluating your goals and checking compatibility with desired components. Gather essential tools such as a microSD card, power supply, HDMI cable, and cooling system. Start with a beginner-friendly project like setting up a media center or building a retro gaming console; follow detailed tutorials to streamline the process. Learn basic programming in Python or Scratch to enhance your project, utilizing resources like online courses or Raspberry Pi community forums. Ensure security by updating your Raspberry Pi’s software regularly and using strong passwords to protect your project from unauthorized access.
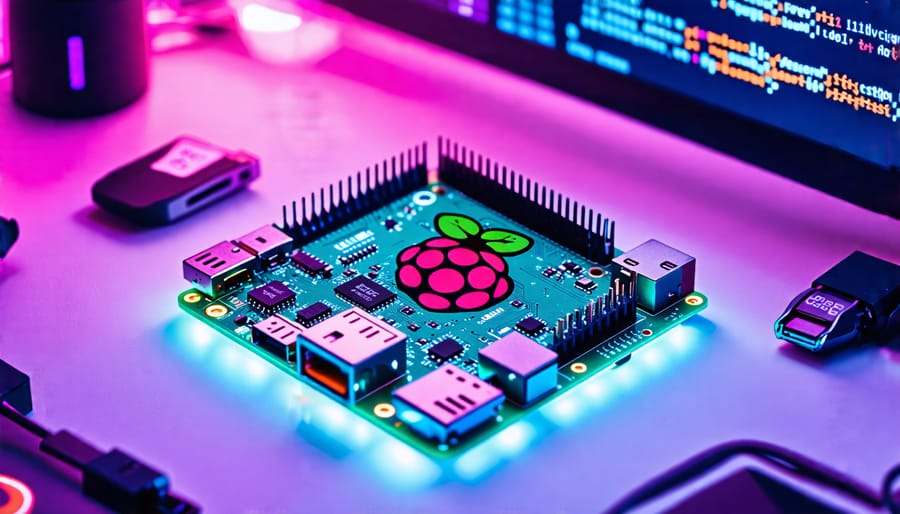
Choosing the Right Raspberry Pi Model
Overview of Raspberry Pi Models
Exploring the world of Raspberry Pi can be a thrilling journey for tech enthusiasts and educators alike. With an array of Raspberry Pi models available, selecting the right one for your first project is crucial. The original Raspberry Pi has evolved significantly, offering models like the Raspberry Pi 4, which boasts a quad-core processor and up to 8GB of RAM, making it perfect for more demanding tasks like software development or media centers. For simpler projects, the Raspberry Pi Zero provides a compact and economical choice, facilitating IoT applications and space-constrained projects.
The Raspberry Pi 3 Model B+ introduces users to wireless capabilities with built-in Wi-Fi and Bluetooth, making it an excellent choice for smart home projects. Each of these models comes with GPIO pins, allowing seamless hardware interfacing. With this versatility, the Raspberry Pi becomes a foundational tool to develop programming skills or innovate with electronics, pushing your creativity in exciting new directions.
Selecting the Best Fit for Beginners
Choosing the right Raspberry Pi model for your first project can greatly impact your learning curve and experience. If budget is a concern, the Raspberry Pi Zero is an affordable option. It’s compact and supports basic projects like simple sensors or light displays. However, if you’re looking for versatility, consider the Raspberry Pi 4 Model B. It’s more powerful, with better processing capability and memory options, making it suitable for more complex projects like media centers or AI experiments.
Beginners might find the Raspberry Pi 400 particularly user-friendly; it’s essentially a computer built into a keyboard, designed for ease of use and straightforward projects. An important factor to consider is the connectivity you need. Ensure the model you choose has the necessary ports for peripherals and internet access. Finally, check availability and community support, as a well-established model will have more resources and forums for troubleshooting. With the right model, you’ll be set up for success in your Raspberry Pi journey.
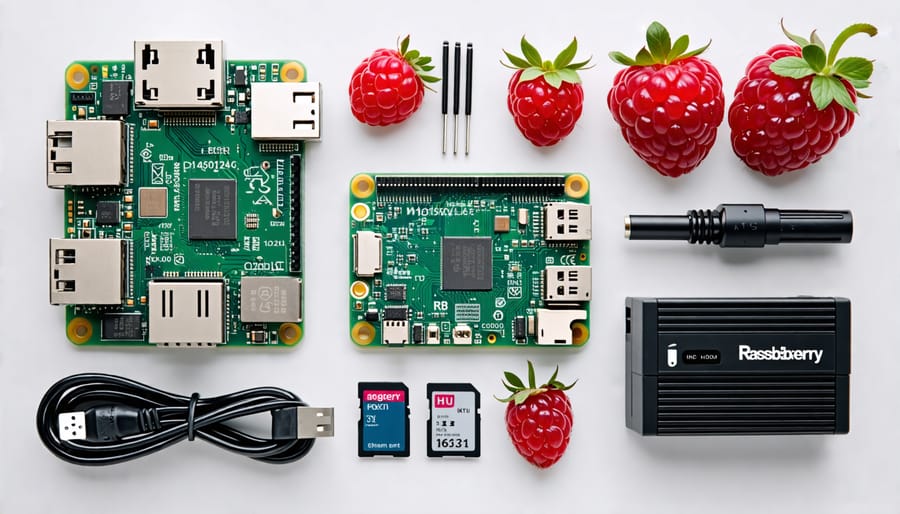
Essential Tools and Accessories
Hardware Essentials
When embarking on your first Raspberry Pi project, choosing the right hardware is key to success. Start with a reliable power supply to ensure your Raspberry Pi receives consistent energy, preventing unexpected shutdowns. An official Raspberry Pi power adapter is often recommended to meet these needs. Next, consider a case for your device. Cases protect your Raspberry Pi from dust and damage, while helping to maintain optimal temperatures. You can opt for either simple acrylic or robust aluminum cases depending on your environment. Don’t forget about storage: a quality Micro SD card is essential for your operating system and project files. Look for a card with at least 16GB of space and high read/write speeds for smooth performance. With these essentials, you’re geared up for countless Raspberry Pi endeavors.
Software Accessories
When embarking on your first Raspberry Pi project, it’s essential to equip yourself with the right software tools to ensure a smooth and successful experience. Start with a reliable operating system like Raspberry Pi OS, designed specifically for these devices, offering a user-friendly interface and strong community support. Installing the OS is straightforward, thanks to the Raspberry Pi Imager, which simplifies the setup process. For coding and development, explore versatile Integrated Development Environments (IDEs) such as Thonny, ideal for beginners due to its simplistic design and built-in Python support. Alternatively, consider more robust options like Visual Studio Code for advanced projects. With these software accessories at your fingertips, your Raspberry Pi becomes a powerful tool for creativity and innovation, setting the stage for countless exciting projects.
Easy Project Ideas for Beginners
Building a Media Center
Creating a Media Center with a Raspberry Pi is a fun and straightforward project that transforms your device into a powerful entertainment hub. To get started, you’ll need a Raspberry Pi 4 or 3, as these models are well-suited for handling multimedia tasks. A reliable microSD card with at least 16GB of storage is essential for installing the necessary software. You’ll also need an HDMI cable to connect to your TV, a power supply, and a case to protect your setup.
The backbone of this project is the software; LibreELEC is a popular choice. It’s a lightweight operating system built to run Kodi, a versatile media center application. Begin by downloading LibreELEC and using a software tool like Balena Etcher to write the image to your microSD card. Once set up, insert the microSD card into your Raspberry Pi, connect it to your TV, and power it on.
Upon booting, follow the on-screen instructions to install Kodi. With Kodi, you can stream media from the web, play local files, and even integrate plugins for a personalized experience. This project is ideal for tech enthusiasts eager to explore the capabilities of their Raspberry Pi, offering a hands-on approach to building a customizable media solution.

Setting Up a Pi-Powered Weather Station
Embarking on your first Raspberry Pi project by setting up a Pi-powered weather station is an exciting way to dive into the world of electronics and coding. Start by gathering your essentials: a Raspberry Pi, a weather sensor kit compatible with your model, and necessary cables. Choose sensors like the DHT22, which capture temperature and humidity data, or the BMP180 for atmospheric pressure.
Connecting these sensors to your Raspberry Pi is straightforward, thanks to the GPIO pins. Ensure you power off the Pi during connections to avoid any mishaps. Install libraries for your chosen sensors using simple Python scripts, which handle the data retrieved from the sensors. The Adafruit library is popular and well-documented, making it ideal for beginners.
Once your hardware is set up, it’s time for coding. Use Python to write scripts that read data from the sensors, which can then be processed for analysis. This is not just about collecting data; it’s the perfect opportunity to apply basic Python skills and practice file handling to log your findings.
To visualize the data, consider integrating database solutions or using cloud services to create captivating dashboards. Tools like Grafana enable you to set up real-time data visualization, transforming raw numbers into insightful charts. Remember, every challenge you encounter is a learning moment, making your project a dynamic journey into the endless possibilities with Raspberry Pi.
Basic Programming for Your Project
Getting Started with Python
Python is the top choice for programming on the Raspberry Pi, thanks to its simplicity and versatility, making it ideal for both beginners and seasoned developers. With Raspberry Pi’s power to run diverse projects, Python complements this by allowing you to write readable code quickly for tasks ranging from data analysis to hardware control. Ready to get started? Your first script can be a breeze. Open the terminal and type `python3` to launch the Python interpreter. Enter `print(“Hello, Raspberry Pi!”)` and press Enter. You’ve just run your first script! This basic example shows how straightforward Python syntax is. As you gain confidence, you can explore Python libraries like GPIO Zero for hardware projects or leverage Python’s rich ecosystem to manage data or build web applications. With Python’s vast resources and community support, you’ll transform creative ideas into real-world applications effortlessly on your Raspberry Pi.
Connecting Hardware with Code
The Raspberry Pi’s GPIO (General Purpose Input/Output) pins are your gateway to interacting with the physical world. Whether you’re a tech enthusiast or a novice, these pins offer a fantastic entry point into hardware programming. Start by connecting a simple LED. You’ll need an LED light, a resistor, and a few jumper wires. Connect the longer leg (anode) of the LED to a GPIO pin, and the shorter leg (cathode) through a resistor to a ground pin. With a basic Python script, you can make the LED blink at different intervals, sparking that first moment of coding excitement.
Expand your project by adding a push button for basic input control. Connect one terminal of the button to another GPIO pin and the other to the ground. Modify your script to read the button’s state, turning the LED on and off with each press. These simple projects lay the groundwork for more complex creations, showing how easily hardware and code can come together with the Raspberry Pi.
Security Considerations
Securing Your Raspberry Pi
To ensure your Raspberry Pi is secure, begin by setting a strong, unique password. Avoid common passwords and use a combination of letters, numbers, and symbols to enhance security. Regularly updating your software is equally crucial; it protects your system from vulnerabilities. Run the command `sudo apt update && sudo apt upgrade` to keep your software up-to-date. Additionally, consider configuring your Raspberry Pi to automatically receive security updates. This will provide an extra layer of defense against potential threats, allowing you to focus on your projects with peace of mind.
Network and Data Security
Securing your Raspberry Pi project is crucial to ensure that your data and network communications remain protected. Start by changing default usernames and passwords to prevent unauthorized access. Setting up a firewall can block unwanted traffic, enhancing security. Regularly update your Raspberry Pi OS to include the latest security patches. For data security, consider using file encryption to protect sensitive information stored on your device. When using the Raspberry Pi for web-based applications, ensure TLS encryption is enabled by using HTTPS for secure data transmission. Additionally, disable unused ports and services to minimize vulnerabilities. With these best practices, your Raspberry Pi project will be safe from common threats, giving you peace of mind as you explore and innovate.
Conclusion
Embarking on a Raspberry Pi project is an excellent way to dive into the world of computing, electronics, and innovation. For tech enthusiasts, hobbyists, and educators, the Raspberry Pi offers a versatile platform that encourages creativity and practical learning. Its affordability and flexibility make it accessible for a wide range of projects, from building a home automation system to exploring the basics of programming and hardware integration.
For beginners, starting with the Raspberry Pi is a journey of discovery and empowerment. You gain hands-on experience, learning through doing, which is invaluable in understanding both fundamental and advanced concepts. The Raspberry Pi community is incredibly supportive, offering a plethora of resources, forums, and project ideas to help you along the way. This environment fosters a spirit of collaboration and shared learning, truly embodying the essence of technological exploration.
As you continue to explore the endless possibilities with the Raspberry Pi, remember that every project is an opportunity to expand your skills and knowledge. Whether you’re teaching students the basics of coding or building your own DIY tech solutions, the experience is enriching and rewarding. Keep experimenting, stay curious, and let your imagination lead the way. Your next Raspberry Pi adventure awaits, ready to transform your innovative ideas into reality.