Upgrade your Raspberry Pi OS by starting with a full system backup to safeguard your data and configurations. Utilize the Raspberry Pi Imager tool, selecting the latest Raspberry Pi OS version, and flash it onto your microSD card. Afterward, run `sudo apt update && sudo apt full-upgrade` in the terminal to ensure all packages are current. Finally, automate future updates via a simple script that employs `cron` jobs, providing seamless, regular maintenance to your Raspberry Pi.
Why Upgrade Your Raspberry Pi OS?
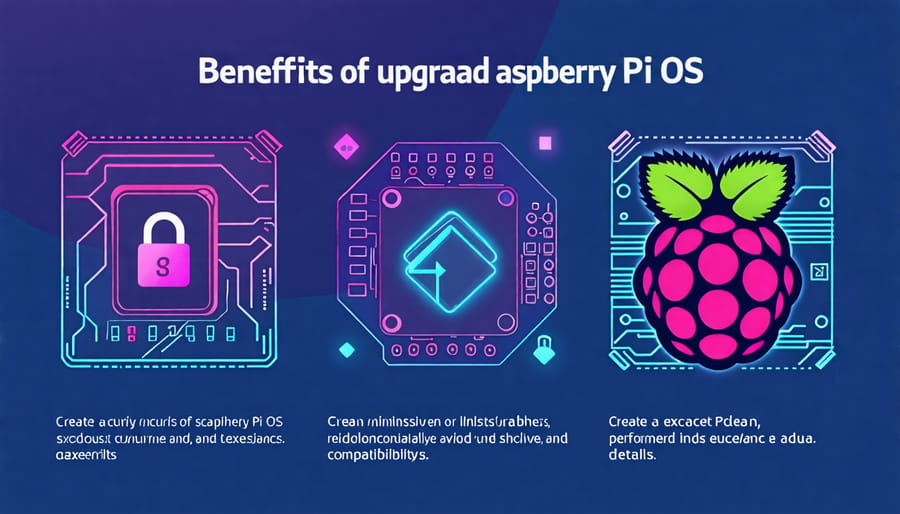
Upgrading your Raspberry Pi OS offers numerous benefits that can significantly enhance your overall experience. One of the primary advantages is enhanced security. With each new update, security patches are included to protect your projects from vulnerabilities and threats. This ensures your data and systems remain safe and secure, allowing you to focus on innovation rather than breaches.
Beyond security, upgrading also improves hardware compatibility. Raspberry Pi frequently updates its OS to support the latest peripherals and components, ensuring that you can seamlessly integrate new technology into your projects. This means less time troubleshooting and more time creating.
Performance enhancements are another significant reason to keep your OS up to date. Updates often come with optimizations that allow your Raspberry Pi to run more efficiently. You might notice faster boot times, smoother multitasking, and improved overall responsiveness. This boost in performance can be particularly beneficial for more complex projects that require additional processing power.
In essence, regularly updating your Raspberry Pi OS not only safeguards your hard work but also opens up a world of new possibilities, making your Raspberry Pi projects more robust, innovative, and enjoyable.

Preparing for the Upgrade
Backup Important Data
Before upgrading your Raspberry Pi OS, safeguarding your existing data is crucial. Backing up ensures that your precious files and projects are safe from any mishaps during the process. Start by connecting an external hard drive or USB flash drive to your Raspberry Pi. Then, open the terminal and use the `cp` command to copy important directories like `/home/pi`, where most of your personal files reside. For instance, typing `cp -r /home/pi /media/usb` will recursively copy your data to the connected storage device. If you’re more comfortable with a graphical interface, you can use the Raspberry Pi’s file manager to drag and drop files to your backup drive. For a more robust solution, consider using software like rsync, which efficiently synchronizes files between directories. By taking a moment to back up your data, you can proceed with the OS upgrade with peace of mind, knowing your work is securely saved.
Check System Requirements
Before diving into the upgrade process of your Raspberry Pi OS, it’s essential to check whether your hardware is compatible with the latest version. Begin by verifying the model of your Raspberry Pi. You can do this by entering the command `cat /proc/cpuinfo` in the terminal, which will display detailed information about your hardware. Look for the `Revision` line and cross-reference the code with the Raspberry Pi models listed on the official website.
Next, confirm that your storage has sufficient space, as upgrades typically require additional room. Use the `df -h` command to inspect disk usage on your microSD card. Ensure that at least 2 GB is free for a smooth upgrade process.
Finally, it’s crucial to verify the current version of your Raspberry Pi OS. Type `lsb_release -a` into the terminal. This command will show your current OS version. Compare it with the latest available release to decide if updating is necessary. Keeping your system up-to-date not only enhances performance but also fortifies security, enabling you to explore innovative projects with greater stability and speed.
Step-by-Step OS Upgrade Process
Download the Latest OS Version
To ensure your Raspberry Pi is running at its best with the latest features and security updates, you’ll want to download the current version of Raspberry Pi OS. Start by visiting the official Raspberry Pi website and navigate to the ‘Software’ section. Here, you’ll find the Raspberry Pi Imager tool, an excellent choice for downloading and installing the OS. It’s a user-friendly application available for Windows, macOS, and Ubuntu. Once downloaded, launch the imager, select ‘CHOOSE OS’, and then scroll to select the ‘Raspberry Pi OS’ version that suits your needs. For most users, the recommended option is ideal as it offers a good balance of features and system performance. Insert your microSD card, choose ‘CHOOSE STORAGE’, and select your card from the list. Finally, click ‘WRITE’ to begin installing the operating system. This simple process will ensure your Raspberry Pi is up-to-date, granting you access to the latest tools and enhancements.
Flashing the OS onto the SD Card
To upgrade your Raspberry Pi OS, flashing the new OS onto your SD card is a crucial step. To do this effortlessly, you can utilize the Raspberry Pi Imager, a convenient tool available for Windows, macOS, and Linux. First, download and install the Raspberry Pi Imager from the official Raspberry Pi website. Once installed, open the application.
Insert your SD card into the computer using an SD card reader. In the Raspberry Pi Imager, you’ll have to choose the OS you wish to install. Click on “Choose OS,” and you’ll see various operating systems, especially tailored for different Raspberry Pi projects. For the latest Raspberry Pi OS, opt for “Raspberry Pi OS (32-bit)” unless your project requires specific features.
Next, select your SD card by clicking on “Choose Storage” and picking the correct drive from the list. Be careful to select the right drive to avoid data loss. After choosing the OS and storage, click on “Write.” The tool will handle downloading and installing the OS onto your SD card. This process might take several minutes, depending on your internet speed and computer efficiency.
Once complete, remove the SD card from your computer, insert it into your Raspberry Pi, and power it on. Your Raspberry Pi will boot up with the new OS, ready for setup and customization. This straightforward process is a powerful way to enhance your Raspberry Pi experience, ensuring you run the latest software with improved functionality and security.

Installing the OS on Raspberry Pi
To install the OS on your Raspberry Pi, you’ll need a few essential tools: a microSD card (at least 8GB, preferably 16GB or more for ample storage), a compatible card reader, and a computer with internet access. First, download the Raspberry Pi Imager or another image-writing software to your computer. You can find the latest OS version on the official Raspberry Pi website, which is regularly updated with new features and security patches.
Insert your microSD card into the card reader and connect it to your computer. Open the Raspberry Pi Imager, select ‘Choose OS,’ and pick the Raspberry Pi OS from the list. Next, click ‘Choose SD Card’ and select your microSD card. Hit ‘Write’ to start the installation process. This will erase all data on the card, so make sure you’ve backed up any important information beforehand.
Once the installation is complete, eject the microSD card and insert it into your Raspberry Pi. Power on the Raspberry Pi, and the system should boot into the newly installed OS. Follow the on-screen prompts to complete the initial setup.
If you encounter issues during installation, check that your microSD card is correctly formatted as FAT32. Also, verify that you have a reliable power supply, as insufficient power can lead to boot failures. If the Raspberry Pi still won’t boot, try using a different microSD card or reinstate the OS to address potential card corruption. With these steps, you’ll have your Raspberry Pi ready for new adventures in no time!
Post-Upgrade Tips
After upgrading your Raspberry Pi OS, take a few proactive steps to ensure everything runs smoothly. Start by checking for additional updates. The upgrade might have brought some new patches or bug fixes worth installing. Open the terminal and run `sudo apt update && sudo apt full-upgrade` to ensure your system is fully up-to-date. Next, review your existing software and drivers. Some might need reinstallation or updates to be compatible with the new OS version. Consider optimizing your system settings for better performance. Adjust the clock speed and voltage settings if you’re experienced with overclocking, but be cautious—incorrect settings can damage your Pi. Don’t forget to check for any changes in peripheral compatibility, such as your keyboard, mouse, or external drives, to prevent any connectivity issues. Finally, backup your system regularly using tools like rsync or by creating a full image of your SD card. These steps will help you make the most of your upgraded Raspberry Pi experience.

Common Issues and Troubleshooting
During the Raspberry Pi OS upgrade process, you might face a few common issues. A frequent problem is the loss of network connectivity. Ensure that your Ethernet or Wi-Fi settings are correct and restart your device if needed. If you’re encountering compatibility problems with existing software, check for updates or consider rolling back the OS temporarily. Another issue could be insufficient storage space; make sure your SD card has ample free space by removing unnecessary files. For those using a Raspberry Pi Remote Desktop, connection issues might occur; verify your settings and reconnect. Always back up important data before starting the upgrade.
Conclusion
Upgrading your Raspberry Pi OS offers a host of benefits, ensuring your device operates with optimal performance, security, and the latest features. By regularly updating, you gain access to improved stability, bug fixes, and compatibility with new applications, enhancing your overall experience. Staying current with updates not only secures your system against potential vulnerabilities but also fosters the best environment for innovation and experimentation. For tech enthusiasts and educators alike, keeping your Raspberry Pi up to date maximizes its potential and longevity. Embrace the upgrades, stay engaged with new possibilities, and keep exploring new projects with confidence.


