Unlock the power of force sensing with Raspberry Pi! Seamlessly integrate force sensors into your projects, enabling precise measurement and innovative applications. Learn the fundamentals of force sensors, master the setup process, and dive into coding essentials. From interactive art installations to robotics and beyond, discover the limitless potential of combining Raspberry Pi with force sensors. Embark on a journey of exploration and creativity as we guide you through hands-on tutorials and real-world examples. Get ready to push the boundaries of what’s possible and bring your force-sensing projects to life with Raspberry Pi!
What is a Force Sensor?
Types of Force Sensors
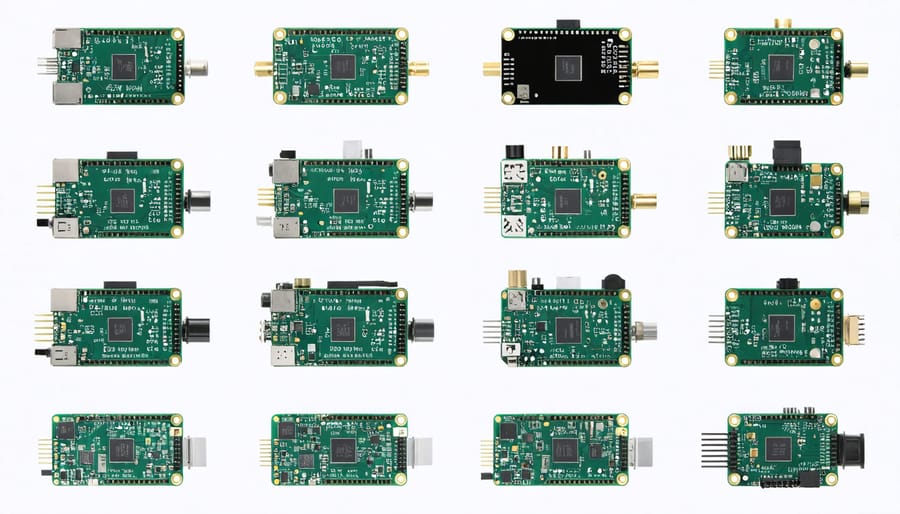
Several force sensors are compatible with Raspberry Pi, each with unique characteristics and applications. Load cells are popular for measuring weight and force, utilizing strain gauges to detect deformation. Piezoelectric sensors generate voltage when force is applied, making them ideal for dynamic measurements. Piezoresistive sensors change resistance under pressure, offering high sensitivity and a wide measuring range. Capacitive force sensors detect changes in capacitance caused by applied force, providing precise measurements for touch and pressure applications. FSRs (Force Sensitive Resistors) are thin, flexible sensors that decrease in resistance as force increases, perfect for detecting touch, pressure, and weight distribution in various projects. When selecting a force sensor for your Raspberry Pi project, consider factors such as sensitivity, range, response time, and compatibility with your specific application requirements.

How Force Sensors Work
Force sensors, like the FSR (Force Sensitive Resistor), work by changing their electrical resistance based on the force applied. The sensing film consists of conductive and non-conductive particles suspended in a matrix. As force increases, the particles touch, lowering the resistance. The Raspberry Pi reads this change using a voltage divider circuit, converting the analog signal to digital using an ADC (Analog-to-Digital Converter). The Pi’s GPIO pins power the sensor and read the output, allowing you to measure force in your projects. With some simple calibration and programming, you can use these sensors for various applications like weight measurement, touch detection, and more.
Setting Up a Force Sensor with Raspberry Pi
Required Components
To get started with a Raspberry Pi force sensor project, you’ll need the following required hardware: a Raspberry Pi board (any model), a force sensor (such as FSR402), jumper wires, a breadboard, and a USB power supply. On the software side, you’ll need to have the latest version of the Raspberry Pi operating system (Raspbian) installed on your board. Additionally, you may need to install specific libraries or packages depending on your programming language of choice, such as RPi.GPIO for Python or WiringPi for C++.
Wiring and Connection
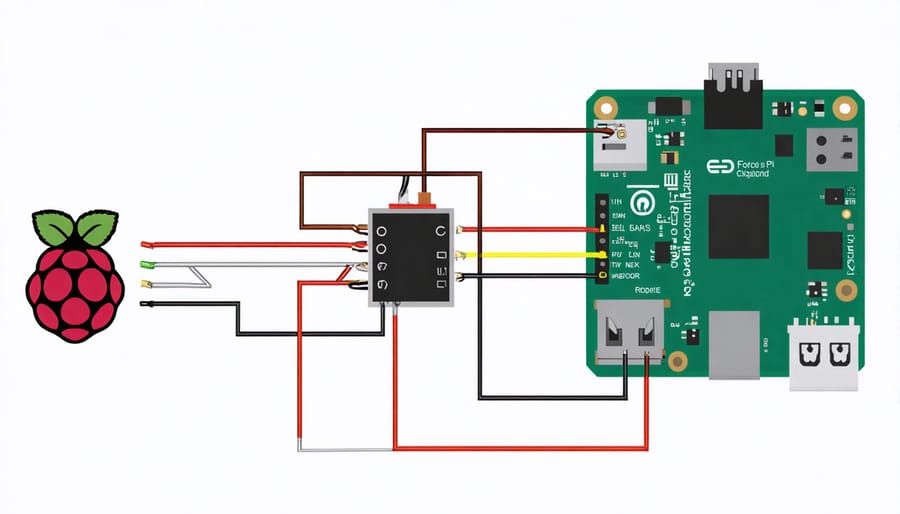
Connecting a force sensor to your Raspberry Pi is a straightforward process. First, identify the sensor’s pins – typically VCC (power), GND (ground), and SIG (signal). Using jumper wires, connect VCC to a 3.3V or 5V pin on the Raspberry Pi, depending on the sensor’s requirements. Next, connect GND to any ground pin on the Pi. Finally, connect SIG to an analog input pin, such as one of the GPIO pins configured for analog-to-digital conversion (ADC). If your force sensor has additional pins, consult its datasheet for proper wiring. Ensure all connections are secure and double-check the pinout before powering on your Raspberry Pi. With the force sensor correctly wired, you’re ready to move on to configuring the software and libraries needed to read and process the sensor data in your projects.

Software Configuration
To configure the software for your Raspberry Pi force sensor project, start by installing the necessary dependencies. Open a terminal and run the following commands:
sudo apt-get update

sudo apt-get install python3-pip

sudo pip3 install RPi.GPIO

sudo pip3 install adafruit-circuitpython-ads1x15
These commands update your package list, install Python 3 and pip, and then use pip to install the required libraries for GPIO control and the ADS1x15 analog-to-digital converter.
Next, create a new Python file for your force sensor code. Use a text editor like Nano or Thonny to write a script that imports the necessary libraries, sets up the ADS1x15, and reads the force sensor values. Here’s a basic example:
import time

import board

import busio

import adafruit_ads1x15.ads1015 as ADS

from adafruit_ads1x15.analog_in import AnalogIn
i2c = busio.I2C(board.SCL, board.SDA)
ads = ADS.ADS1015(i2c)
chan = AnalogIn(ads, ADS.P0)
while True:
print(chan.value)
time.sleep(0.5)
This script sets up the I2C communication, initializes the ADS1015, and continuously reads and prints the force sensor values every 0.5 seconds. Customize the script according to your specific requirements and experiment with different configurations to suit your project needs.
Coding Force Sensor Data on Raspberry Pi
Reading Sensor Data
To read raw data from the force sensor using Python on your Raspberry Pi, you’ll need to install the necessary libraries and set up the sensor’s communication protocol. Start by connecting the sensor to the appropriate GPIO pins on your Raspberry Pi. Then, use Python’s SMBus library to establish communication with the sensor via the I2C protocol.
Create a new Python script and import the required libraries. Use the SMBus library to read the raw sensor data from the specified I2C address. The force sensor typically returns a 16-bit value representing the applied force. You can convert this raw value to a more meaningful force measurement using the sensor’s datasheet and calibration information.
Here’s a simple Python code snippet to get you started:
import smbus

# Initialize the I2C bus
bus = smbus.SMBus(1)

# Set the I2C address of the force sensor
address = 0x68

while True:
    # Read the raw sensor data
    raw_data = bus.read_word_data(address, 0)

    # Convert the raw data to a force value (e.g., in Newtons)
    force = raw_data * 0.01  # Adjust the conversion factor based on your sensor

    print("Force: {:.2f} N".format(force))
Experiment with different force values and observe the sensor’s output. You can now use this data in your Raspberry Pi projects to detect and respond to force input.
Processing and Visualizing Data
To process the raw force sensor data, use Python libraries like NumPy and Pandas for data manipulation and analysis. Clean and preprocess the data by removing any outliers or noise. Create meaningful visualizations using libraries such as Matplotlib or Seaborn. These libraries allow you to generate line graphs, bar charts, and heatmaps to represent force readings over time or compare different sensors. Visualizations help identify patterns, trends, and anomalies in the data. For real-time plotting, consider using the Matplotlib animation functionality. This enables live updating of graphs as new sensor data arrives, providing an interactive way to monitor force measurements. By processing and visualizing the data, you can gain valuable insights into the force applied to your Raspberry Pi setup, making it easier to interpret results and make informed decisions based on the sensor readings.
Real-World Applications and Project Ideas

Interactive Art Installations
Raspberry Pi force sensors can be used to create captivating interactive art installations. By integrating these sensors into your artwork, you can enable visitors to physically engage with the piece, triggering various visual, auditory, or kinetic responses. For example, a force sensor could be used to detect the pressure applied by a viewer’s hand, which then activates LED lights, plays sounds, or triggers mechanical movements within the installation. This adds a unique dimension of interactivity, making the art more immersive and memorable. Experimenting with force sensors in your artistic projects can lead to innovative and thought-provoking experiences that blend technology and creativity.
Robotic Arm Control
Force sensors can significantly enhance the precision and functionality of robotic arm control systems when integrated with a Raspberry Pi. By strategically placing force sensors at key points on the robotic arm, such as the gripper or joints, you can enable the arm to detect and respond to the amount of force being applied during various tasks. This feedback allows for more delicate handling of objects, preventing damage to both the robot and the items it interacts with. Force sensors also enable the implementation of advanced control algorithms, such as force-feedback loops, which can improve the overall performance and adaptability of the robotic arm system. With the Raspberry Pi’s processing power and the data from force sensors, you can create sophisticated robotic arm projects that push the boundaries of what’s possible in fields like manufacturing, research, and education. Explore how you can build and program your first robot using Raspberry Pi to further enhance your robotic projects.
Wearable Technology
Wearable technology is an exciting area where force sensors can be integrated with Raspberry Pi to create innovative projects. Imagine smart gloves that can sense the force applied while gripping objects or shoes that can track the pressure distribution on your feet. By combining force sensors with Raspberry Pi’s processing power, you can develop wearable devices that provide valuable data and interact with the user’s movements. For example, you could create a wearable device that alerts the user when they are applying excessive force during activities like rock climbing or weightlifting. With a little creativity and programming skills, the possibilities for integrating force sensors into wearable tech projects are endless.
Conclusion
Integrating a force sensor with a Raspberry Pi opens up a world of exciting possibilities for hobbyists, educators, and tech enthusiasts. By mastering the basics of connecting the sensor, configuring the Pi, and writing code to read and interpret force data, you can create innovative projects that respond to physical interactions. From weight scales and pressure-sensitive controllers to interactive art installations and robotics, the applications are limitless. With the knowledge gained from this guide, you now have the tools to start experimenting with force sensors and bring your ideas to life. So, grab your Raspberry Pi, a force sensor, and let your creativity guide you as you embark on your next fascinating project!


