Monitor your Raspberry Pi’s temperature and hardware health with lm-sensors, an essential tool for optimizing performance and preventing overheating. Installing lm-sensors is straightforward: update your system, install the package, detect sensors, and configure the service. Once set up, access real-time data on CPU temperature, fan speeds, and voltages through the command line or graphical interfaces. Integrate lm-sensors with your Raspberry Pi projects, such as a DIY network drive, to ensure stable operation and longevity. With its low resource overhead and compatibility with popular operating systems like Raspberry Pi OS, lm-sensors is a must-have for any Raspberry Pi enthusiast looking to maximize their device’s potential.
What is lm-sensors?
Lm-sensors is a powerful, open-source hardware monitoring tool that enables users to access information about their system’s temperature, voltage, and fan speed. This versatile software package is particularly useful for Raspberry Pi users who want to ensure their devices are running optimally and prevent overheating.
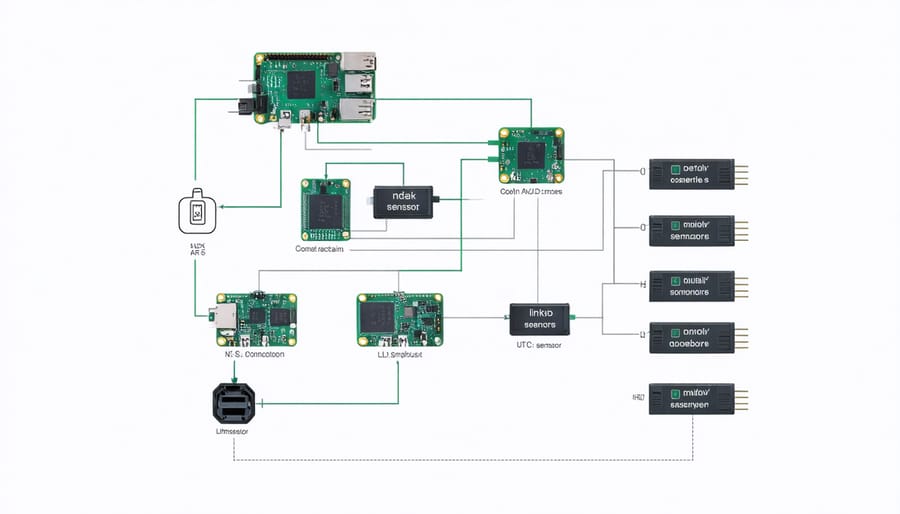
One of the key features of lm-sensors is its ability to detect and configure monitoring sensors automatically. It supports a wide range of sensor chips, making it compatible with various Raspberry Pi models and add-on boards. The tool provides real-time data about the system’s thermal and voltage status, allowing users to monitor their Raspberry Pi’s health and performance accurately.
Lm-sensors offers several benefits for Raspberry Pi users. By keeping track of temperature and voltage levels, users can identify potential issues before they lead to system instability or hardware damage. This proactive monitoring approach is especially crucial for Raspberry Pi devices used in resource-intensive applications or harsh environments.
Moreover, lm-sensors can be integrated with other software and scripts, enabling users to create custom monitoring solutions and automate tasks based on sensor data. For example, users can set up alerts or trigger fan control mechanisms when temperatures reach a certain threshold.
In summary, lm-sensors is an indispensable tool for Raspberry Pi enthusiasts who prioritize system stability and longevity. Its extensive compatibility, real-time monitoring capabilities, and customization options make it a go-to choice for users seeking to optimize their Raspberry Pi’s performance and prevent potential hardware issues.

Preparing Your Raspberry Pi
Update and Upgrade
Before installing lm-sensors on your Raspberry Pi, it’s essential to ensure your system is up-to-date. Open a terminal and run the following commands:
“`
sudo apt update
sudo apt upgrade
“`
These commands will update your package list and upgrade any installed packages to their latest versions. This process may take a few minutes, depending on the number of updates available and your internet connection speed.
Keeping your Raspberry Pi system updated is crucial for maintaining security, stability, and compatibility with the latest software. It’s a good practice to run these commands regularly to ensure your device is running smoothly and has access to the most recent features and bug fixes.
Enable I2C Interface
To enable the I2C interface on your Raspberry Pi, start by running sudo raspi-config in the terminal. Navigate to “Interface Options” and select “I2C.” Choose “Yes” to enable the I2C interface and exit the configuration tool. Next, edit the /etc/modules file by running sudo nano /etc/modules and add the lines i2c-dev and i2c-bcm2708 (for older models) or i2c-bcm2835 (for newer models). Save the file and reboot your Raspberry Pi with sudo reboot. After rebooting, verify that the I2C interface is enabled by running sudo i2cdetect -y 1 (for Rev 2 boards) or sudo i2cdetect -y 0 (for Rev 1 boards). If the interface is enabled, you will see a grid of numbers and dashes representing connected I2C devices.
Installing lm-sensors
Install Dependencies
To install lm-sensors on your Raspberry Pi, begin by updating your system packages using the command sudo apt update. Once the update is complete, install the lm-sensors package with sudo apt install lm-sensors. The installation process may take a few minutes, depending on your internet connection speed. After the installation finishes, you’ll need to configure lm-sensors to detect the temperature sensors on your Raspberry Pi. Run the command sudo sensors-detect and follow the prompts, answering “yes” to all the questions. This process will probe your system for available sensors and create a configuration file. Once the detection is complete, reboot your Raspberry Pi with sudo reboot to ensure the changes take effect.
Download and Install lm-sensors
To install lm-sensors on your Raspberry Pi, open a terminal and update your system by running `sudo apt update`. Once the update is complete, install the lm-sensors package with the command `sudo apt install lm-sensors`. The installation process will take a few moments, and you may be prompted to confirm the installation by pressing ‘Y’. After the installation finishes, you’ll need to configure lm-sensors to detect the sensors on your Raspberry Pi. Run `sudo sensors-detect` and follow the on-screen instructions, answering ‘yes’ to all the questions. This will ensure that lm-sensors can accurately detect and monitor your system’s sensors. Remember to check the Raspberry Pi pinout if you’re unsure about the sensor connections.

Configure lm-sensors
To configure lm-sensors on your Raspberry Pi, run the detection and configuration script by executing `sudo sensors-detect` in the terminal. This script will guide you through the process of identifying and setting up the appropriate sensors for your system. Follow the on-screen prompts, answering “yes” to most questions. The script will scan for available sensors and modules, and then generate a configuration file based on its findings. Once the script completes, it will save the configuration to the appropriate system file, typically `/etc/sensors3.conf`. After the configuration is saved, you can start using lm-sensors to monitor your Raspberry Pi’s temperature and other system metrics.
Using lm-sensors
Basic Commands
Here are some essential lm-sensors commands to check your Raspberry Pi’s system information:
1. `sensors`: This command displays the current readings of all detected sensors, including CPU temperature, fan speeds, and voltages.
2. `sensors-detect`: Run this command to scan your system for connected sensors and configure lm-sensors accordingly. Follow the prompts to set up your sensors correctly.
3. `watch -n 2 sensors`: Use this command to continuously monitor sensor readings, updating every 2 seconds. Adjust the interval as needed.
4. `sensors -u`: Display the sensor readings in raw output format, which can be useful for parsing data in scripts or other applications.
5. `sensors -A`: Show sensor readings in abbreviated format, omitting details like adapter names and labels.
By familiarizing yourself with these basic lm-sensors commands, you’ll be well-equipped to monitor your Raspberry Pi’s system health and gather valuable data for your projects.
Configuring Alerts
To set up alerts for temperature and voltage thresholds using lm-sensors on your Raspberry Pi, you’ll need to edit the configuration file. Open the file using the command sudo nano /etc/sensors3.conf. Look for the chip section corresponding to your sensor, and add the following lines:
set temp1_max 70
set temp1_crit 80
These lines set the maximum and critical temperature thresholds to 70°C and 80°C, respectively. You can adjust these values according to your preferences.
To configure voltage alerts, add lines like:
set in0_min 4.8
set in0_max 5.2
This sets the minimum and maximum voltage thresholds for the first voltage sensor (in0). Repeat this process for other voltage sensors if needed.
Save the file and restart the lm-sensors service using sudo service lm-sensors restart. Your Raspberry Pi will now monitor the temperatures and voltages, alerting you if the defined thresholds are exceeded.
Logging and Graphing Data
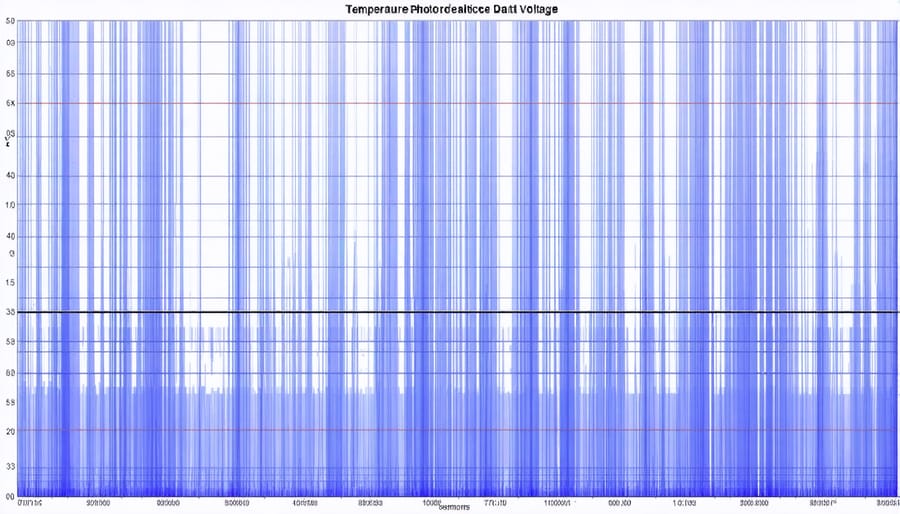
Logging and graphing lm-sensors data allows users to monitor their Raspberry Pi’s performance over time. Several tools can help visualize sensor readings, such as RRDtool or Grafana. These programs collect data at specified intervals and generate graphs for easy analysis. Another option is to set up a security monitor using lm-sensors data to detect unusual temperature spikes or fan behavior that may indicate system issues or potential security threats. By logging and graphing lm-sensors data, Raspberry Pi users can proactively maintain their devices and ensure optimal performance.

Troubleshooting Tips
When troubleshooting lm-sensors on your Raspberry Pi, there are a few common issues you might encounter. If you receive an error message like “No sensors found!” after running the sensors command, ensure that the I2C interface is enabled in the Raspberry Pi configuration settings. You can do this by running sudo raspi-config, navigating to “Interfacing Options,” and selecting “I2C” to enable it.
Another issue could be incorrect sensor detection. If lm-sensors fails to detect your sensors or provides inaccurate readings, try updating the sensor configurations by running sudo sensors-detect again. Follow the prompts and answer “yes” when asked to add the detected sensors to the configuration file. For a deeper understanding of Raspberry Pi configurations, consider exploring Raspberry Pi configuration commands.
If you experience issues with specific sensors, such as the CPU temperature sensor, make sure the sensor is properly connected to the Raspberry Pi’s GPIO pins. Double-check the wiring and ensure that the sensor is compatible with your Raspberry Pi model.
In some cases, outdated or incompatible software versions can cause problems. Ensure that you have the latest version of lm-sensors installed by running sudo apt update and sudo apt upgrade. If you still face issues, consider joining Raspberry Pi forums or communities to seek advice from experienced users who may have encountered similar problems and found solutions.
Conclusion
In conclusion, lm-sensors is a powerful tool for monitoring your Raspberry Pi’s temperature, voltage, and fan speed. By setting up and regularly checking lm-sensors, you can ensure your Raspberry Pi runs smoothly and avoid potential hardware issues caused by overheating or power fluctuations. Implementing lm-sensors is a simple process that can provide valuable insights into your system’s performance, helping you maintain a stable and reliable Raspberry Pi for all your projects and applications. We encourage all Raspberry Pi users, whether beginners or experienced enthusiasts, to take advantage of this essential monitoring tool and enjoy the peace of mind that comes with a well-monitored system.


