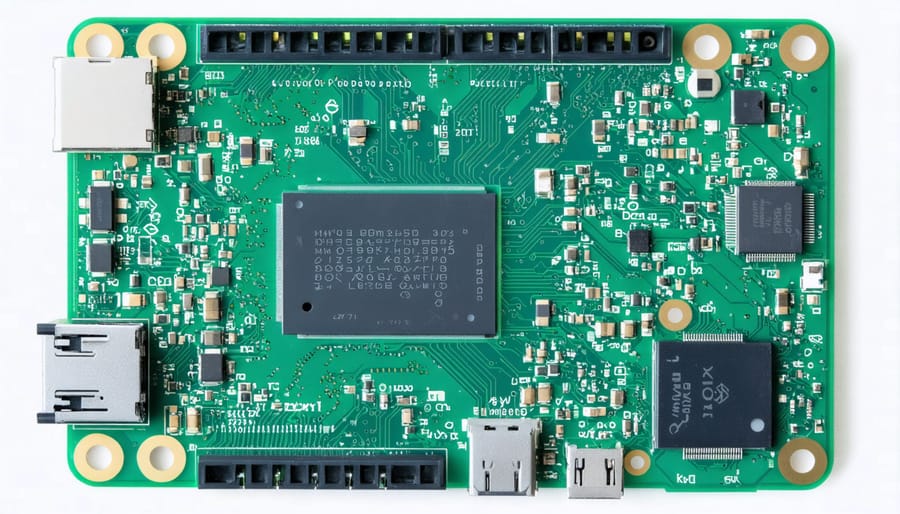
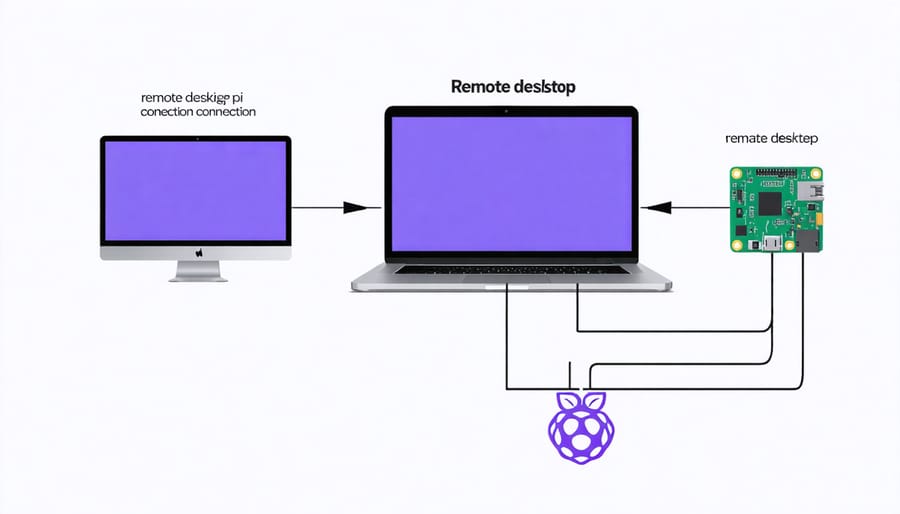
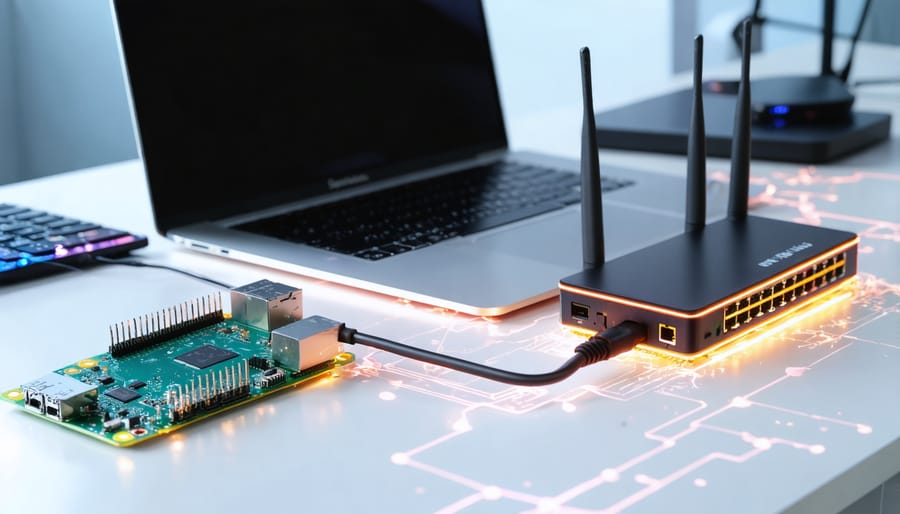
Set up your Raspberry Pi with the latest version of the Raspberry Pi OS and ensure it’s connected to your network. Enable SSH and configure your router to allow remote access to the Pi’s IP address. Install a remote desktop protocol (RDP) server like xrdp on your Raspberry Pi, which allows you to securely access its graphical desktop interface from another computer using an RDP client. Enhance security by setting up a virtual private network (VPN) to encrypt all traffic between your remote device and the Raspberry Pi, and consider implementing two-factor authentication for an extra layer of protection.

Setting Up Your Raspberry Pi
Installing the Operating System
To get started with remote desktop on your Raspberry Pi, you’ll first need to install an operating system. The most popular choice is Raspberry Pi OS, the official operating system for Raspberry Pi devices. It’s based on Debian Linux and comes pre-loaded with useful software for beginners.
To install Raspberry Pi OS, download the latest version from the official Raspberry Pi website and use a tool like Etcher to write the image to a microSD card. Insert the card into your Raspberry Pi, connect a monitor, keyboard, and mouse, then power it on.
During the initial setup, you’ll be guided through configuring basic settings like language, time zone, and password. Make sure to enable SSH and VNC under the Interfaces tab, as these will be essential for remote access later on.
If you prefer a different operating system, there are many other Linux distributions compatible with Raspberry Pi, such as Ubuntu, Manjaro, and DietPi. Choose one that suits your needs and follow the installation instructions provided by the distribution.
Once your operating system is installed and configured, you’re ready to move on to setting up remote desktop access to your Raspberry Pi.
Configuring Network Settings
To connect your Raspberry Pi to the network, start by plugging in an Ethernet cable or configuring the Wi-Fi settings. For Wi-Fi, open the configuration file using the command `sudo nano /etc/wpa_supplicant/wpa_supplicant.conf` and add your network details, including the SSID and password. Save the changes and reboot your Pi.
Next, ensure your Raspberry Pi has a static IP address to make remote access more convenient. Open the dhcpcd configuration file with `sudo nano /etc/dhcpcd.conf` and uncomment the lines for `interface eth0` or `interface wlan0`, depending on your connection type. Add `static ip_address=
To enable SSH for remote access, run `sudo raspi-config`, navigate to “Interfacing Options,” and select “SSH.” Choose “Yes” to enable SSH and exit the configuration tool. You can now remotely access your Raspberry Pi using its IP address and an SSH client like PuTTY on Windows or the built-in SSH command on Linux and macOS.
For additional security, consider changing the default SSH port and enabling key-based authentication. These steps will help protect your Raspberry Pi from unauthorized access when connected to the network.

Enabling Remote Desktop Access
Using VNC (Virtual Network Computing)
To set up VNC (Virtual Network Computing) on your Raspberry Pi, start by installing the VNC server software. Open the terminal and run the command “sudo apt-get install tightvncserver” to install TightVNC. Once installed, run “tightvncserver” to set up a password and configure the VNC server.
Next, you’ll need to enable VNC in the Raspberry Pi configuration. Open the terminal and type “sudo raspi-config”. Navigate to “Interfacing Options” and select “VNC”. Choose “Yes” to enable the VNC server.
To access your Raspberry Pi remotely using VNC, you’ll need a VNC client on your remote computer. Popular options include RealVNC, TightVNC, and UltraVNC. Install the client software on your remote device.
With the VNC client installed, you can now connect to your Raspberry Pi. Open the client and enter your Raspberry Pi’s IP address followed by the display number (e.g., 192.168.1.100:1). If you’re unsure of the IP address, run “hostname -I” in the Raspberry Pi terminal.
Enter the password you set earlier when prompted, and you should now have remote access to your Raspberry Pi’s desktop environment. For a more detailed walkthrough, check out this comprehensive VNC guide.
To optimize performance, you can adjust the VNC server settings by modifying the “~/.vnc/xstartup” file. Consider reducing the desktop resolution or color depth if you experience lag or slow performance.
Remember to secure your VNC connection by using a strong password and limiting access to trusted networks. You can also set up SSH tunneling for an additional layer of security when accessing your Raspberry Pi remotely.
Using RDP (Remote Desktop Protocol)
To use RDP for remote access to your Raspberry Pi from a Windows computer, you’ll need to install and configure an RDP server like Xrdp on your Pi. Begin by updating your Pi’s package list and installing Xrdp using the commands `sudo apt update` and `sudo apt install xrdp`. Once installed, the Xrdp service will automatically start.
Next, configure your Pi to use the Xrdp service by editing the `/etc/xrdp/xrdp.ini` file. Uncomment the `port=3389` line to ensure Xrdp uses the default RDP port. You may also need to adjust the `crypt_level` setting to `low` for compatibility with older RDP clients.
To enhance security, it’s recommended to create a dedicated user account for remote access. Use the `sudo adduser` command followed by the desired username. After setting a password and filling in the user details, add the new user to the `ssl-cert` group with `sudo adduser username ssl-cert`, replacing “username” with the account you created.
On your Windows computer, open the Remote Desktop Connection app and enter your Pi’s IP address. Click “Connect” and enter the credentials for the user account you created earlier. If all goes well, you should see your Pi’s desktop environment.
To improve performance, you can adjust settings like color depth and resolution in the Xrdp configuration file. Additionally, ensure your Pi and the connecting device are on the same network for optimal speeds.
With Xrdp installed and configured, you can now easily access your Raspberry Pi’s desktop from Windows using the familiar RDP protocol. This enables you to work on your Pi projects, run applications, and manage files remotely, expanding the possibilities for your Raspberry Pi setup.

Securing Your Remote Connection
Setting Strong Passwords
When setting up remote access to your Raspberry Pi, using strong passwords is crucial for maintaining security. Avoid using easily guessable passwords like “123456” or “password.” Instead, create a unique, complex password consisting of a mix of uppercase and lowercase letters, numbers, and special characters. Aim for a password that is at least 12 characters long. Consider using a password manager to generate and store strong passwords securely. Remember to change your passwords periodically and never share them with anyone. By implementing strong passwords, you significantly reduce the risk of unauthorized access to your Raspberry Pi.
Configuring Firewall Rules
Setting up firewall rules on your Raspberry Pi is crucial to ensure only necessary remote access traffic is allowed, enhancing the security of your device. To configure the firewall, you can use the built-in `ufw` (Uncomplicated Firewall) utility in Raspberry Pi OS.
First, make sure `ufw` is enabled by running `sudo ufw enable` in the terminal. Then, allow incoming SSH traffic with `sudo ufw allow ssh`. This ensures you can still access your Pi remotely via SSH after configuring the firewall.
Next, allow incoming RDP traffic by executing `sudo ufw allow 3389/tcp`. This opens port 3389, which is used by the Remote Desktop Protocol (RDP).
If you’re using VNC for remote access, allow incoming VNC traffic with `sudo ufw allow 5900/tcp`. This opens port 5900 for VNC connections.
Finally, verify your firewall rules by running `sudo ufw status`. You should see the allowed ports and services listed.
Remember, only allow the ports and protocols necessary for your specific remote access needs. Regularly review and update your firewall rules to maintain a secure environment. For more comprehensive strategies on enhancing the security of your Raspberry Pi, consider exploring essential steps to bulletproof your device.
By configuring firewall rules on your Raspberry Pi, you add an extra layer of security to your remote access setup, ensuring only authorized traffic can reach your device.
Conclusion
In conclusion, setting up remote desktop access to your Raspberry Pi can greatly enhance your experience and open up a world of possibilities for your Raspberry Pi projects. By following the step-by-step instructions outlined in this article, you can easily configure your Raspberry Pi for remote access using either VNC, RDP, or SSH. Remember to prioritize security by setting strong passwords, using SSH keys, and configuring your router and firewall appropriately. With remote desktop access, you can work on your Raspberry Pi from anywhere, collaborate with others, and explore new ideas without being tethered to a physical location. So, go ahead and give it a try! Unleash the full potential of your Raspberry Pi and enjoy the convenience and flexibility that remote desktop access brings to your projects. Happy tinkering!


