Connect your Raspberry Pi to WiFi from the command line in just a few simple steps. Edit the wpa_supplicant.conf file to add your WiFi network name and password. Use the ifconfig command to confirm successful connection. For headless setup, create the wpa_supplicant.conf file on the boot partition of the SD card before first boot. With these straightforward commands, you’ll have your Raspberry Pi online and ready to tackle your next project in no time.
Prerequisites
Hardware Requirements
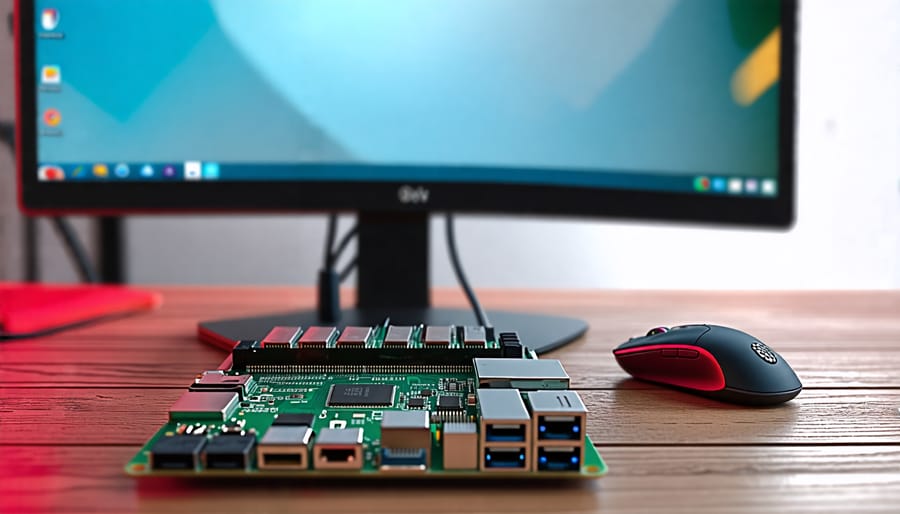
To set up WiFi on your Raspberry Pi using the command line, you’ll need a compatible model, such as the Raspberry Pi 3, 4, or Zero W, which have built-in WiFi capabilities. If you’re using an older model, you may require a compatible USB WiFi adapter. Ensure you have a stable power supply, like the official Raspberry Pi power adapter, to prevent connectivity issues due to insufficient power.

Software Requirements
To set up WiFi on your Raspberry Pi using the command line, you’ll need a compatible operating system like Raspbian and some basic command line knowledge. Make sure your Raspberry Pi is powered on and connected to a monitor, keyboard, and mouse. You’ll also need your WiFi network name (SSID) and password handy.
Step-by-Step Guide
Step 1: Update and Upgrade Packages
Before diving into the WiFi setup process, it’s crucial to ensure your Raspberry Pi is running the latest software. Open the terminal and run the following commands to update and upgrade your packages:
sudo apt update
sudo apt full-upgrade
The first command refreshes the package list, allowing your Pi to access the most recent software versions. The second command upgrades all installed packages to their latest iterations, ensuring optimal performance and security.
Be patient, as the upgrade process may take some time depending on your internet connection speed and the number of packages requiring updates. Once complete, you’ll have a fully updated Raspberry Pi, ready to tackle the WiFi setup process with the latest tools at its disposal.

Step 2: Edit the wpa_supplicant.conf File
To edit the wpa_supplicant.conf file, open it using a text editor like nano by running the command `sudo nano /etc/wpa_supplicant/wpa_supplicant.conf`. Once the file is open, add your network details under the `network` section. Replace `”YOUR_SSID”` with the name of your WiFi network (keep the quotes) and `”YOUR_PASSWORD”` with your WiFi password (again, keeping the quotes).
For example:
“`
network={
ssid=”MyWiFiNetwork”
psk=”MyPassword123″
}
“`
If your WiFi network does not use a password, replace the `psk` line with `key_mgmt=NONE`. You can also add multiple network blocks to connect to different WiFi networks.
After adding your network details, press `Ctrl+X` to exit, then `Y` to save the changes, and finally `Enter` to confirm the file name. Your Raspberry Pi is now configured to connect to the specified WiFi network(s) on boot.
Step 3: Save and Exit the File
After making the necessary changes to the wpa_supplicant.conf file, it’s crucial to save the modifications and exit the text editor properly. To do this, press Ctrl+X on your keyboard. You will be asked if you want to save the changes. Press ‘Y’ to confirm, and then hit Enter to keep the same file name. This process ensures that your WiFi configuration settings are stored correctly and will be applied when you reboot your Raspberry Pi. With the file saved and the text editor closed, you’re now ready to move on to the next step in setting up your Raspberry Pi’s WiFi connection via the command line interface.
Step 4: Reboot the Raspberry Pi
After saving the configuration file, it’s time to reboot your Raspberry Pi to apply the new WiFi settings. Simply type ‘sudo reboot’ into the terminal and press Enter. Your Raspberry Pi will restart, and during the boot process, it will automatically connect to the configured WiFi network. Once the reboot is complete, you can verify the connection by checking the network status or attempting to access the internet. If you encounter any issues, double-check your WiFi credentials and configuration file for accuracy. With a successful reboot, your Raspberry Pi should now be connected to your desired WiFi network, ready for your next project or adventure!
Step 5: Verify the Connection
To verify that your Raspberry Pi is successfully connected to the WiFi network, use the command iwconfig or ifconfig. These commands display information about the wireless network interfaces. Look for the “wlan0” interface and check if it has an IP address assigned, indicating a successful connection.
Another way to test the connection is by using the ping command. Try pinging a website, such as Google, by entering ping www.google.com. If the Raspberry Pi is connected to the internet, you should see a response with the latency and packet loss information.
Lastly, you can browse the web using the command line browser, such as Lynx, or open the Raspberry Pi’s desktop environment to test the internet connection through a graphical web browser.
Troubleshooting
If you encounter issues while setting up WiFi on your Raspberry Pi using the command line, don’t worry – there are several common problems and solutions. First, ensure that your WiFi adapter is properly connected and recognized by the system. If the adapter isn’t detected, try reconnecting it or using a different USB port. Another issue could be incorrect network configuration settings in the wpa_supplicant.conf file. Double-check that the SSID and password are entered correctly and that the file is saved in the proper location. If you’re still having trouble connecting, try resetting your router or moving your Raspberry Pi closer to the WiFi source to improve signal strength. Lastly, if you’ve recently updated your Raspberry Pi’s operating system, it’s possible that the WiFi configuration may have changed. In this case, reconfigure the settings according to the latest documentation or consider rolling back to a previous version if necessary.
Conclusion
Setting up WiFi on your Raspberry Pi using the command line is a straightforward process that offers several advantages. By utilizing the terminal, you gain direct control over the configuration process, making it easier to troubleshoot any issues that may arise. This method is also faster and more efficient than using the graphical user interface, especially for experienced users. With just a few simple commands, you can have your Raspberry Pi connected to your wireless network in no time, allowing you to focus on your projects and unleash the full potential of this versatile single-board computer.


