
Transform your Raspberry Pi into a powerful environmental monitoring hub using affordable sensors that capture real-time data about your world. From tracking temperature fluctuations to monitoring air quality, these sensor projects combine hardware tinkering with practical applications that showcase the Pi’s versatility. Start with basic temperature and humidity monitoring, then advance to build a weather station that rivals commercial systems at a fraction of the cost. Whether you’re a classroom educator introducing STEM concepts or a home automation enthusiast expanding your smart home capabilities, these sensor projects offer the perfect blend of hands-on learning and real-world functionality. With just a Raspberry Pi, a few affordable sensors, and basic Python programming skills, you’ll unlock endless possibilities for environmental data collection and analysis.
Essential Hardware Components
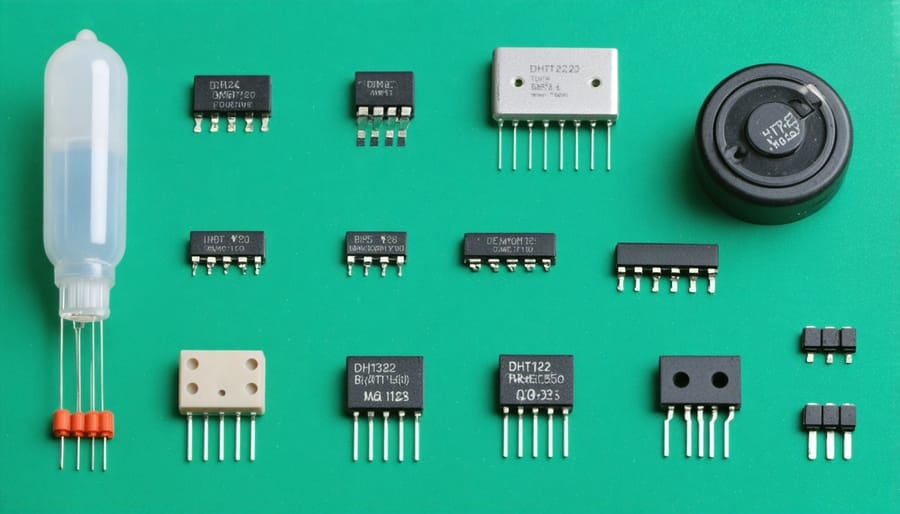
Environmental Sensors
Environmental sensors form the backbone of many Raspberry Pi monitoring projects, offering valuable insights into your surroundings. The DHT11 and DHT22 sensors are popular choices for measuring temperature and humidity, with the DHT22 providing higher accuracy for serious applications. These sensors connect easily to the Pi’s GPIO pins and require minimal setup.
For air quality monitoring, the MQ series sensors (particularly MQ135) excel at detecting various gases, including CO2 and harmful pollutants. The BME280 combines temperature, humidity, and barometric pressure sensing in one compact package, making it ideal for weather stations. For more precise air quality measurements, the SDS011 particle sensor can detect dangerous PM2.5 and PM10 particulate matter.
When it comes to pressure sensing, the BMP180 and BMP280 sensors offer excellent accuracy for atmospheric pressure readings, useful for both weather monitoring and altitude determination. Most of these sensors communicate via I2C or SPI protocols, making them straightforward to integrate with Python scripts on your Raspberry Pi. With proper calibration and regular maintenance, these sensors can provide reliable environmental data for both hobby projects and serious monitoring applications.
Connection Components
To connect sensors to your Raspberry Pi 4 Model B or other models, you’ll need several essential components. The most fundamental is a breadboard, which provides a solderless platform for prototyping your circuits. Male-to-female jumper wires are crucial for connecting your sensors to the Pi’s GPIO pins, while male-to-male jumper wires help establish connections on the breadboard.
For more complex projects, consider using a GPIO extension board or T-cobbler, which breaks out the Pi’s pins in a more organized manner. Some sensors may require additional components like pull-up or pull-down resistors (typically 10kΩ), capacitors for smoothing power supply, or level shifters for sensors operating at different voltages.
A reliable power supply is essential – use a high-quality 5V adapter rated at least 2.5A for the Pi, and ensure your sensors receive appropriate voltage through the GPIO pins or external power sources. For precise measurements, consider adding a voltage regulator to maintain stable power delivery to your sensors.
Setting Up Your First Sensor Project
Hardware Assembly
Before diving into sensor connections, ensure you have a clean, static-free workspace and all necessary components at hand. Start by carefully mounting your Raspberry Pi on a stable surface or within a protective case to prevent accidental damage during assembly.
For most sensor projects, you’ll need to connect to the Pi’s GPIO (General Purpose Input/Output) pins. These pins are arranged in two rows of 20 pins each, with specific pins designated for power (3.3V and 5V), ground (GND), and data transmission. When handling the Pi and sensors, always ensure the device is powered off to avoid short circuits.
Connect your sensor’s VCC (power) wire to either the 3.3V or 5V pin, depending on your sensor’s requirements. The ground (GND) wire should connect to any available ground pin on the Pi. For data transmission, connect your sensor’s data pins to the appropriate GPIO pins – commonly used ones include GPIO 4, 17, 27, or 22.
To ensure secure connections, consider using a breadboard for initial testing and prototyping. This allows for easy modifications and troubleshooting. Once your circuit is working correctly, you might want to upgrade to more permanent solutions like soldered connections or HAT boards for reliability.
Remember to double-check all connections before powering on your Pi. Incorrect wiring can damage both your sensor and the Raspberry Pi. If you’re using multiple sensors, maintain adequate spacing between components to prevent interference and ensure proper ventilation.
For weather-exposed projects, consider using waterproof cases and sealed connectors to protect your setup from environmental damage. Label all connections clearly for future reference and maintenance.
Software Configuration
To get started with your Raspberry Pi sensor project, you’ll need to install several essential libraries. Begin by updating your system with ‘sudo apt-get update’ and ‘sudo apt-get upgrade’. For most sensor projects, install the GPIO library using ‘pip3 install RPi.GPIO’.
If you’re working with I2C sensors, enable the I2C interface through ‘sudo raspi-config’ under Interface Options. Install the required I2C tools with ‘sudo apt-get install python3-smbus i2c-tools’.
Here’s a basic example for reading data from a DHT11 temperature sensor:
“`python
import Adafruit_DHT
import time
sensor = Adafruit_DHT.DHT11
pin = 4
while True:
humidity, temperature = Adafruit_DHT.read_retry(sensor, pin)
if humidity is not None and temperature is not None:
print(f’Temp={temperature:.1f}°C Humidity={humidity:.1f}%’)
else:
print(‘Failed to get reading’)
time.sleep(2)
“`
For this code to work, install the Adafruit DHT library using:
‘pip3 install Adafruit_DHT’
Remember to configure your sensor’s GPIO pins correctly in the code. Most sensors require specific pin assignments for power (3.3V or 5V), ground, and data transmission. Consider using a virtual environment to manage your Python packages and avoid conflicts with system libraries.
For data logging, install SQLite with ‘sudo apt-get install sqlite3’ or set up MySQL if you need a more robust database solution. This allows you to store and analyze sensor readings over time.
Advanced Integration Techniques
Data Logging and Storage
Collecting and storing sensor data is crucial for any meaningful environmental monitoring project. The Raspberry Pi offers several efficient methods to log and manage your sensor readings. For beginners, the simplest approach is writing data to CSV files using Python’s built-in libraries. This method allows easy data export to spreadsheet programs for analysis.
For more robust storage solutions, consider implementing a SQLite database, which provides structured data storage without the overhead of a full database server. SQLite works perfectly for most hobby projects and can handle thousands of sensor readings efficiently.
If you’re planning to collect data from multiple sensors or need remote access to your readings, setting up a MySQL or MariaDB database is recommended. These solutions offer better scalability and allow multiple devices to access the data simultaneously.
For real-time monitoring, consider using time-series databases like InfluxDB, which are specifically designed for handling sensor data. These databases excel at storing and querying time-stamped information, making them perfect for environmental monitoring projects.
To ensure data integrity, implement a regular backup routine for your storage solution. You can automate backups using cron jobs on your Raspberry Pi, saving copies to an external drive or cloud storage service. Additionally, consider implementing data validation checks to filter out incorrect sensor readings before storage.
Remember to monitor your storage space regularly, as sensor data can accumulate quickly over time. Consider implementing data retention policies or automatic archiving for older readings to manage storage effectively.
Real-time Monitoring
Real-time monitoring transforms your Raspberry Pi sensor project from a simple data collector into a dynamic monitoring system. By implementing a proper system monitoring setup, you can track sensor readings as they happen and receive instant notifications when specific conditions are met.
Popular visualization tools like Grafana and Node-RED offer intuitive dashboards for displaying sensor data. With Grafana, you can create customized panels showing temperature graphs, humidity levels, or motion detection events. Node-RED provides a visual programming interface to process sensor data and trigger actions based on specific conditions.
Setting up alerts is equally important for effective monitoring. Configure email notifications or push alerts to your phone when sensors detect unusual readings. For example, you might want immediate notification if temperature exceeds a certain threshold or if motion is detected during specific hours.
To ensure continuous monitoring, implement data logging to track historical patterns. Store readings in a database like InfluxDB or SQLite, allowing you to analyze trends over time and generate detailed reports. This historical data proves invaluable for identifying patterns and optimizing your monitoring system.
Remember to include error handling in your monitoring setup. Program your system to send alerts if sensors disconnect or if readings fall outside expected ranges, ensuring reliable operation even when you’re away.
Remote Access
One of the most powerful features of Raspberry Pi sensor projects is the ability to monitor and control your sensors from anywhere in the world. By setting up remote desktop access, you can view real-time sensor data and make adjustments to your system without being physically present.
Cloud integration platforms like ThingSpeak, AWS IoT, or Google Cloud IoT make it easy to store, analyze, and visualize your sensor data. These services offer free tiers perfect for hobbyists and can scale up for larger implementations. Simply configure your Raspberry Pi to send sensor readings to your chosen platform using their APIs or MQTT protocol.
For a simpler solution, you can create a local web server on your Raspberry Pi using Flask or Node.js. This allows you to access your sensor dashboard through any web browser on your local network. Adding port forwarding to your router configuration enables secure access from the internet.
Mobile apps provide another convenient way to monitor your sensors. Platforms like Blynk or MIT App Inventor let you create custom mobile interfaces for your project with minimal coding. You can set up push notifications to alert you when sensor readings exceed specified thresholds or when maintenance is required.
Remember to implement proper security measures, including strong passwords, SSL encryption, and potentially VPN access to protect your sensor network from unauthorized access.
Troubleshooting Common Issues
Sensor Calibration
Accurate sensor readings are crucial for any monitoring project, and proper calibration ensures your data remains reliable over time. Start by comparing your sensor readings with known reference values – for example, use a commercial thermometer to verify temperature sensor accuracy or a light meter for photoresistors. Many sensors come with calibration instructions in their datasheets, which typically involve adjusting offset and gain values in your code.
For temperature and humidity sensors like the DHT22, allow 2-3 minutes of warmup time before taking readings. When using gas sensors such as the MQ series, perform a 24-48 hour burn-in period before calibration. Remember to recalibrate periodically, especially after environmental changes or extended use.
Keep your sensors clean and protected from dust and moisture to maintain accuracy. For outdoor installations, use appropriate housing and check calibration monthly. Document your calibration process and maintain a log of adjustments – this helps track sensor drift over time and ensures consistent data quality across your project’s lifespan.
Consider implementing automatic calibration routines in your code where possible, especially for long-term monitoring projects. This can help compensate for sensor drift and environmental variations without manual intervention.
Connection Problems
When working with Raspberry Pi sensor projects, connectivity and power issues can be frustrating but are usually easy to fix. The most common problem is unstable sensor readings, often caused by loose wiring connections. Always double-check your GPIO pin connections and ensure all wires are firmly secured. If you’re using breadboards, verify that components are properly seated and consider using female-to-male jumper wires for more reliable connections.
Power-related issues frequently manifest as intermittent sensor readings or system crashes. Use a high-quality power supply rated at 5V/2.5A minimum for optimal performance, especially when running multiple sensors. If you notice the rainbow square in the top-right corner of your screen, this indicates insufficient power supply – upgrade your power adapter immediately.
For wireless sensor projects, maintain a strong Wi-Fi signal by positioning your Raspberry Pi appropriately or using a Wi-Fi extender. If you’re experiencing data transmission issues, try reducing the sampling rate of your sensors or implementing a data buffer to prevent overwhelming the system. Remember to keep your Raspberry Pi’s firmware and operating system updated to ensure compatibility with your sensors and avoid connection drops.
Embarking on Raspberry Pi sensor projects opens up a world of possibilities for both beginners and experienced makers. Whether you’re monitoring your home environment, creating an automated garden system, or building a weather station, these projects provide valuable hands-on experience with hardware and programming. Remember to start small and gradually build up your expertise as you become more comfortable with the basics. Join online communities, share your experiences, and don’t hesitate to experiment with different sensors and configurations. The skills you develop through these projects will serve as a foundation for more complex IoT applications and home automation systems. With the right combination of sensors, code, and creativity, your Raspberry Pi can become a powerful tool for gathering and analyzing real-world data. So grab your Pi, choose a sensor, and start building – your next great project awaits!