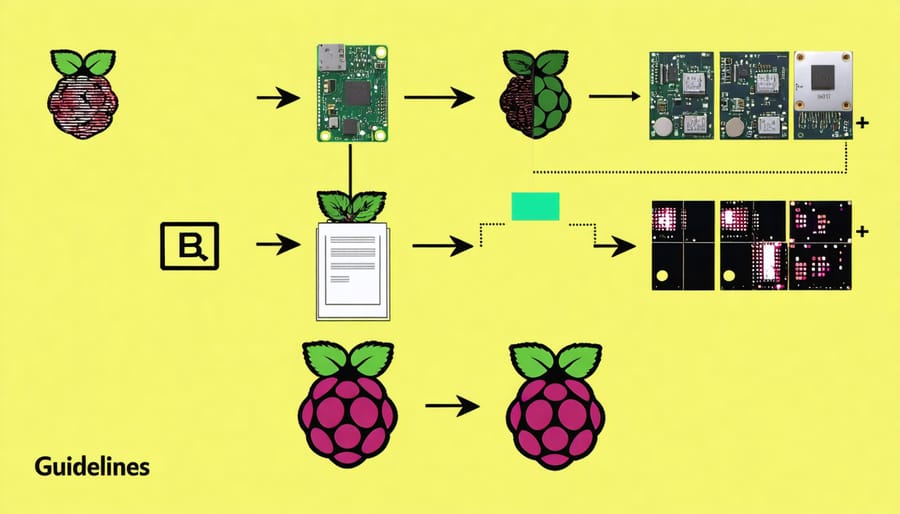
Create a custom Raspberry Pi image tailored to your unique needs and unlock the full potential of this versatile single-board computer. Building your own optimized Pi image allows you to pre-install essential software, configure settings, and streamline your projects, saving time and effort in the long run. Whether you’re a seasoned developer working on complex Raspberry Pi projects or a curious beginner exploring the world of DIY computing, mastering the art of custom image creation is a game-changer. In this comprehensive guide, we’ll walk you through the step-by-step process of building your personalized Pi image from scratch, share expert tips for optimization and customization, and highlight the benefits of having a bespoke setup that perfectly aligns with your goals and requirements. Get ready to take control of your Raspberry Pi experience like never before!
Benefits of Building a Custom Pi Image

Tailored to Your Needs
A custom Raspberry Pi image gives you full control over your device’s software and settings. By creating a tailored image, you can include only the packages, libraries, and configurations that are essential for your specific project or application. This streamlined approach not only saves valuable storage space on your Pi’s SD card but also optimizes performance by eliminating unnecessary bloat. With a custom image, you can ensure that your Raspberry Pi is equipped with the exact tools and settings you need, making it the perfect foundation for your unique projects and experiments.
Reproducibility and Consistency
Reproducibility and consistency are key advantages of using custom Raspberry Pi images. By crafting a tailored image with your desired operating system, software packages, and configurations, you can ensure that every Pi in your fleet is set up identically. This eliminates the need for manual installation and configuration on each device, saving time and reducing the risk of errors. With a custom image, you can confidently deploy multiple Pis knowing they will all have the same environment, making troubleshooting and maintenance more straightforward. Whether you’re managing a cluster of Pis for a specific project or setting up devices for educational purposes, custom images guarantee a consistent and reproducible setup across your entire Raspberry Pi ecosystem.
Time-Saving Solution
Setting up a Raspberry Pi from scratch can be time-consuming, especially for beginners. Installing the operating system, configuring settings, and installing necessary software packages can take hours. However, using a custom pre-built Raspberry Pi image eliminates these tedious tasks. With a pre-configured environment, you can have your Pi up and running in minutes. Simply flash the image to your SD card, boot up your device, and you’re ready to dive into your project. This time-saving solution allows you to focus on what matters most – bringing your innovative ideas to life.

Step-by-Step Guide to Creating Your Custom Image
Setting Up Your Build Environment
To set up your build environment for creating a custom Raspberry Pi image, you’ll need a few essential tools. First, make sure you have a computer running Linux, as the build process is typically done on a Linux system. You can use a virtual machine or a dedicated Linux installation for this purpose. Next, install the necessary build tools, such as Git, Python, and the Raspberry Pi’s cross-compilation toolchain. These tools allow you to compile software for the Raspberry Pi’s ARM architecture on your Linux machine.
Once you have the build tools installed, clone the Raspberry Pi OS build repository from the official GitHub page. This repository contains all the scripts and configuration files needed to build a custom image. Navigate to the cloned repository and familiarize yourself with its structure and contents. The main configuration file, config, allows you to customize various aspects of your build, such as the target platform, included packages, and default settings.
Before starting the build process, review the documentation provided in the repository to understand the available options and best practices. Make any necessary modifications to the configuration files to suit your specific requirements. With your build environment set up and configured, you’re now ready to begin creating your custom Raspberry Pi image!
Configuring the Base Image
When configuring the base image for your custom Raspberry Pi setup, the first step is selecting an appropriate operating system. While there are several options available, such as Ubuntu, Arch Linux, and more, the official Raspberry Pi operating system (formerly known as Raspbian) is an excellent choice for beginners and experienced users alike. This Debian-based OS is optimized for the Pi’s hardware and comes pre-installed with a variety of useful software packages.
Once you’ve chosen your base OS, it’s time to customize it to suit your specific needs. This can involve installing additional software packages, removing unnecessary bloatware, and tweaking system settings. Consider the purpose of your custom Pi image and the applications you plan to run on it. For example, if you’re building a media center, you might want to install Kodi and configure it to autostart on boot.
Another important aspect of customizing your base image is optimizing performance. This can include overclocking the CPU, allocating more memory to the GPU, and disabling unnecessary services. Be careful when making these changes, as they can potentially cause instability or even damage your Pi if done incorrectly. It’s always a good idea to research best practices and consult the Raspberry Pi community for guidance.
Installing Additional Software and Dependencies
Once your base Raspberry Pi image is set up, it’s time to install the specific software and dependencies needed for your custom use case. Whether you’re building a media server, a home automation hub, or a retro gaming console, you’ll need to install additional packages tailored to your project.
To install software on your Raspberry Pi, use the apt package manager. Update your package list with sudo apt update, then install desired packages using sudo apt install package-name. For example, to set up a media server, you might install Kodi with sudo apt install kodi.
Don’t forget to install any required libraries or dependencies for your chosen software. Check the documentation or installation instructions for each package to ensure you have all the necessary components.
Consider using a configuration management tool like Ansible or Puppet to automate the installation process, especially if you plan to deploy your custom image to multiple Raspberry Pis. This will save time and ensure consistency across your devices.
After installing your desired software and dependencies, test your setup thoroughly to make sure everything works as expected. Tweak any configuration files or settings as needed to optimize performance and functionality for your specific use case.
By carefully selecting and installing the right software and dependencies for your custom Raspberry Pi image, you’ll be well on your way to creating a tailored setup that perfectly suits your needs.
Finalizing and Testing Your Custom Image
Once you’ve built your custom Raspberry Pi image, it’s crucial to thoroughly test it to ensure everything works as intended. Begin by flashing the image onto an SD card using a tool like Etcher or Raspberry Pi Imager. Insert the SD card into your Raspberry Pi and power it on. Verify that the system boots up correctly and all the customizations you made are present. Test each application and service you included to confirm they function properly. If you encounter any issues, you may need to tweak your image and repeat the testing process. Once you’re satisfied with the results, consider creating a backup of your custom image for future use. You can use tools like PiShrink to minimize the image size before sharing it with others or storing it for later projects. With your custom Raspberry Pi image finalized and tested, you’re ready to dive into your projects with a tailored and optimized setup that suits your specific needs.
Tips for Optimizing and Securing Your Custom Pi Image

Slimming Down the Image Size
To minimize the storage footprint of your custom Raspberry Pi image, consider removing unnecessary packages and files. Start by analyzing which components are essential for your specific use case and remove any unused software. You can also utilize compression techniques, such as gzip or xz, to shrink the image size further.
Another effective method is to use a minimalistic base image, like Raspbian Lite, as your starting point. This bare-bones version of the operating system includes only the essential components, allowing you to build up from there and add only what you need.
Additionally, be mindful of the size of the applications and libraries you include. Opt for lightweight alternatives whenever possible, and consider compiling from source to exclude unnecessary features. By being selective and efficient with your image contents, you can significantly reduce the storage footprint of your custom Raspberry Pi image.
Hardening the Image Security
To ensure your custom Raspberry Pi image is secure, follow these essential steps: disable unnecessary services, change default passwords, and keep your system up-to-date with the latest security patches. Configure the firewall to restrict incoming traffic and enable SSH key-based authentication for remote access. Consider implementing fail2ban to protect against brute-force attacks and monitor system logs for suspicious activity. Regularly backup your data and store it securely off-device. By hardening the image security, you can create a robust and reliable environment for your Raspberry Pi projects. Remember, security is an ongoing process, so stay vigilant and proactive in protecting your custom Pi setup from potential threats.
Conclusion
Creating a custom Raspberry Pi image tailored to your specific needs can be a rewarding and empowering experience. By following the steps outlined in this guide, you now have the knowledge and tools to build your own optimized Pi setup from scratch. Whether you’re a hobbyist looking to streamline your projects or an educator aiming to create a standardized environment for your students, a custom image can save you time and effort in the long run. Don’t be afraid to experiment, tweak, and iterate on your image until you find the perfect configuration. With a bit of practice and persistence, you’ll soon be creating custom images like a pro. So go ahead, give it a try, and unleash the full potential of your Raspberry Pi!


