Harness the power of Raspberry Pi to build your own low-cost, highly customizable weather station that delivers real-time, hyper-local data right to your fingertips. With its compact size, versatile connectivity options, and vibrant community support, the Raspberry Pi is the perfect foundation for an ambitious DIY project that combines hardware hacking with software tinkering. Whether you’re a weather enthusiast, a budding data scientist, or simply curious about the ever-changing conditions outside your window, creating a Raspberry Pi weather station is an immensely rewarding endeavor that will expand your skills, deepen your understanding of meteorological phenomena, and provide endless opportunities for experimentation and innovation. So grab your Raspberry Pi, gather your sensors, and let’s embark on an exciting journey to build a sophisticated weather monitoring system from scratch!
Gathering Your Supplies

Hardware Components
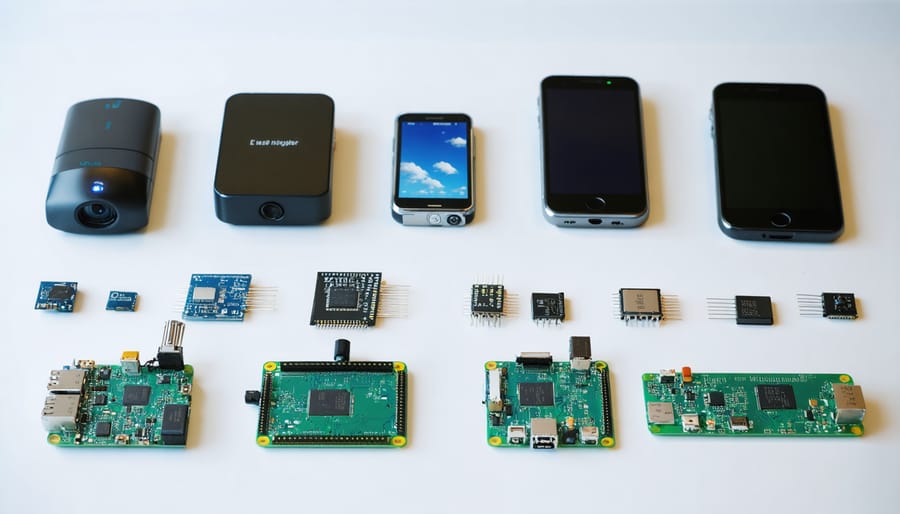
To build your Raspberry Pi weather station, you’ll need a Raspberry Pi board (3B+ or 4 recommended), a BME280 temperature, humidity, and pressure sensor, a rain gauge, an anemometer for wind speed, and an optional wind vane for direction. You’ll also need jumper wires to connect the sensors to the Pi’s GPIO pins, a breadboard for prototyping, and a weatherproof enclosure to protect your setup outdoors.
Consider using a solar-powered Raspberry Pi setup for a self-sustaining, eco-friendly solution. A power bank or battery pack can also keep your Pi running during power outages.
Optional accessories include a camera module for capturing weather images, a touch screen display for an interactive interface, and additional sensors like a UV index or air quality sensor to expand your station’s capabilities.
Make sure to use high-quality, weatherproof components rated for outdoor use. Proper wiring and secure connections are crucial to ensure reliable data collection. A well-designed enclosure with ventilation will protect your Pi and sensors from the elements while allowing accurate readings.
With the right hardware components and a bit of DIY spirit, you’ll be well on your way to creating a powerful, customizable weather station using your Raspberry Pi.
Software Requirements
To set up your Raspberry Pi weather station, you’ll need a compatible operating system like Raspbian or Ubuntu Server installed on your Pi. Ensure you have the latest version for optimal performance and security. Additionally, you’ll require specific software libraries to interface with the sensors and process data. Key libraries include GPIO for sensor communication, I2C for certain sensor types, and Python libraries like matplotlib for data visualization. Don’t forget to install any necessary dependencies for these libraries. With the right OS and software setup, you’ll be ready to bring your weather station to life!
Hardware Assembly
Preparing the Sensors
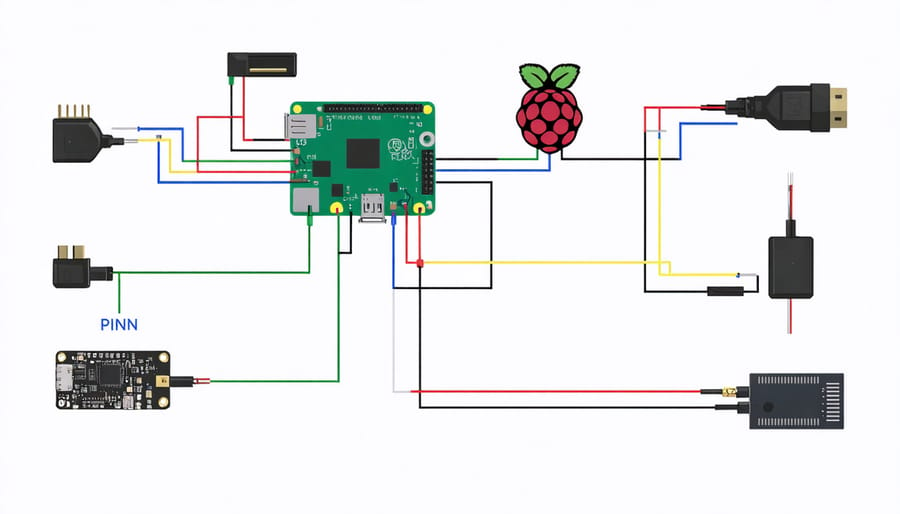
Connecting the sensors to your Raspberry Pi is a crucial step in building your DIY weather station. Start by connecting the temperature and humidity sensor, such as the DHT11 or DHT22, to the GPIO pins. Typically, these sensors have three pins: VCC (power), GND (ground), and DATA (signal). Connect VCC to 3.3V or 5V, GND to a ground pin, and DATA to a GPIO pin like GPIO4.
Next, connect the barometric pressure sensor, like the BMP180 or BME280, using the I2C interface. Connect VCC to 3.3V, GND to ground, SCL to the I2C clock pin (GPIO2), and SDA to the I2C data pin (GPIO3). For a rainfall sensor, you can use a tipping bucket rain gauge with a reed switch. Connect one end of the switch to a GPIO pin and the other to ground, with a pull-up resistor in between.
To expand your weather station’s capabilities, consider integrating additional sensors using Zigbee connectivity. This wireless protocol allows you to connect multiple sensors effortlessly, even if they are located far from your Raspberry Pi.
Double-check your connections and ensure that the sensors are securely attached to the GPIO pins. It’s important to use the correct voltage levels and avoid short circuits. With the sensors properly connected, you’re ready to move on to configuring the software and reading the sensor data.

Wiring It Together
Now that you have all the necessary components, it’s time to wire everything together. Start by connecting the BME280 sensor to the Raspberry Pi’s GPIO pins using jumper wires. Refer to the sensor’s pinout diagram to ensure proper connections. Next, connect the rain gauge and anemometer to their respective GPIO pins. Double-check all connections to avoid any issues later on.
Before proceeding further, it’s crucial to test each sensor individually. Write a simple Python script to read data from the BME280 and verify that it’s providing accurate temperature, humidity, and pressure readings. Similarly, test the rain gauge and anemometer to ensure they’re detecting precipitation and wind speed correctly. If you encounter any problems, troubleshoot the connections and the code until everything works as expected. Once all sensors are functioning properly, you’re ready to move on to the next step of setting up the software for your Raspberry Pi weather station.
Software Setup
Operating System Installation
To get started, download the Raspberry Pi OS image and flash it onto an SD card using a tool like Balena Etcher. Ensure your SD card has at least 8GB of storage. Once flashed, insert the SD card into your Raspberry Pi. Connect a monitor, keyboard, mouse, and power supply to your Pi. When you boot up for the first time, you’ll be guided through the initial setup process, including setting your language, timezone, and creating a user account. For detailed instructions, check out our guide on Installing Raspberry Pi OS. After setup, update your packages by running “sudo apt update” and “sudo apt upgrade” in the terminal.
Configuring Weather Station Software
To set up your Raspberry Pi weather station software, start by installing the necessary packages and libraries. Use the command line to update your system with sudo apt-get update and sudo apt-get upgrade. Next, install Python 3 and pip if not already present.
For sensor data collection, you’ll need libraries like Adafruit_DHT for the DHT22 temperature/humidity sensor and RPi.GPIO for the rain gauge and anemometer. Install them using sudo pip3 install Adafruit_DHT and sudo apt-get install python3-rpi.gpio respectively.
Create a new Python script and import the required libraries. Initialize the GPIO pins based on your wiring configuration. Write functions to read data from each sensor at specified intervals using the appropriate library methods.
To store the collected data, consider using a lightweight database like SQLite. Install it with sudo apt-get install sqlite3. Create a new database and table to store timestamped weather data. Modify your script to insert sensor readings into the database after each collection cycle.
For remote access and data visualization, set up a web server like Apache or Nginx and enable port forwarding on your router. Install the necessary web server packages and configure them to serve your weather station’s web interface.
Develop a simple web page using HTML, CSS, and JavaScript to display real-time and historical weather data. Use libraries like Chart.js or D3.js to create interactive graphs and visualizations. Retrieve data from your SQLite database using server-side scripts in languages like PHP or Python.
Finally, automate your weather station software by setting up cron jobs or systemd services to run your data collection script at regular intervals and restart it if necessary. With these steps, your Raspberry Pi weather station software will be up and running, collecting and displaying valuable weather insights.
Deployment and Data Visualization
Deploying Your Weather Station
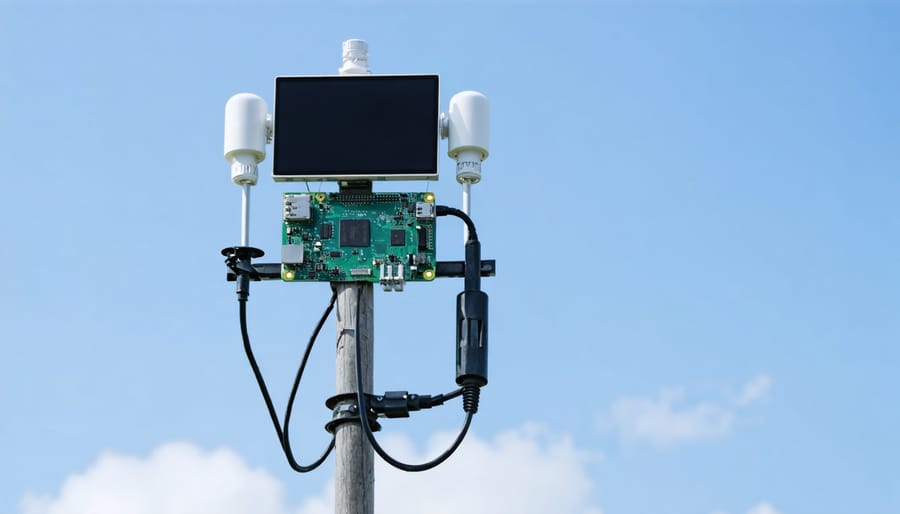
To deploy your Raspberry Pi weather station outdoors, you’ll need a weatherproof enclosure to protect the components from the elements. Consider using a sealed plastic or metal case with rubber grommets for the sensor wires. Ensure the case has adequate ventilation to prevent overheating and condensation buildup.
When mounting the station, choose a location with good exposure to the weather conditions you want to measure, such as an open area away from buildings or trees. Use a sturdy pole or bracket to secure the enclosure at the desired height. If using solar power, position the solar panel to receive maximum sunlight throughout the day.
For the sensors, follow the manufacturer’s guidelines for optimal placement. The temperature and humidity sensor should be shielded from direct sunlight and mounted in a ventilated radiation shield. The anemometer and wind vane should be installed at the highest point, away from obstructions. The rain gauge should be level and positioned away from splashing surfaces.
Regularly inspect and maintain your weather station, cleaning the sensors and checking for any damage or wear. With proper deployment and care, your DIY Raspberry Pi weather station will provide reliable data for your weather monitoring and analysis projects.

Viewing Your Weather Data
Once your weather station is up and running, you’ll want to visualize the data it collects. There are several ways to do this, from simple command-line outputs to more sophisticated web-based dashboards. For a quick look at current readings, you can use the Python script to print values directly in the terminal. However, for a more user-friendly experience, consider setting up a web dashboard using tools like Flask or Django. These allow you to create interactive graphs and charts that display real-time and historical data, accessible from any device on your network. You can even customize the layout and style to make it visually appealing. Another option is to integrate with existing IoT platforms like ThingSpeak or Adafruit IO, which offer ready-made visualization tools and the ability to share your data publicly. Whichever method you choose, seeing your weather data come to life is a rewarding part of the project. You could even combine it with other Raspberry Pi creations, like a smart mirror project, to display your weather station’s readings in a sleek, futuristic interface.
Conclusion
In conclusion, building your own Raspberry Pi weather station is a rewarding and educational project that not only provides you with valuable weather data but also helps you develop skills in electronics, programming, and data analysis. By following the steps outlined in this guide, you can create a fully functional weather station tailored to your specific needs and interests.
The benefits of a DIY Raspberry Pi weather station are numerous. You gain a deeper understanding of how weather monitoring works, have the flexibility to customize your setup, and can collect data specific to your location. Plus, you’ll have a fun and engaging project to work on that combines hardware and software elements.
To get started, gather the necessary components, follow the assembly instructions, and dive into the software setup. Don’t be intimidated if you’re new to Raspberry Pi or programming – the Raspberry Pi community is incredibly supportive, and there are plenty of resources available to help you along the way.
Whether you’re a weather enthusiast, a student interested in STEM, or simply someone looking for a challenging and rewarding project, building a Raspberry Pi weather station is an excellent choice. So, grab your Raspberry Pi, start tinkering, and unleash your inner meteorologist today!


