Gathering the Components

Hardware Requirements
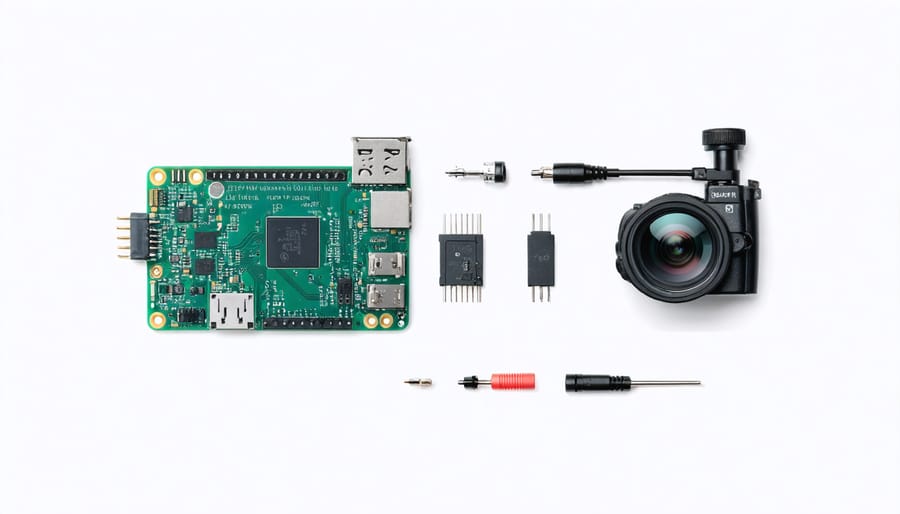
To build your Raspberry Pi Zero security camera, you’ll need the following hardware components:
1. Raspberry Pi Zero W (with pre-soldered GPIO header for easier connections)
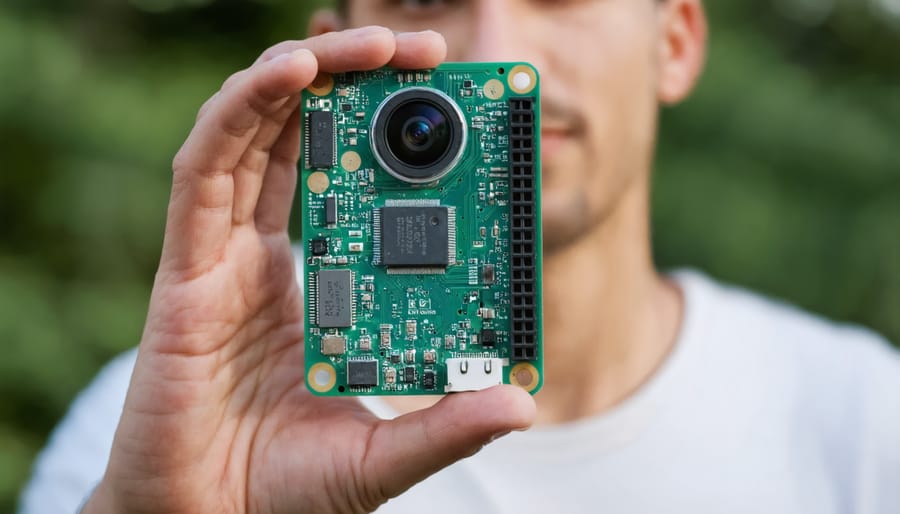
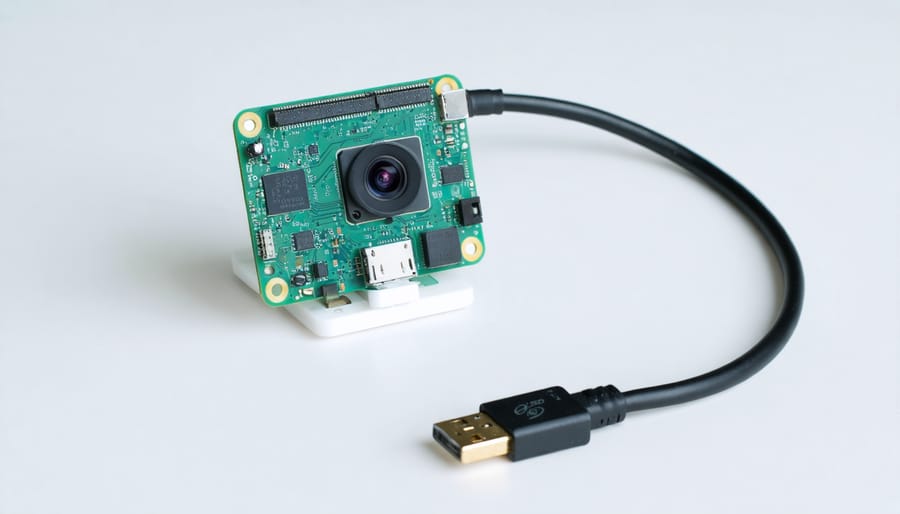
2. Raspberry Pi Camera Module (either v1 or v2, depending on your requirements)
3. MicroSD card (at least 8GB, Class 10 recommended for optimal performance)
4. USB power supply (5V, 2.5A) with micro USB cable
5. Camera mount or case (3D printed or purchased, depending on your setup)
6. Optional: PIR motion sensor (for motion-triggered recording)
7. Optional: LED light (for night vision or status indication)
8. Optional: Heatsink (to prevent overheating during prolonged use)
Ensure you have compatible cables and connectors for your specific Pi Zero model. Double-check that your camera module is compatible with the Pi Zero’s camera connector. A reliable power supply is crucial for stable operation, especially when recording high-quality video. Consider your camera’s mounting options and any additional sensors or lights you may want to incorporate into your setup. With these components in hand, you’ll be ready to assemble your compact and cost-effective Raspberry Pi Zero security camera.
Software Requirements
To set up your Raspberry Pi Zero security camera, you’ll need Raspberry Pi OS (formerly Raspbian) installed on your Pi Zero. This lightweight Linux-based operating system is optimized for the Pi’s hardware. For beginners, our guide offers a comprehensive overview of getting started with Raspberry Pi OS. Additionally, you’ll require the motion software package for motion detection and video recording, which can be easily installed using the package manager.
Step-by-Step Assembly Guide
Connecting the Camera Module
To connect the camera module to your Raspberry Pi Zero, first locate the camera connector on the board. It’s a small, white port situated between the HDMI and USB ports. Gently lift the plastic clip on the connector and insert the ribbon cable of the camera module, ensuring the blue side faces the USB port. Carefully push down the plastic clip to secure the cable in place. Double-check the connection to ensure proper alignment and a firm connection. With the camera module securely attached, you’re now ready to configure the software and start using your Pi Zero as a security camera.
Setting Up the Software
To set up the software for your Raspberry Pi Zero security camera, start by installing the latest version of Raspbian, the official operating system for Raspberry Pi. Use the Raspberry Pi Imager tool to flash the OS onto your microSD card. Once Raspbian is installed, enable SSH and configure Wi-Fi settings to access your Pi remotely.
Next, update your system packages and install the necessary dependencies for the camera software, such as Python, OpenCV, and Motion. Motion is a powerful open-source software that detects movement and captures images or videos. Configure Motion by editing its configuration file, specifying parameters like image resolution, frame rate, and motion detection sensitivity.
To enhance your security camera’s functionality, consider setting up remote access using a dynamic DNS service and port forwarding. This allows you to securely access your camera’s live feed and recordings from anywhere with an internet connection. Additionally, you can configure email or SMS notifications to alert you when motion is detected.
Finally, test your setup thoroughly to ensure that the camera is capturing footage as expected and that motion detection is working reliably. With the software properly configured, your Raspberry Pi Zero security camera is ready to keep an eye on your home or office, providing an affordable and customizable security solution.
Enclosure Options
When it comes to housing your Raspberry Pi Zero security camera, you have several options. One popular choice is using a small plastic case specifically designed for the Pi Zero, which provides protection and easy access to ports. Alternatively, you can repurpose an old webcam or security camera housing, removing the original electronics and fitting your Pi Zero inside. For a more discreet setup, consider using a small mint tin or other inconspicuous container, drilling holes for the camera and cables. For those interested in customization, our guide on building a custom Raspberry Pi case can provide creative ideas tailored to your needs. Whichever enclosure you choose, ensure proper ventilation and secure mounting for optimal performance and reliability.
Configuring Remote Access
Enabling SSH and VNC
Enabling SSH and VNC on your Raspberry Pi Zero is essential for remote access and management. To activate SSH, open the configuration menu using the command “sudo raspi-config.” Navigate to “Interfacing Options,” select “SSH,” and choose “Yes” to enable the protocol. For remote desktop access, you’ll want to set up a VNC guide server. Install the necessary packages with “sudo apt-get install realvnc-vnc-server realvnc-vnc-viewer,” then enable VNC through the configuration menu under “Interfacing Options.” Once enabled, you can access your Pi Zero’s desktop environment using a Remote Desktop client from another device on the same network. Remember to secure your Pi by changing default passwords and considering firewall rules to restrict access. With SSH and VNC configured, you’ll have the flexibility to manage and monitor your security camera remotely.
Port Forwarding and Dynamic DNS
To access your Raspberry Pi Zero security camera remotely, you’ll need to set up port forwarding and Dynamic DNS. Port forwarding allows external devices to connect to your camera through your router, while Dynamic DNS ensures a consistent domain name even if your IP address changes.
First, configure port forwarding in your router’s settings. Forward the port used by your camera software (e.g., 8080) to your Pi Zero’s local IP address. This allows incoming connections to reach your camera.
Next, sign up for a free Dynamic DNS service like No-IP or DuckDNS. These services provide a static domain name that points to your router’s public IP address. Configure your router or Pi Zero to update the Dynamic DNS service whenever your IP address changes, ensuring your camera is always accessible via the same URL.
With port forwarding and Dynamic DNS set up, you can securely access your Raspberry Pi Zero security camera from anywhere using the provided domain name and port number.
Enhancing Your Pi Zero Security Camera
Motion Detection and Alerts
Enhance your Raspberry Pi Zero security camera with motion detection and alerts. By leveraging the power of the PIR (Passive Infrared) sensor, your camera can intelligently detect movement in its field of view. When motion is detected, the camera can trigger actions such as capturing images or recording video clips. Take it a step further by configuring your camera to send real-time notifications to your smartphone or email, keeping you informed of any activity. With the help of popular libraries like OpenCV and powerful security projects like MotionEyeOS, implementing motion detection and alerts is a breeze. By fine-tuning sensitivity settings and customizing alert preferences, you can create a tailored security solution that meets your specific needs. Stay vigilant and take control of your home’s security with your Raspberry Pi Zero camera’s motion detection and notification capabilities.

Battery Power and Portability
To make your Raspberry Pi Zero security camera wireless and portable, you’ll need a compatible battery pack that supplies 5V power via a micro-USB connection. Opt for a high-capacity power bank to ensure longer operation times between charges. Alternatively, you can use a 5V solar panel for off-grid deployments, which is detailed in our solar-powered Raspberry Pi guide. When selecting a power source, consider the camera’s expected uptime and the environment it will be used in.
Portability is a key advantage of the Pi Zero’s compact form factor. To protect your camera setup while maintaining easy access, consider using a weatherproof case designed for the Pi Zero. These cases often include mounting options, allowing you to securely attach your camera to walls, trees, or other structures. With the right power solution and protective housing, your Raspberry Pi Zero security camera can be deployed virtually anywhere, providing flexible and discreet surveillance capabilities.
Weatherproofing for Outdoor Use
To weatherproof your Raspberry Pi Zero security camera for outdoor use, consider using a waterproof enclosure or case to protect the components from rain, snow, and moisture. Ensure that any openings for the camera lens and cables are properly sealed with silicone or rubber grommets. Additionally, use weatherproof cables and connectors to prevent corrosion and maintain reliable connections in harsh outdoor conditions.
Conclusion
In conclusion, building a Raspberry Pi Zero security camera offers numerous benefits for tech enthusiasts, hobbyists, and those seeking an affordable, customizable security solution. By leveraging the compact size and low power consumption of the Pi Zero, you can create a discreet, efficient camera that fits seamlessly into your home or workspace. With the flexibility to choose your preferred camera module, housing, and software configuration, you have full control over the functionality and appearance of your device. Moreover, the Pi Zero’s compatibility with popular home automation systems and cloud storage services allows for easy integration and remote access to your security feed. As you embark on this exciting project, remember that the possibilities are endless, and you can continually improve and expand your Pi Zero security camera to suit your evolving needs.


