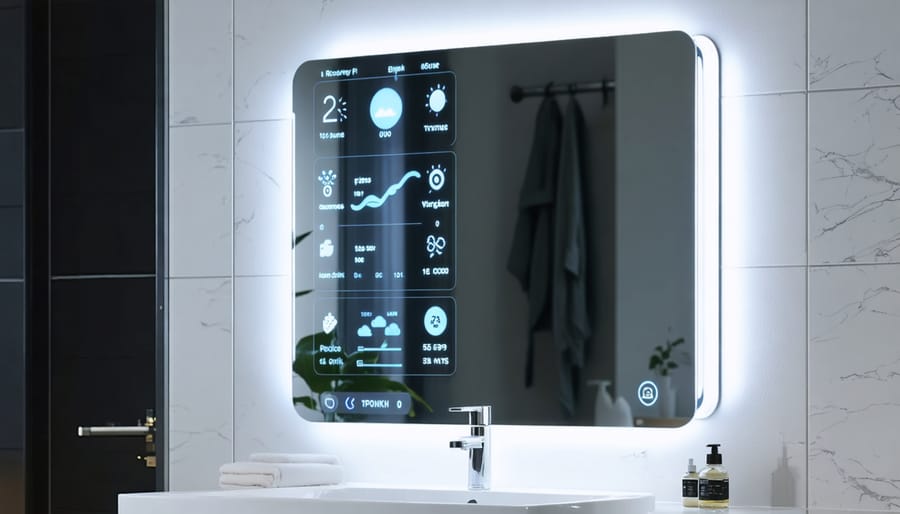
Transform your bathroom into a high-tech hub with a smart mirror for your bathroom, powered by the versatile Raspberry Pi. This weekend project combines the magic of technology with the practicality of a mirror, elevating your daily routine to new heights. With a few simple components and some basic coding skills, you’ll be able to create a device that not only reflects your image but also displays personalized information, such as weather updates, news headlines, and your daily schedule. Embark on this exciting journey and discover how a Raspberry Pi-powered smart mirror can revolutionize the way you start your day, all while showcasing your DIY prowess and passion for innovation.

Gathering Your Materials
Required Components
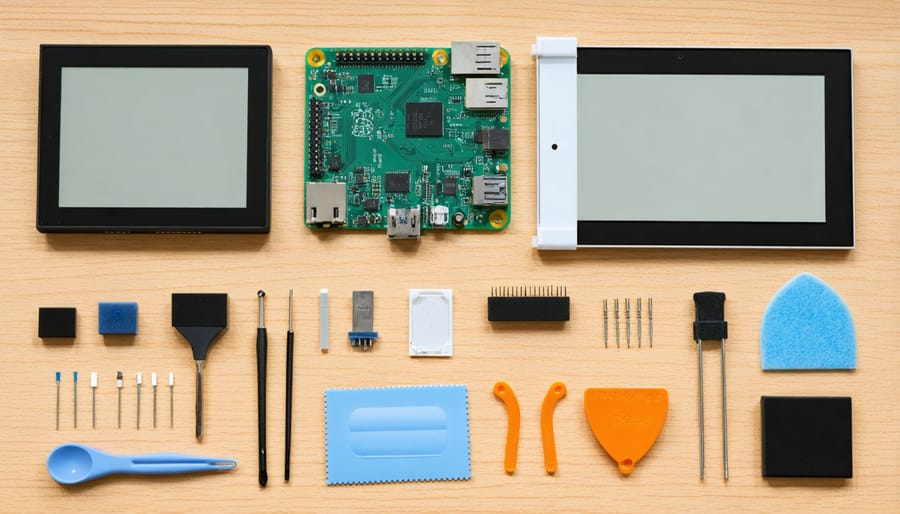
To build your own smart mirror, you’ll need the following essential components:
- Raspberry Pi 3 or 4 (recommended for optimal performance)
- Micro SD card (at least 8GB) for installing the operating system and storing files
- Power supply for the Raspberry Pi (5V/3A recommended)
- Monitor or display panel (size depends on your desired mirror dimensions)
- HDMI cable to connect the Raspberry Pi to the display
- Two-way mirror glass or acrylic sheet (cut to fit the display size)
- Frame materials (wood, aluminum, or 3D-printed parts) to house the display and mirror
- Mounting hardware (brackets, screws, or adhesives) to secure the components
- USB keyboard and mouse for initial setup and configuration
- Wireless network adapter (if not using the built-in Wi-Fi on the Raspberry Pi 3 or 4)
- Speakers or a 3.5mm audio cable for audio output (optional)
- PIR motion sensor for automatic wake/sleep functionality (optional)
- Microphone for voice control integration (optional)
When selecting your display, consider factors such as size, resolution, and power consumption. Many smart mirror builders opt for lightweight, energy-efficient LED monitors or panels to minimize heat generation and power usage.
The two-way mirror glass or acrylic is a crucial component, as it allows the display’s content to be visible while maintaining a mirror-like surface when the screen is off. Ensure that the mirror material is compatible with your display and frame dimensions.
Choosing the right frame materials depends on your desired aesthetics, budget, and DIY skills. Popular options include wood, aluminum, or 3D-printed frames, each with their own advantages and challenges.
Finally, don’t forget to gather the necessary tools for assembly, such as a screwdriver, drill, saw, or soldering iron, depending on your specific build requirements. With these components and tools in hand, you’ll be well-prepared to embark on your smart mirror project.
Tools You’ll Need
To build your smart mirror, you’ll need a Raspberry Pi board (3 or 4 recommended), a compatible display screen, a two-way mirror, an HDMI cable, and a micro-USB power supply. A case or frame to house the components is also necessary. Essential tools include a screwdriver set, wire strippers, and a soldering iron for connecting components securely. A keyboard and mouse will be required for initial setup and configuration. Depending on your design, additional items like a motion sensor, speakers, or a camera can enhance functionality. Recommended extras include heat sinks for the Raspberry Pi, cable ties for wire management, and a surge protector to safeguard your electronics. Having a multimeter on hand can help with troubleshooting. Gather all the necessary components and tools before starting your build to ensure a smooth and enjoyable project experience.

Assembling the Smart Mirror Hardware
Building the Frame
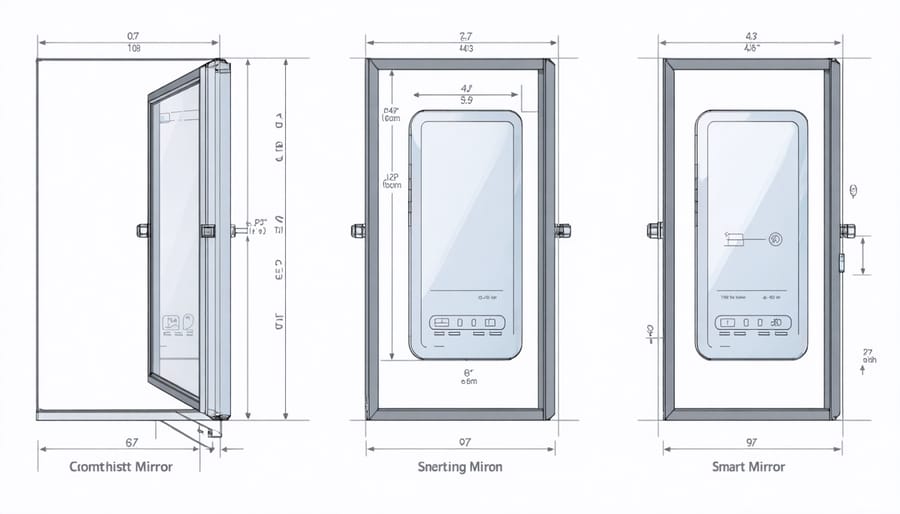
Measuring and cutting the frame pieces is the first step in building your smart mirror. Using a measuring tape, carefully determine the dimensions of your mirror, adding an extra inch on each side for the frame’s width. Mark these measurements on your wood pieces and use a saw to cut them to size. Sand down any rough edges for a smooth finish.
Next, it’s time to assemble the frame. Apply wood glue to the ends of the cut pieces and join them together to form a rectangular frame. Ensure that the corners are square and the pieces are flush with each other. Use clamps to hold the frame together while the glue dries, following the manufacturer’s recommended drying time.
Once the glue has dried, reinforce the frame’s corners with L-brackets and screws for added stability. This step is crucial to prevent the frame from warping or coming apart over time.
To give your smart mirror a polished look, consider painting or staining the frame to match your decor. If you’re feeling creative, you can even design and 3D print a custom Raspberry Pi case to house the electronics and attach it to the back of the frame.
With the frame complete, you’re ready to move on to the next step: installing the reflective film and the display. Take your time during this process to ensure a professional-looking finish that will impress anyone who sees your smart mirror in action.
Mounting the Display and Raspberry Pi
To securely mount the display and Raspberry Pi to the frame, start by attaching the display to the backing board using mounting tape or brackets. Ensure the display is centered and level. Next, attach the Raspberry Pi to the back of the display using double-sided tape or Velcro strips, making sure it’s positioned in a way that allows easy access to the ports and doesn’t interfere with the mirror’s functionality.
Use cable ties or adhesive clips to neatly route and secure the wires connecting the display and Raspberry Pi. This will prevent the wires from coming loose or getting tangled. If your frame has a spacer or recess, you can tuck the wires into this space to keep them hidden and protected.
Finally, attach the backing board with the mounted display and Raspberry Pi to the frame using screws or a strong adhesive. Make sure the backing board is securely fastened to prevent the components from shifting or falling out. Test the stability of the mounted components before proceeding with the rest of the installation.
By following these steps, you’ll have a sturdy and well-organized foundation for your smart mirror, ensuring reliable performance and a clean, professional appearance.
Wiring It All Together
Now that you have all the components, it’s time to wire everything together. Begin by connecting the HDMI cable from the Raspberry Pi to the monitor. Next, attach the USB cables for the camera, microphone, and any other peripherals to the Pi’s USB ports. Connect the PIR sensor to the GPIO pins according to the manufacturer’s instructions, typically using jumper wires. If you’re using a power supply for the monitor, plug it in separately. Finally, connect the Raspberry Pi to a power source using the micro-USB cable. Double-check all connections to ensure they are secure. Refer to online diagrams or schematics if needed, as the specific wiring configuration may vary depending on your chosen components. Once everything is wired correctly, you’re ready to move on to the software setup and configuration phase of building your very own smart mirror!
Setting Up the Software
Installing the OS and Drivers
To install the operating system on your Raspberry Pi, start by downloading the latest version of Raspberry Pi OS from the official website. Use a tool like Etcher or Raspberry Pi Imager to write the OS image to a microSD card. Insert the microSD card into your Raspberry Pi, connect a monitor, keyboard, and mouse, then power it on.
Once booted, follow the on-screen prompts to set up your language, time zone, and Wi-Fi connection. Update the system packages by running “sudo apt update” and “sudo apt upgrade” in the terminal. For a more detailed walkthrough, check out our guide on setting up Raspberry Pi OS.
Next, configure the display drivers for your smart mirror. If using the official Raspberry Pi touchscreen, the necessary drivers should be pre-installed. For other displays, you may need to install additional drivers. Research your specific display model and follow the manufacturer’s instructions.
Adjust the display settings, such as resolution and rotation, using the “raspi-config” utility or by modifying the config.txt file. Test your display to ensure it’s working correctly before proceeding with the smart mirror software installation.
Choosing and Installing Smart Mirror Software
When it comes to choosing software for your smart mirror, you have several popular options, such as MagicMirror², Smart Mirror, and Raspberry Pi Smart Mirror. MagicMirror² is a highly customizable, modular platform that allows you to add various widgets and features to your mirror. Smart Mirror, on the other hand, offers a sleek, pre-configured interface with essential features like weather, news, and calendar integration.
To install your chosen software, start by setting up your Raspberry Pi with the latest version of Raspberry Pi OS. Connect your Pi to a monitor, keyboard, and mouse, or use Raspberry Pi remote desktop for a more convenient setup process. Open the terminal and follow the installation instructions provided by your software’s documentation. This typically involves cloning the software’s GitHub repository, installing dependencies, and configuring the settings to your preferences.
Once the installation is complete, test your smart mirror software to ensure it runs smoothly. Customize the layout, widgets, and settings to suit your needs and style. With the right software and a bit of tinkering, you’ll have a fully functional smart mirror that impresses and informs every time you glance at it.
Configuring Your Smart Mirror’s Functionality
With your smart mirror assembled and the software installed, it’s time to customize its functionality to suit your preferences. The MagicMirror² platform offers a wide array of modules that display information like weather, news, calendars, and more. Explore the available modules in the MagicMirror² documentation and choose the ones that best fit your needs. To configure a module, open its config file and adjust the settings, such as API keys, location, and update intervals. Don’t be afraid to experiment with different combinations until you find the perfect layout for your smart mirror. With a little tweaking, you’ll have a personalized smart mirror that enhances your daily routine.

Troubleshooting and Enhancements
Common Issues and How to Solve Them
While building a smart mirror with a Raspberry Pi is an exciting project, you may encounter some common issues along the way. One frequent problem is the mirror display appearing backwards due to the way the mirror film reflects the screen. To solve this, simply flip the display orientation in your Raspberry Pi’s settings or the smart mirror software configuration.
Another issue you might face is the touch screen not responding accurately. This can often be resolved by calibrating the touch screen using the tools provided by the manufacturer or the Raspberry Pi community. If the screen fails to turn on, double-check your wiring and ensure the power supply is sufficient for both the Raspberry Pi and the display.
When setting up the software, you may run into challenges with the smart mirror application not starting automatically on boot. Verify that you’ve configured the autostart settings correctly in your Raspberry Pi’s operating system and that the smart mirror software is set to launch on startup.
Lastly, if you experience slow performance or unresponsiveness, consider optimizing your Raspberry Pi by overclocking it or reducing the number of widgets and modules running on your smart mirror to conserve resources. With patience and troubleshooting, you’ll be able to overcome these hurdles and enjoy your fully functional smart mirror.
Taking Your Smart Mirror to the Next Level
Once you’ve mastered the basics, there are countless ways to enhance your smart mirror. Consider integrating voice control using a microphone and virtual assistant like Alexa or Google Assistant. Display personalized reminders, to-do lists, or even control smart home devices directly from your mirror. For a futuristic touch, experiment with facial recognition to display user-specific content. The possibilities are endless, and you can find inspiration from other mind-blowing Raspberry Pi projects. Don’t be afraid to think outside the box and customize your smart mirror to suit your unique needs and preferences. With a little creativity and effort, you can transform your DIY project into a truly next-level device.
Conclusion
Building your own smart mirror with a Raspberry Pi is a rewarding and achievable project. By following the steps outlined in this guide, you can gather the necessary components, assemble the hardware, and configure the software to create a functional and stylish smart mirror. Remember to take your time, double-check your connections, and refer to the troubleshooting tips if you encounter any issues. With a little patience and perseverance, you’ll soon have a unique, conversation-starting piece of technology in your home. Once you’ve completed your build, don’t forget to share your experience and photos with the Raspberry Pi community to inspire others to create their own smart mirrors.


