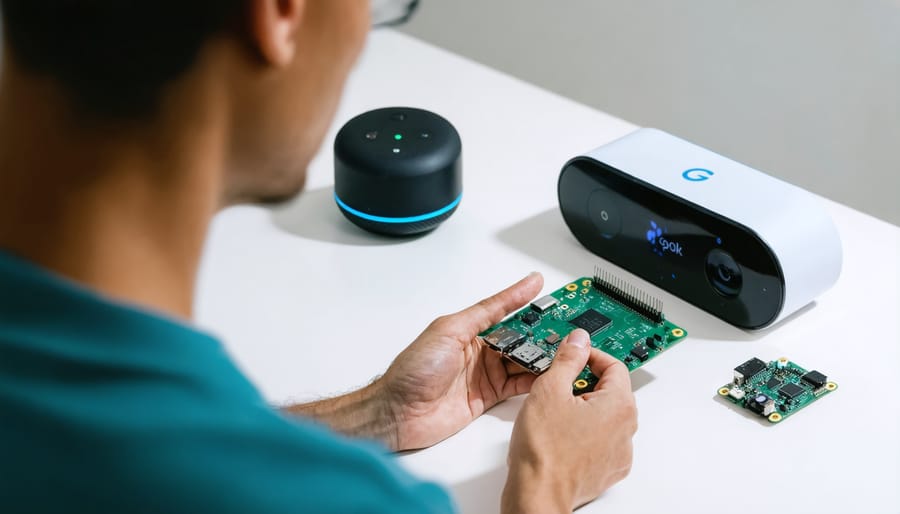
Harness the power of Google Assistant on your Raspberry Pi to create a cutting-edge voice-controlled smart device. This comprehensive guide walks you through the process of integrating Google Assistant with Raspberry Pi, enabling you to build a customized, hands-free digital assistant. From setting up the hardware and software to configuring the Google Assistant API, we’ll cover every step in detail, making it easy for both beginners and experienced users to bring their projects to life. Get ready to unlock the full potential of your Raspberry Pi and revolutionize the way you interact with technology.
What You’ll Need
Hardware Components
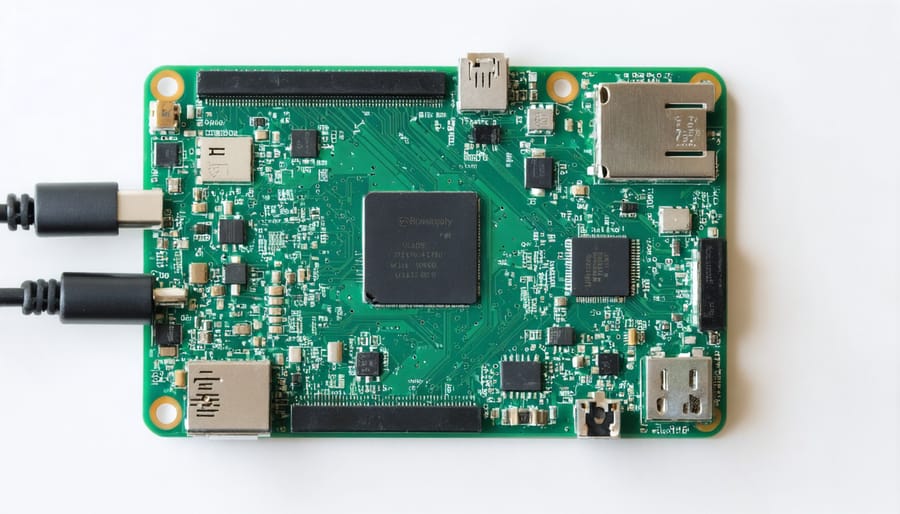
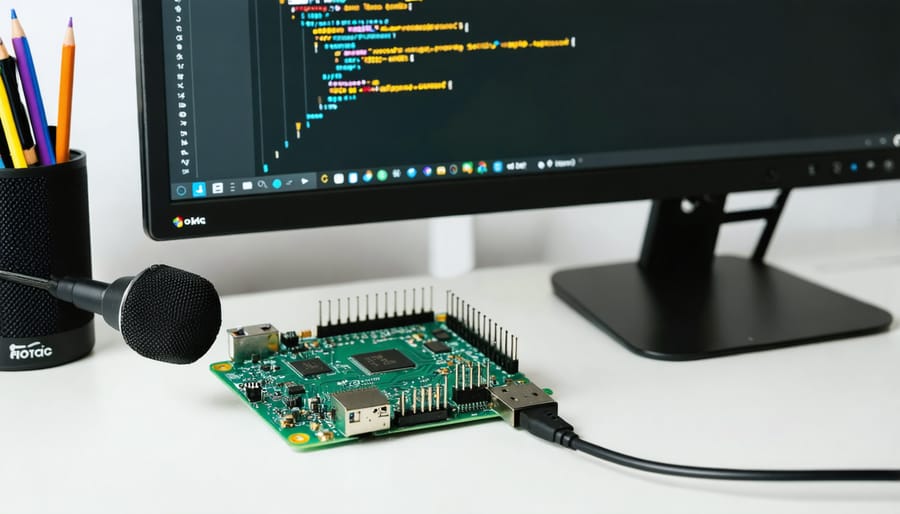
To build your Google Assistant-enabled Raspberry Pi, you’ll need a Raspberry Pi board (preferably 3 or 4) with at least 2GB RAM for optimal performance. A compatible USB microphone or a USB soundcard with a 3.5mm microphone input is essential for voice input. For audio output, you can use the Raspberry Pi’s built-in 3.5mm audio jack or a compatible USB speaker. A power supply (5V/2.5A for Pi 3, 5V/3A for Pi 4) and a microSD card (at least 16GB, Class 10) are also required. Optional components include a case for protection, a display for visual feedback (e.g., official Raspberry Pi touchscreen), and additional peripherals like a camera or sensors for expanded functionality. Ensure that all components are compatible with your specific Raspberry Pi model before purchasing.

Software Requirements
To set up Google Assistant on a Raspberry Pi, you’ll need the Raspbian operating system (OS), which is a Debian-based Linux distribution optimized for the device. The Google Assistant SDK is also required, enabling seamless integration of the voice assistant with the Raspberry Pi. Additionally, ensure you have the latest version of Python installed for smooth operation.

Step-by-Step Guide
Step 1: Install Raspbian
To get started, you’ll need to install the Raspbian operating system on your Raspberry Pi. Download the latest version of Raspbian from the official Raspberry Pi website and use a tool like Etcher to write the image to a microSD card. Insert the card into your Pi, connect a monitor, keyboard, and mouse, and power it on. The first boot may take a few minutes as Raspbian expands the filesystem and configures settings.
Once Raspbian is up and running, follow the on-screen prompts to set your language, timezone, and password. It’s also a good idea to enable SSH and VNC for remote access, and to configure your Wi-Fi connection if you plan on using wireless networking.
After the initial setup, open a terminal and run “sudo apt-get update” and “sudo apt-get upgrade” to ensure your system is up to date with the latest packages and security patches. You may also want to free up some space on your microSD card by removing unnecessary software or expanding the filesystem to use any unallocated space. With Raspbian installed and configured, you’re ready to move on to the next step of setting up your Google Assistant.
Step 2: Configure Audio
To set up the microphone and speaker for your Google Assistant Raspberry Pi project, start by connecting a compatible USB microphone to one of the Pi’s USB ports. Ensure that the microphone is recognized by running the command “arecord -l” in the terminal. Next, configure the audio settings by opening the “asound.conf” file and updating the “pcm.!default” and “ctl.!default” sections to point to your USB microphone.
For the speaker, you can either use the Raspberry Pi’s built-in 3.5mm audio jack or connect an external speaker via HDMI or USB. If using the audio jack, simply plug in your speaker. For HDMI or USB speakers, update the audio settings in the “asound.conf” file accordingly.
Test your microphone and speaker setup by running the following commands:
– For microphone: “arecord -f cd -d 5 test.wav” (records a 5-second audio clip)
– For speaker: “aplay test.wav” (plays back the recorded audio)
Once you’ve confirmed that both the microphone and speaker are working properly, you’re ready to move on to the next step in setting up your Google Assistant on Raspberry Pi.
Step 3: Set Up Google Assistant SDK
To set up the Google Assistant SDK on your Raspberry Pi, start by enabling the Google Assistant API in the Google Cloud Console. Create a new project, enable the API, and configure the OAuth consent screen. Next, install the necessary dependencies on your Raspberry Pi, including Python 3, pip, and the Google Assistant SDK packages.
Configure the SDK by running the google-oauthlib-tool, which will guide you through the authorization process. You’ll need to provide the client ID and client secret obtained from the Google Cloud Console. Once authorized, the tool will create a credentials file on your Raspberry Pi.
Next, modify the Google Assistant SDK configuration file to specify the device model ID, which identifies your Raspberry Pi to the Google Assistant API. You can either use the default device model ID or create a custom one in the Google Cloud Console.
To test the Google Assistant, run the sample Python script provided with the SDK. If everything is set up correctly, you should be able to initiate a conversation with the Google Assistant using the “OK Google” or “Hey Google” hotword.
For a more seamless experience, consider setting up a microphone and speaker for your Raspberry Pi. The Google Assistant SDK supports various audio configurations, including USB microphones and speakers, as well as I2S audio interfaces like the Adafruit I2S MEMS Microphone Breakout.
Finally, to launch the Google Assistant automatically on boot, create a systemd service file that runs the Google Assistant sample script. This way, your Raspberry Pi will be ready to assist you whenever it’s powered on.
Step 4: Authorize Google Assistant
To authorize the Google Assistant API and link it to your Raspberry Pi, start by enabling the Google Assistant API in the Google Cloud Console. Create a new project or select an existing one, then click on “Enable APIs and Services.” Search for the Google Assistant API and enable it.
Next, create OAuth 2.0 credentials by navigating to the “Credentials” page in the Google Cloud Console. Click on “Create Credentials” and select “OAuth client ID.” Choose “Other” as the application type and give it a name. Download the client configuration file, which contains your client ID and client secret.
Now, install the Google Assistant SDK on your Raspberry Pi using the command:
“`
sudo apt-get install python3-dev python3-venv
“`
Create a new virtual environment and activate it:
“`
python3 -m venv env
source env/bin/activate
“`
Install the Google Assistant SDK:
“`
python -m pip install –upgrade google-assistant-sdk[samples]
“`
Finally, run the authentication command:
“`
google-oauthlib-tool –client-secrets /path/to/client_secret_XXX.json –scope https://www.googleapis.com/auth/assistant-sdk-prototype –save –headless
“`
Follow the provided URL, sign in with your Google account, and grant the necessary permissions. Copy the authorization code and paste it into the terminal. Your Raspberry Pi is now authorized and ready to use the Google Assistant API.
Step 5: Test and Customize
With your Google Assistant Raspberry Pi setup complete, it’s time to put it to the test! Start by saying “Hey Google” or “Okay Google” followed by a command or question. If everything is working correctly, you should see the Google Assistant listening and responding to your queries. Experiment with different commands like setting reminders, asking for weather updates, or playing music to get a feel for your new digital assistant.
To customize your Google Assistant’s settings, open the Google Home app on your smartphone. Here, you can adjust your assistant’s voice, language, and other preferences. You can also link various services and smart home devices to expand your assistant’s capabilities. Don’t be afraid to explore the settings and personalize your experience to suit your needs.
If you encounter any issues during testing, double-check your wiring and software setup. Consult online resources or Raspberry Pi communities for troubleshooting tips and support from fellow enthusiasts.
Tips and Troubleshooting
While setting up Google Assistant on your Raspberry Pi, you may encounter a few common issues. If your device isn’t responding to the “OK Google” or “Hey Google” wake words, ensure that the microphone is properly connected and configured in the Google Assistant SDK settings. Double-check that the correct audio input device is selected and the volume is set at an appropriate level.
If you’re experiencing latency or slow response times, consider optimizing performance by overclocking your Raspberry Pi. This process involves increasing the clock speed of the CPU and GPU, which can lead to faster processing and better overall performance. However, be cautious when overclocking, as it may generate more heat and require additional cooling.
Another tip to improve performance is to use a lightweight version of the Raspbian operating system, such as Raspbian Lite, which comes without a desktop environment and includes only the essential packages. This frees up system resources, allowing your Raspberry Pi to dedicate more power to running Google Assistant.
If you encounter any issues with the Google Assistant SDK itself, make sure you have the latest version installed and that all dependencies are up to date. Consult the official documentation and community forums for specific error messages or problems you may face during the setup process.
Lastly, ensure that your Raspberry Pi has a stable power supply and a reliable internet connection. These factors can significantly impact the performance and stability of your Google Assistant device. With these tips in mind, you’ll be well on your way to enjoying a seamless Google Assistant experience on your Raspberry Pi.

Conclusion
Creating a personal Google Assistant using a Raspberry Pi is an exciting and rewarding project that combines the power of Google’s voice assistant with the versatility of the Raspberry Pi. By following the step-by-step instructions and utilizing the recommended hardware and software components, you can build a custom voice-controlled device tailored to your needs. This project not only provides a hands-on learning experience but also results in a practical and convenient tool for your daily life. With your own Google Assistant, you can streamline tasks, access information, and control smart home devices using simple voice commands. Embrace the opportunity to dive into the world of Raspberry Pi and Google Assistant, and experience the benefits of having a personalized voice assistant at your fingertips. Start your project today and unlock the potential of this powerful combination!


