Transform your greenhouse into a smart, automated growing environment with a Raspberry Pi controller that monitors temperature, humidity, and soil moisture while managing ventilation and irrigation systems. Building on proven environmental monitoring projects, this DIY solution combines affordable hardware with powerful Python scripts to maintain optimal growing conditions 24/7. Connect DHT22 sensors, relay modules, and a touchscreen display to create a professional-grade greenhouse management system for under $100. The modular design allows for easy expansion, from basic climate control to advanced features like CO2 monitoring and automated nutrient dosing, making it perfect for both hobby gardeners and serious horticulturists.
Essential Hardware Components
Raspberry Pi Setup Requirements
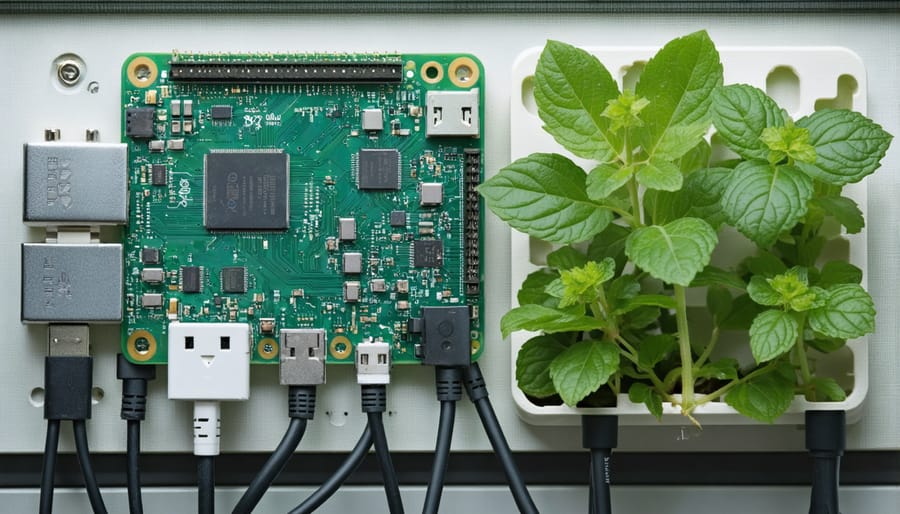
For this greenhouse controller project, we recommend using a Raspberry Pi 4 Model B with at least 2GB of RAM, which offers excellent performance and reliable connectivity options. While older models like the Pi 3B+ can work, the Pi 4’s improved processing power better handles multiple sensor inputs and automation tasks. For more insights on how to maximize the performance of these devices, visit Raspberry Pi 4: Power-Packed Performance for Your Projects.
Essential accessories include a high-quality 5V/3A power supply, a 32GB (minimum) microSD card for the operating system and data logging, and a protective case to shield your Pi from greenhouse humidity. You’ll also need a basic USB keyboard and mouse for initial setup, plus an HDMI cable and monitor for configuration.
For network connectivity, either use the Pi’s built-in Wi-Fi or an ethernet cable connection for more stability. We strongly recommend adding a small cooling fan to prevent overheating, especially in greenhouse conditions. A USB webcam is optional but useful for remote monitoring.
Remember to gather basic tools like a screwdriver set and possibly some zip ties for cable management. Having a backup microSD card is also wise for system redundancy.
Sensor Selection Guide
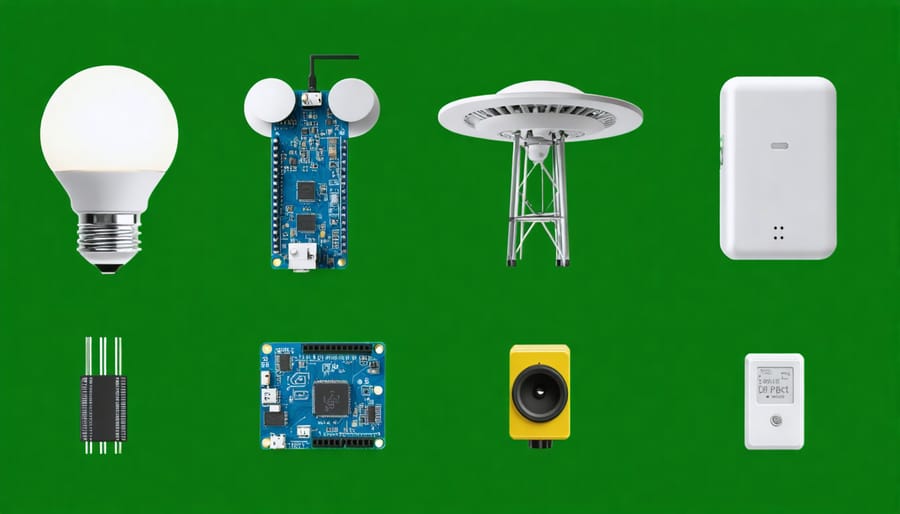
Selecting the right sensors is crucial for building an effective greenhouse controller. For accurate temperature monitoring, the DHT22 or DS18B20 sensors are excellent choices, offering reliable readings and easy integration. When connecting temperature sensors, the DS18B20 uses the 1-Wire protocol, making it particularly convenient for daisy-chaining multiple sensors.
For humidity monitoring, the DHT22 pulls double duty by measuring both temperature and relative humidity in one package. If you need higher precision, consider the BME280, which offers better accuracy and additional atmospheric pressure readings.
Soil moisture sensing can be accomplished using capacitive sensors, which are more durable than their resistive counterparts. The Capacitive Soil Moisture Sensor v1.2 is a popular choice, as it resists corrosion and provides consistent readings over time. For multiple plant beds, consider using several sensors to monitor different zones independently.
Light sensing is essential for optimal plant growth. The TSL2591 high-dynamic-range digital light sensor offers excellent sensitivity and can measure both infrared and full-spectrum light. Alternatively, the BH1750 is a more budget-friendly option that provides accurate ambient light readings in lux.
When installing sensors, consider their placement carefully. Temperature and humidity sensors should be positioned at plant height, away from direct sunlight and water sources. Soil moisture sensors need proper soil contact, while light sensors should be mounted above the plant canopy for accurate readings of available light.
All these sensors communicate with the Raspberry Pi through either I2C, SPI, or digital GPIO pins, making integration straightforward with proper wiring and Python libraries.
Software Requirements and Installation
Operating System Setup
Begin by downloading the latest version of Raspberry Pi OS (formerly Raspbian) from the official Raspberry Pi website. You’ll need a microSD card with at least 8GB capacity and the Raspberry Pi Imager tool to write the operating system image.
Insert the microSD card into your computer and launch the Raspberry Pi Imager. Select “Raspberry Pi OS (32-bit)” as your operating system and choose your microSD card as the target device. Click “Write” and wait for the process to complete.
Once the image is written, insert the microSD card into your Raspberry Pi and connect a keyboard, mouse, and monitor for initial setup. Power on the device and follow the first-boot wizard to set your locale, timezone, and create a user account.
For optimal greenhouse controller performance, you’ll need to make some adjustments when configuring Raspberry Pi OS. Enable I2C and GPIO interfaces through the Raspberry Pi Configuration tool (found in the Preferences menu) to ensure proper communication with sensors and actuators.
Finally, update your system by opening a terminal and running:
“`
sudo apt update
sudo apt upgrade
“`
This ensures you have the latest security patches and software versions before proceeding with the greenhouse controller installation.
Required Libraries and Dependencies
To build a functional Raspberry Pi greenhouse controller, you’ll need to install several Python libraries that handle various aspects of sensor communication, data processing, and system control. Here’s what you’ll need to get started:
First, ensure your Raspberry Pi has Python 3 installed (it comes pre-installed on most recent Raspberry Pi OS versions). Open your terminal and run the following commands to install the required libraries:
“`bash
sudo apt-get update
sudo apt-get upgrade
pip3 install –upgrade pip
“`
Essential Libraries:
1. RPi.GPIO – For controlling GPIO pins
“`bash
sudo pip3 install RPi.GPIO
“`
2. Adafruit_DHT – For temperature and humidity sensors
“`bash
sudo pip3 install Adafruit_DHT
“`
3. schedule – For task scheduling
“`bash
pip3 install schedule
“`
4. sqlite3 – For data storage (typically pre-installed)
5. Flask – For web interface (optional but recommended)
“`bash
pip3 install flask
“`
Additional Dependencies:
– For soil moisture sensors:
“`bash
pip3 install board busio adafruit-circuitpython-ads1x15
“`
– For LCD display support:
“`bash
pip3 install RPLCD
“`
To verify successful installation, you can run:
“`bash
pip3 list
“`
Remember to reboot your Raspberry Pi after installing these libraries:
“`bash
sudo reboot
“`
These libraries provide the foundation for sensor reading, data processing, and automation control in your greenhouse system. Make sure all installations complete successfully before proceeding with the project setup.
Building the Controller System
Hardware Assembly Guide
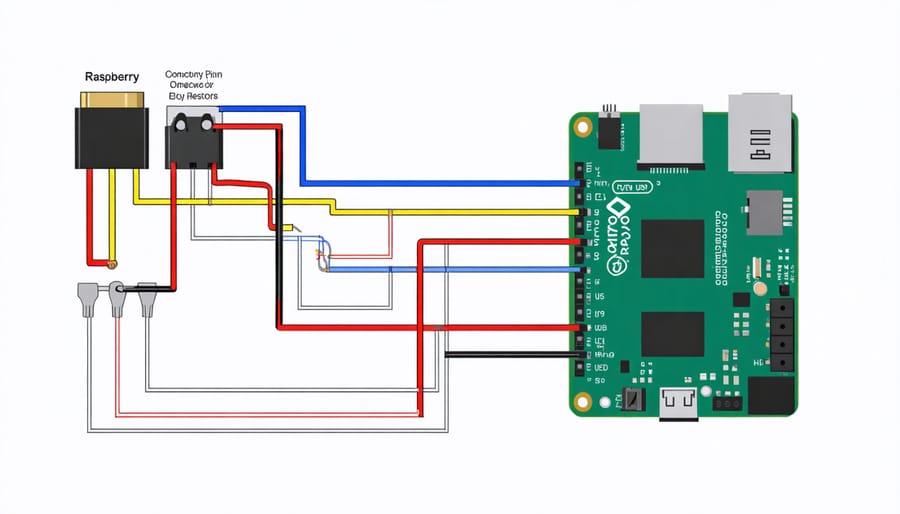
Begin by gathering all your components on a clean, static-free workspace. You’ll need your Raspberry Pi, temperature/humidity sensor (DHT22 recommended), soil moisture sensor, relay module, and any actuators like fans or water pumps.
First, connect your DHT22 temperature/humidity sensor. Using jumper wires, connect the sensor’s VCC pin to the 3.3V power pin on your Pi, the ground (GND) pin to any ground pin, and the data pin to GPIO4. For reliable readings, add a 10kΩ pull-up resistor between the data and power pins.
Next, set up the soil moisture sensor. Connect its VCC to 5V power, GND to a ground pin, and the analog output to GPIO17. Since these sensors can corrode over time, consider applying a waterproof coating before placing it in soil.
For controlling actuators, connect the relay module. The module’s VCC goes to 5V, GND to ground, and input pins to GPIO23 (for fans) and GPIO24 (for water pump). Make sure to follow proper GPIO pin connections to avoid damaging your Pi.
When connecting fans or pumps to the relay module, exercise caution with mains voltage. If you’re not comfortable working with high voltage, consider using low-voltage alternatives powered by a separate 12V supply.
Double-check all connections before powering up your system. Incorrect wiring can damage components or create safety hazards. Consider using a breadboard for initial testing before making permanent connections.
For weather protection, house all electronics in a waterproof enclosure with appropriate cable glands for sensors and actuators. Position sensors strategically within your greenhouse for accurate readings, keeping wire lengths as short as practical to minimize interference.
Programming the Controller
Let’s dive into the code that brings our greenhouse controller to life. The following Python script demonstrates the basic functionality of reading sensors and controlling actuators:
“`python
import RPi.GPIO as GPIO
import Adafruit_DHT
import time
# Pin configurations
DHT_SENSOR = Adafruit_DHT.DHT22
DHT_PIN = 4
FAN_PIN = 17
PUMP_PIN = 18
# Setup GPIO
GPIO.setmode(GPIO.BCM)
GPIO.setup(FAN_PIN, GPIO.OUT)
GPIO.setup(PUMP_PIN, GPIO.OUT)
def read_sensor():
humidity, temperature = Adafruit_DHT.read_retry(DHT_SENSOR, DHT_PIN)
return temperature, humidity
def control_environment():
while True:
temp, humidity = read_sensor()
# Temperature control
if temp > 28: # Turn on fan if too hot
GPIO.output(FAN_PIN, GPIO.HIGH)
elif temp < 20: # Turn off fan if cool enough
GPIO.output(FAN_PIN, GPIO.LOW)
# Moisture control
if humidity < 60: # Activate pump if too dry
GPIO.output(PUMP_PIN, GPIO.HIGH)
time.sleep(5) # Run pump for 5 seconds
GPIO.output(PUMP_PIN, GPIO.LOW)
time.sleep(300) # Check every 5 minutes
try:
control_environment()
except KeyboardInterrupt:
GPIO.cleanup()
```
This basic script monitors temperature and humidity, activating fans when it's too hot and the water pump when humidity drops too low. You can customize the threshold values based on your plants' needs.
To make this script run automatically at startup, create a service file in `/etc/systemd/system/greenhouse.service`:
```bash
[Unit]
Description=Greenhouse Controller
After=multi-user.target
[Service]
ExecStart=/usr/bin/python3 /home/pi/greenhouse.py
WorkingDirectory=/home/pi
StandardOutput=inherit
StandardError=inherit
Restart=always
User=pi
[Install]
WantedBy=multi-user.target
```
Enable the service with:
```bash
sudo systemctl enable greenhouse
sudo systemctl start greenhouse
```
This setup ensures your greenhouse controller runs continuously and automatically restarts if any errors occur.
Testing and Calibration
Before deploying your Raspberry Pi greenhouse controller, thorough testing and calibration are essential for reliable operation. Start by testing each sensor individually, verifying their readings against known reference points. For temperature sensors, compare readings with a reliable thermometer at various temperatures. Humidity sensors can be calibrated using the salt calibration method – place the sensor in a sealed container with a saturated salt solution, which creates a known humidity level.
Test the relay system by manually triggering each connected device through the control interface. Verify that your water pump, fans, and heating elements respond correctly to commands. Monitor the system’s power consumption during these tests to ensure it stays within safe limits.
For soil moisture sensors, calibrate them by taking readings in completely dry soil and fully saturated soil. Use these values as your minimum and maximum reference points in your control software. Remember that soil moisture sensors may need periodic recalibration due to mineral buildup.
Set up test scenarios for your automation rules by manually adjusting environmental conditions. For example, use a heat source to trigger cooling responses or add moisture to test the irrigation system. Document all calibration values and test results for future reference.
Finally, run a complete system test for at least 24 hours, monitoring all sensor readings and actuator responses. This helps identify any timing issues or unexpected behaviors in your control logic.
Advanced Features and Customization
Remote Monitoring Setup
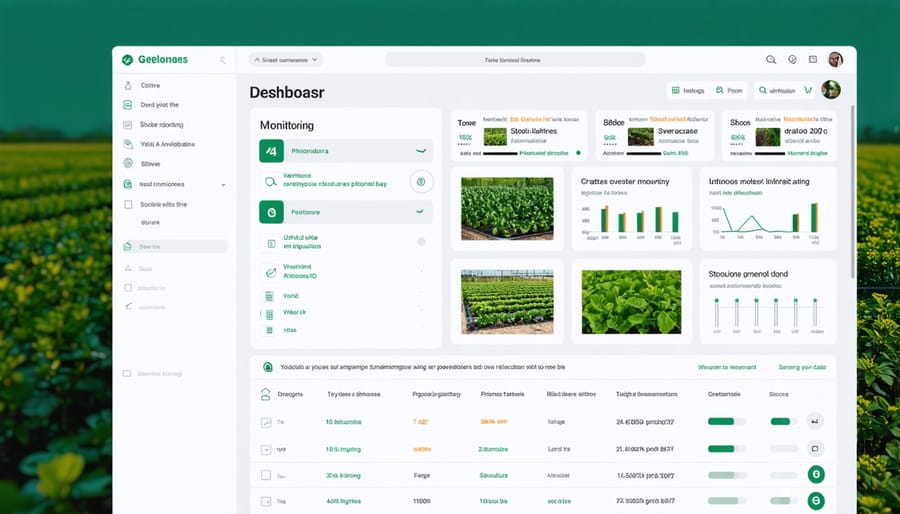
Setting up remote greenhouse control allows you to monitor and manage your system from anywhere. Begin by enabling SSH on your Raspberry Pi through the raspi-config menu. Install VNC Server to access your Pi’s graphical interface remotely, which is particularly useful for viewing monitoring dashboards and making system adjustments.
For real-time monitoring, set up a Node-RED dashboard to display sensor data. Create a free account on a cloud platform like ThingSpeak or Blynk to store and visualize your greenhouse data. These platforms offer mobile apps for convenient monitoring on the go.
Configure your router to allow remote access by setting up port forwarding for SSH (port 22) and VNC (port 5900). For security, change default passwords and consider using SSH keys instead of password authentication. Install Fail2Ban to protect against unauthorized access attempts.
Set up automated email or SMS alerts for critical conditions like temperature extremes or water level warnings. Use MQTT protocol for efficient data transmission between your greenhouse system and monitoring devices. Consider installing a webcam for visual monitoring of your plants, accessible through your dashboard or dedicated apps.
Remember to regularly backup your configuration files and maintain a secure connection by keeping your system updated with the latest security patches.
Custom Automation Rules
Creating custom automation rules for your Raspberry Pi greenhouse controller allows you to fine-tune your growing environment for optimal plant health. Start by identifying your plants’ specific needs and local climate patterns to establish baseline parameters.
Basic automation rules should include temperature thresholds that trigger ventilation fans when exceeded, and moisture levels that activate irrigation systems when soil becomes too dry. For example, set your system to open vents if temperatures rise above 85°F (29°C) and activate watering when soil moisture drops below 40%.
Consider implementing time-based rules for regular maintenance tasks. Schedule light cycles for growing seasons, with different durations for vegetative and flowering stages. Create morning and evening routines that adjust multiple parameters simultaneously, such as gradually increasing temperature and humidity as the day begins.
Advanced rules can incorporate weather API data to anticipate environmental changes. Program your system to close vents before incoming rain or adjust watering schedules based on forecast humidity levels. You can also create seasonal rule sets that automatically adjust throughout the year.
Remember to include fail-safes in your automation rules. Set maximum and minimum limits for all parameters, and create alert notifications for when conditions fall outside acceptable ranges. Test new rules thoroughly before implementing them permanently, and maintain manual override capabilities for unexpected situations.
Building a Raspberry Pi greenhouse controller is an exciting and rewarding project that combines the power of technology with sustainable gardening practices. Throughout this guide, we’ve explored the essential components, setup procedures, and advanced features that can transform your greenhouse into a smart, automated environment.
By implementing this system, you’ll gain precise control over temperature, humidity, and watering schedules while collecting valuable data to optimize your growing conditions. The flexibility of the Raspberry Pi platform means you can continue to expand and customize your setup as your needs evolve.
Remember to start small and gradually add features as you become more comfortable with the system. Begin with basic temperature and humidity monitoring before moving on to more complex automations. Regular maintenance and backup of your configuration files will ensure your greenhouse continues to operate smoothly.
For those ready to take the next step, consider joining online Raspberry Pi communities where you can share experiences and learn from other gardening enthusiasts. You might also explore adding cameras for remote monitoring or implementing machine learning algorithms to predict plant health.
Whether you’re growing vegetables, flowers, or exotic plants, your Raspberry Pi greenhouse controller will help create the perfect environment for your plants to thrive while reducing water consumption and energy usage. Happy growing!


