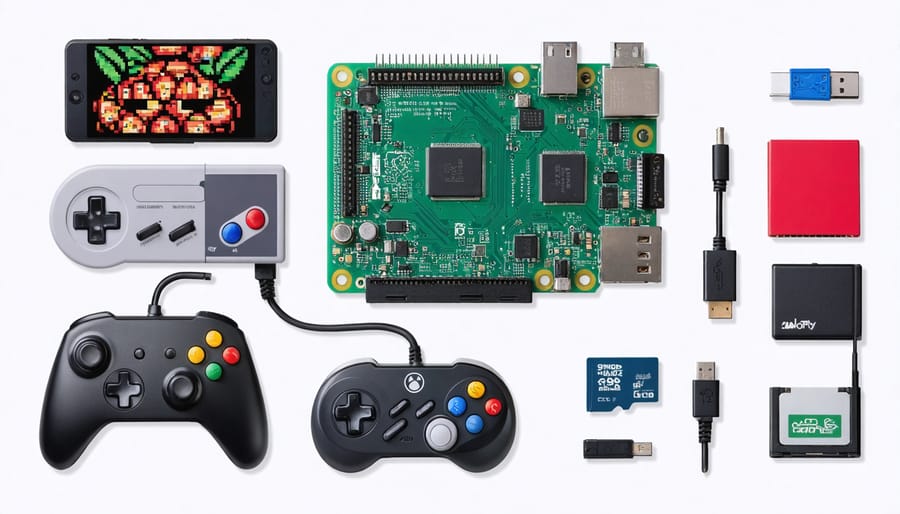
Transform your Raspberry Pi into a powerful retro gaming console in under two hours with basic tools and minimal coding experience. Retro gaming with Raspberry Pi delivers authentic arcade experiences at a fraction of the cost of commercial consoles. This hands-on project combines classic gaming nostalgia with modern DIY technology, supporting thousands of games from systems like NES, SNES, PlayStation 1, and SEGA Genesis.
Gather essential components: Raspberry Pi 4 (2GB+ RAM), microSD card (32GB+), power supply, case, HDMI cable, and USB controllers. Install RetroPie software to create your custom gaming platform, complete with emulators and a sleek interface. Configure wireless connectivity for seamless game transfers and multiplayer options. Master advanced features like save states, shader effects, and controller mapping to enhance your gaming experience.
This step-by-step guide transforms complex technical concepts into achievable tasks, ensuring success regardless of your experience level. Get ready to build a versatile gaming machine that fits in your palm and brings decades of gaming history to life.
What You’ll Need for Your Retro Gaming Setup
Essential Hardware Components
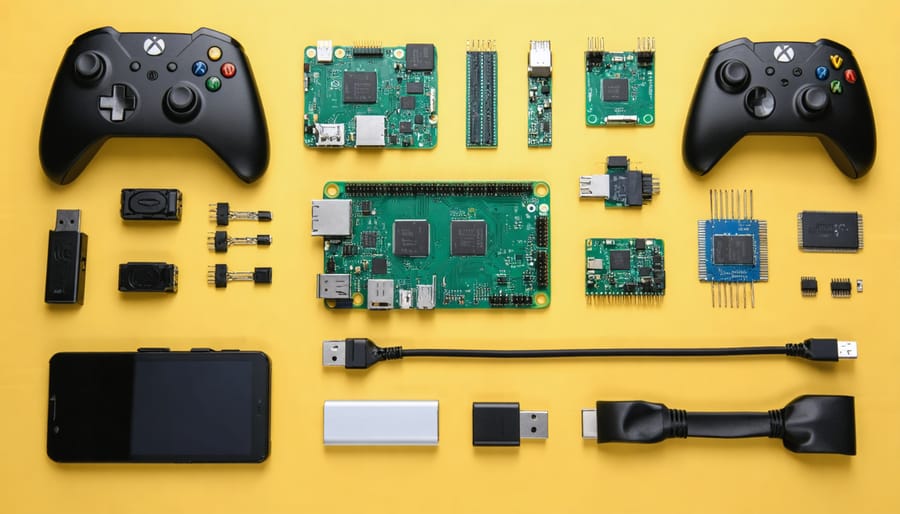
To build your retro gaming console, you’ll need a Raspberry Pi 4 with at least 2GB of RAM for optimal performance. While older models can work, the Pi 4 offers better graphics and faster loading times for a smoother gaming experience.
Essential accessories include a reliable power supply (5V/3A), a microSD card (32GB minimum recommended), and an HDMI cable for display connection. For controllers, you have several options: USB controllers designed for Raspberry Pi, traditional USB gamepads, or even original console controllers with USB adapters.
Protection is crucial, so invest in a custom Raspberry Pi case with proper ventilation to prevent overheating during extended gaming sessions. A small cooling fan or heatsinks are recommended additions.
Don’t forget these optional but useful components:
– USB keyboard for initial setup
– Ethernet cable for stable downloads
– USB flash drive for ROM backups
– Bluetooth adapter for wireless controllers
– Audio cable if not using HDMI audio
Software Requirements
The heart of your retro gaming console will be RetroPie, a free software that transforms your Raspberry Pi into a versatile gaming machine. RetroPie combines multiple emulators and a user-friendly interface, allowing you to play games from various classic consoles. You’ll need to download the latest RetroPie image from their official website and use software like Balena Etcher to flash it onto your microSD card.
To play games, you’ll need ROM files, which are digital copies of classic games. Remember that ROMs should only be used for games you legally own. RetroPie supports numerous gaming systems, including NES, SNES, Genesis, and PlayStation 1, among others.
Additional software requirements include a file transfer tool like WinSCP or FileZilla for moving ROMs to your Raspberry Pi, and optional tools like EmulationStation for customizing your gaming interface. If you plan to use wireless controllers, you might need Bluetooth management software, which comes pre-installed with RetroPie but may require configuration.
For optimal performance, ensure your Raspberry Pi’s operating system and RetroPie are regularly updated through the built-in update feature.
Setting Up Your Raspberry Pi
Hardware Assembly
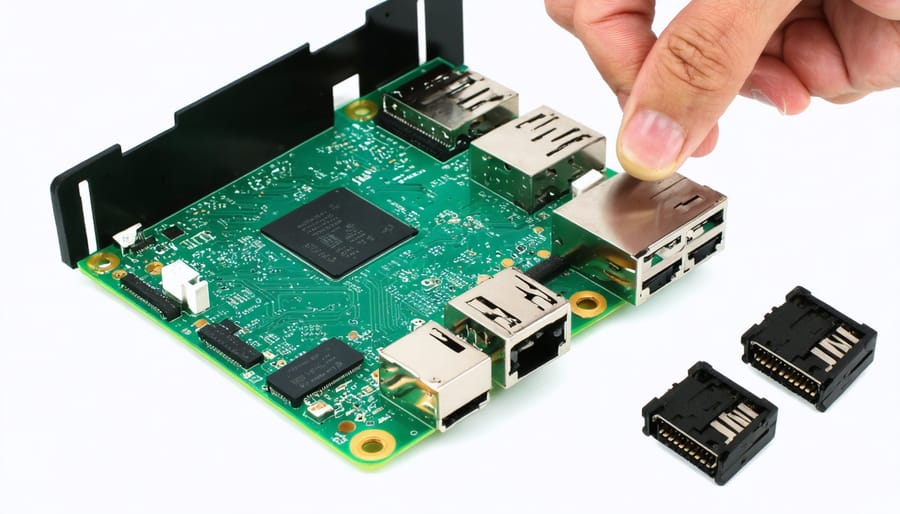
Begin by gathering your Raspberry Pi board, case, power supply, microSD card, HDMI cable, and game controllers. If you’ve purchased a kit, ensure all components are present before starting. Carefully remove the Raspberry Pi from its packaging, holding it by its edges to avoid damaging any components.
Insert your microSD card into the slot on the underside of the Raspberry Pi board. Next, place the board into your case, aligning the ports with the corresponding openings. Most cases come with clear mounting points – secure the board using the provided screws, but don’t overtighten them.
Connect your HDMI cable to the Raspberry Pi’s HDMI port and your display. For power, plug the USB-C (for Pi 4) or micro-USB (for older models) power supply into the corresponding port. If you’re using USB controllers, connect them to any available USB ports.
For optimal performance, ensure proper ventilation around your case, especially if you plan extended gaming sessions. If your case came with a cooling fan, install it following the manufacturer’s instructions. Some cases include heat sinks – attach these to the main processor and RAM chips if provided.
Finally, double-check all connections are secure before powering on your system. Keep your workspace clean and organized, and store any unused components in a safe place for future maintenance or upgrades.
Installing RetroPie
Now that you have your microSD card ready, it’s time to begin setting up RetroPie software. Start by downloading the latest RetroPie image from the official website. Choose the correct version that matches your Raspberry Pi model. Once downloaded, use a program like Etcher or Raspberry Pi Imager to flash the image onto your microSD card.
After flashing is complete, insert the microSD card into your Raspberry Pi and connect a keyboard, monitor, and power supply. On first boot, RetroPie will automatically expand the filesystem and perform initial configuration. You’ll see the EmulationStation interface appear once the setup is complete.
Navigate through the initial controller configuration by following the on-screen prompts. Hold down any button on your controller, and map each button as requested. Don’t worry if you make a mistake – you can always reconfigure controls later through the RetroPie menu.
To add games, you’ll need to transfer ROM files to the appropriate folders. The easiest method is connecting over your local network. Enable SSH in the RetroPie configuration menu, then use an SFTP client to transfer files to the corresponding system folders in /home/pi/RetroPie/roms/.
Remember to properly shut down your system through the menu rather than unplugging it to prevent data corruption. Once everything is set up, you’re ready to start enjoying your favorite retro games!
Controller Configuration
Setting up controllers for your Raspberry Pi retro gaming console is straightforward but requires careful attention to ensure the best gaming experience. Most USB controllers work right out of the box with RetroPie, including popular options like Xbox 360, PS3, and PS4 controllers. For wireless controllers, you’ll need to pair them through Bluetooth by accessing the RetroPie Bluetooth menu and following the pairing instructions specific to your controller.
Once connected, you’ll need to configure your controller mappings. When you first boot RetroPie with a new controller connected, you’ll automatically enter the configuration wizard. Follow the on-screen prompts to map each button, pressing and holding a button for any functions your controller doesn’t have. For the best experience, remember to map the hotkey button (typically Select or PS button) as it enables important functions like saving games and exiting emulators.
If you need to reconfigure your controller later, you can do so by pressing Start on the RetroPie menu, selecting “Configure Input,” and following the same mapping process. For arcade-style games, consider mapping your controller’s analog stick to the D-pad for more precise control. You can also create different controller profiles for different emulators through the RetroPie configuration menu if you prefer specific button layouts for certain game systems.
Adding Games to Your Console
Legal ROM Sources
When building your retro gaming console, it’s crucial to obtain your ROMs legally. One of the best ways to get legitimate ROMs is by dumping your own physical game cartridges using specialized hardware like the Retrode or INLretro dumper. This method ensures you’re creating personal backups of games you already own.
Several online marketplaces offer legal downloads of classic games. GOG.com (Good Old Games) provides a vast collection of classic PC games optimized for modern systems. Additionally, Nintendo’s Virtual Console and SEGA’s classic game collections offer official releases of retro titles that can be adapted for Raspberry Pi use with the proper tools.
For arcade games, MAME ROMs can be legally obtained through the Internet Archive’s Software Library, which hosts various public domain and freeware games. Many independent developers also create “homebrew” games specifically for retro gaming platforms, which are completely legal to download and play.
Remember that downloading ROMs of games you don’t own is typically illegal, even if you owned them in the past. Some companies offer their own retro gaming platforms, like the NES Classic or SEGA Genesis Mini, which include licensed ROMs. You can use these as alternative sources for building your legal ROM collection.
Always verify the legitimacy of your ROM sources and respect intellectual property rights when building your retro gaming library.
Transferring ROMs to RetroPie
Once your RetroPie system is up and running, you’ll need to add your game ROMs to start playing. There are several straightforward methods to transfer your ROMs to the Raspberry Pi.
The easiest way is using SFTP (Secure File Transfer Protocol) through your computer. First, ensure both your Pi and computer are on the same network. Access your Pi by typing “\\retropie” in Windows File Explorer or connecting to “retropie.local” on Mac/Linux. Navigate to the “roms” folder and simply drag and drop your ROM files into the corresponding system folders (like “nes” for Nintendo games or “gba” for Game Boy Advance).
Alternatively, you can transfer ROMs using a USB drive. Format your USB stick to FAT32, create a folder named “retropie” on it, and plug it into your powered-on Pi. Wait a few minutes while the system creates the necessary folder structure. Remove the drive, add your ROMs to the appropriate system folders on your computer, then plug it back into the Pi. The system will automatically copy the files.
Remember to organize your ROMs by placing them in the correct system folders. After transferring, restart EmulationStation to see your newly added games in the menu. For optimal performance, compress ROM files when possible, especially for CD-based systems.
Optimizing Your Gaming Experience
Performance Tweaks
To get the most out of your Raspberry Pi retro gaming console, you’ll want to optimize performance settings for smooth gameplay. Start by overclocking your Pi to a stable frequency – for the Pi 4, a modest overclock to 1.8GHz is generally safe with proper cooling. Enable GPU memory split by allocating at least 256MB to the GPU in raspi-config.
For EmulationStation and RetroArch, enable “Video Threaded” mode to reduce input lag and improve frame rates. Adjust the video scaling settings to “Integer Scale” for cleaner pixel graphics, and enable “Frame Skip” only for more demanding games or systems.
If you’re experiencing audio delays, set the audio buffer to “512” or “1024” in RetroArch settings. For better controller response, reduce input lag by setting “Run-Ahead” to 1 frame for most games, though be cautious as this feature can be CPU-intensive.
Keep your system cool with a proper case and heatsinks – thermal throttling can significantly impact performance. Consider using a lightweight theme for EmulationStation to reduce menu navigation lag, and disable any unnecessary background services to free up system resources.
Remember to regularly update your emulators and ROMs to benefit from the latest performance improvements and bug fixes.
Custom Themes and Layouts
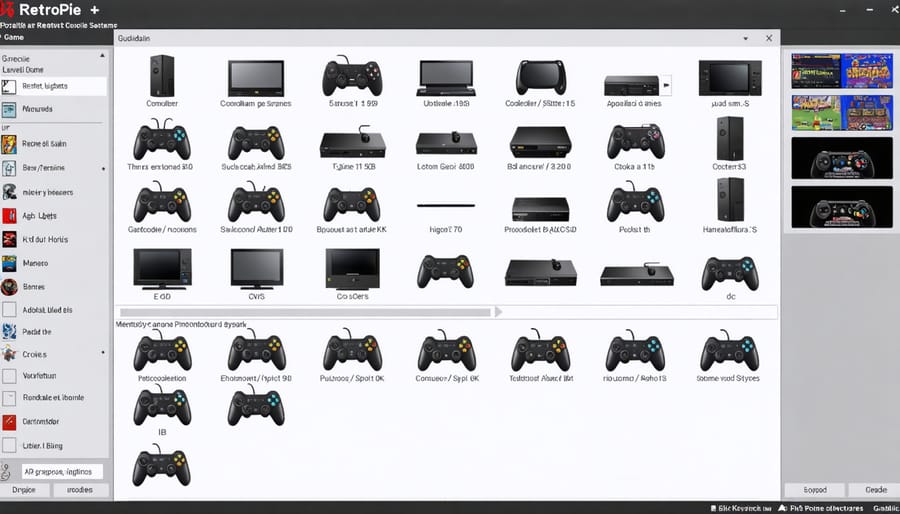
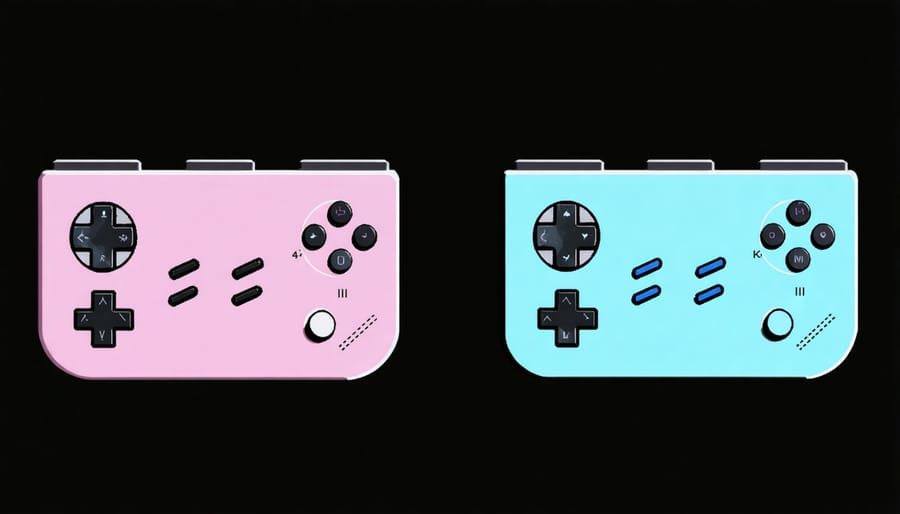
One of the most exciting aspects of creating your own retro gaming console is the ability to customize its look and feel. RetroPie offers numerous themes that can transform your gaming interface from a basic menu into a visually stunning experience. To change themes, navigate to the RetroPie configuration menu, select “ES Themes,” and browse through the available options. Popular themes include Carbon, which offers a sleek, modern interface, and Pixel, which embraces the classic 8-bit aesthetic.
For those wanting to go beyond pre-made themes, you can create custom layouts by modifying the EmulationStation configuration files. These files, located in the ~/.emulationstation directory, allow you to adjust element positioning, change background images, and modify text styles. You can even create separate layouts for different gaming systems, giving your NES games a distinct look from your SNES collection.
Don’t forget about your game bezels and overlays. These decorative frames around your games can enhance the authentic retro feel by mimicking original arcade cabinet artwork or classic TV frames. You can download pre-made bezels or create your own using image editing software.
For the finishing touch, consider customizing your splash screen – the image that appears when your system boots up. This personal branding makes your console truly unique and adds a professional touch to your build.
Troubleshooting Common Issues
Common Problems and Solutions
When building your Raspberry Pi retro gaming console, you might encounter some common issues. Here’s how to resolve them quickly and get back to gaming:
If your games are running slowly or lagging, try overclocking your Raspberry Pi safely through the configuration menu. Additionally, ensure you’re using a high-quality power supply rated at 5V/2.5A or higher to prevent performance throttling.
For controller connectivity issues, first check if your controllers are compatible with RetroPie. USB controllers usually work right away, but Bluetooth controllers might need additional configuration. If a controller isn’t responding, try unplugging and reconnecting it, or delete and recreate the controller mapping.
Audio problems? Check your HDMI settings in the configuration file. Sometimes, switching between HDMI and 3.5mm audio output can resolve sound issues. If you’re getting no sound at all, verify that the correct audio output is selected in RetroPie’s settings.
ROMs not showing up? Ensure they’re in the correct file format and placed in the appropriate system folder. Also, verify that your ROMs are properly named and unzipped if required by your emulator.
Screen resolution problems can usually be fixed by editing the config.txt file. If you’re seeing a black screen, try connecting your Pi to a different display while you adjust the resolution settings.
For corrupt SD card issues, regularly backup your ROM files and configurations. If corruption occurs, reflashing the SD card with a fresh RetroPie image often resolves the problem.
Maintenance Tips
To keep your Raspberry Pi retro gaming console running smoothly, implement these essential maintenance practices. Regularly check for and install system updates through RetroPie’s built-in update feature, typically every 2-3 months. This ensures you have the latest emulator improvements and security patches.
Keep your console’s SD card healthy by performing proper shutdowns rather than simply unplugging the power. Back up your game saves and configurations monthly to prevent data loss. You can use USB drives or network storage for this purpose.
Clean your Raspberry Pi case and components every few months using compressed air to prevent dust buildup, which can affect performance and cooling. Check that all cable connections remain secure and undamaged, especially if you frequently transport your console.
Monitor your system’s temperature through RetroPie’s built-in tools. If you notice consistent high temperatures above 80°C, consider improving ventilation or adding cooling solutions like small fans or heat sinks.
Periodically test your controllers and clean the buttons and joysticks with isopropyl alcohol to maintain responsive gameplay. If using USB controllers, check the ports for loose connections or damage.
For optimal performance, avoid filling your SD card beyond 90% capacity, as this can slow down your system. Delete unused ROMs and periodically defragment your storage to maintain smooth operation.
Building your own Raspberry Pi retro gaming console is not just a fun weekend project – it’s a gateway to both nostalgic gaming experiences and valuable technical skills. By following the steps outlined in this guide, you’ve learned how to transform a simple microcomputer into a powerful gaming machine capable of running thousands of classic games.
The beauty of this project lies in its flexibility. Whether you’ve opted for a basic setup with just the essential components or decided to go all-out with a custom case and advanced controllers, you’ve created something uniquely yours. The skills you’ve gained – from basic Linux commands to file management and hardware configuration – will serve you well in future tech projects.
Remember that the retro gaming community is vast and supportive. Don’t hesitate to experiment with different emulators, try new ROMs (where legally permitted), or modify your setup as you become more comfortable with the system. You might even want to share your creation with others or help fellow enthusiasts build their own consoles.
Most importantly, this project demonstrates how accessible and rewarding DIY tech projects can be. With a modest investment and some patience, you’ve built a gaming system that brings the magic of retro gaming into the modern era. So power up your Pi, grab your controller, and enjoy the countless hours of entertainment your creation will provide. Happy gaming!


