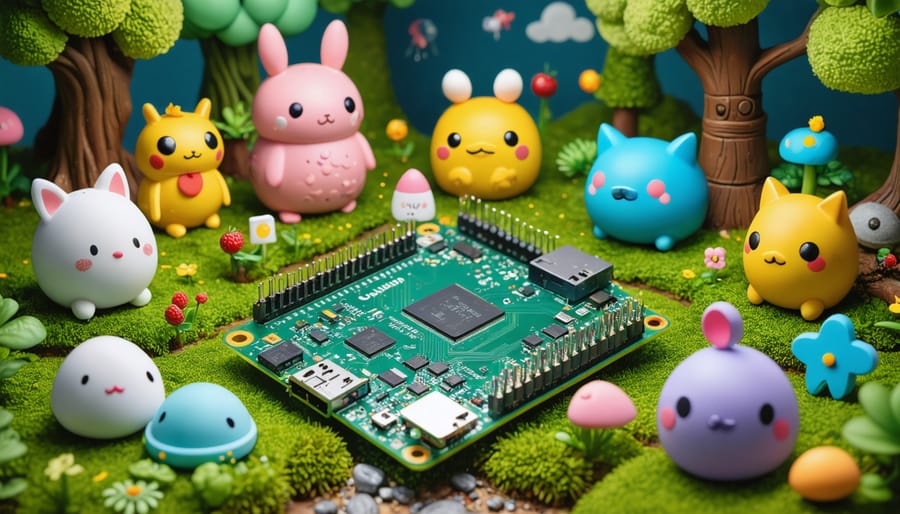
Embark on an exciting journey to create your very own virtual pet using the power of Raspberry Pi! This innovative project combines the joy of pet ownership with the thrill of programming, allowing you to bring a digital companion to life. With a few essential components and some coding skills, you can build an interactive virtual pet that responds to your commands and evolves over time. Imagine the satisfaction of watching your creation come alive on the screen, just like our Raspberry Pi robotics project, but in the virtual realm. Whether you’re a tech enthusiast looking for a new challenge or an educator seeking to engage students in programming, this Raspberry Pi virtual pet project offers endless possibilities for learning, creativity, and fun. Get ready to unleash your imagination and dive into the world of virtual pet development!
What You’ll Need
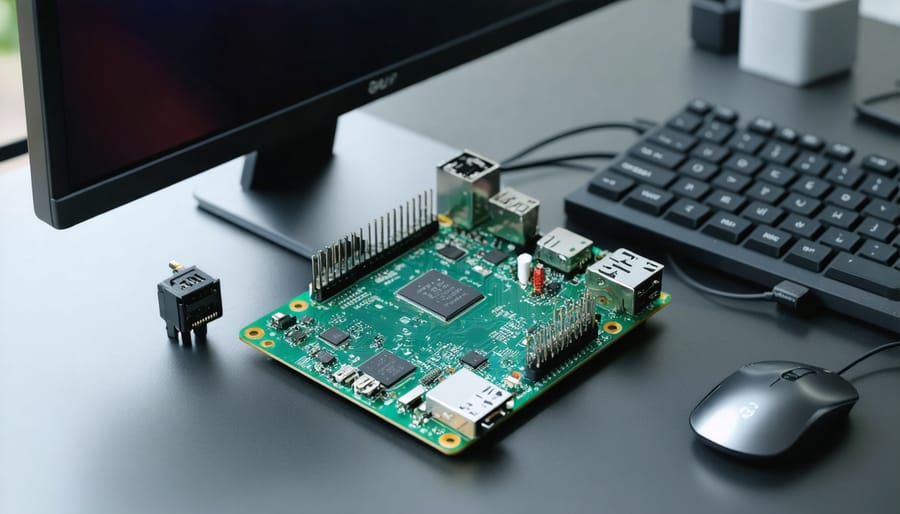
To embark on your Raspberry Pi virtual pet project, you’ll need a few essential hardware and software components. At the heart of this project is the Raspberry Pi 4 Model B, a powerful single-board computer that offers the perfect balance of performance and affordability. You’ll also need a compatible power supply, a microSD card (at least 8GB) for storage, and an HDMI cable to connect your Raspberry Pi to a display.
In terms of accessories, a USB keyboard and mouse will be necessary for setup and programming. Additionally, consider using a case to protect your Raspberry Pi and keep it safe from dust and accidental damage. For guidance on this, you might find our tutorial on building a custom Raspberry Pi case very useful.
On the software side, you’ll be working with the Raspberry Pi OS, a Debian-based Linux distribution optimized for the Raspberry Pi. You’ll also need to install Python, the primary programming language used in this project. Python comes pre-installed on Raspberry Pi OS, making it easy to get started.
To create the virtual pet’s graphical interface, you’ll utilize the Pygame library, which provides a set of modules for game development in Python. Pygame simplifies the process of creating interactive graphics and handling user input, making it an ideal choice for this project.

Setting Up Your Raspberry Pi
Installing the Operating System
To install the operating system on your Raspberry Pi, start by downloading the latest version of Raspberry Pi OS from the official website. Next, use a tool like Etcher or Raspberry Pi Imager to write the OS image to a microSD card. Once the image is written, insert the microSD card into your Raspberry Pi and connect it to a power source. The Raspberry Pi will boot up, and you’ll be greeted with the initial setup wizard. Follow the on-screen instructions to set up your language, time zone, and Wi-Fi connection. It’s also recommended to update the system packages to ensure you have the latest security patches and software versions. Open a terminal and run “sudo apt update” followed by “sudo apt upgrade” to update your system. With the operating system installed and updated, your Raspberry Pi is now ready for the next steps in creating your virtual pet.
Configuring the Settings
To configure your Raspberry Pi’s basic settings, start by connecting it to your network via Ethernet or Wi-Fi. Use the Raspberry Pi Configuration tool to set up your wireless connection. Next, select your preferred keyboard layout to ensure proper key mapping. It’s crucial to keep your Raspberry Pi updated to access the latest features and security patches. In the Raspberry Pi Configuration tool, navigate to the “System” tab and enable automatic updates. This ensures your device stays up-to-date without manual intervention. You can also customize other settings, such as the device name, boot options, and power management, to tailor your Raspberry Pi to your specific needs. Once you’ve configured the basic settings, you’re ready to dive into creating your virtual pet project using the Raspberry Pi’s powerful capabilities.
Programming Your Virtual Pet
Choosing a Programming Language
When choosing a programming language for your Raspberry Pi virtual pet project, Python is an excellent choice. Python is beginner-friendly, with a simple and readable syntax that makes it easy to learn and understand. It also has a vast library of modules and frameworks, including those specifically designed for game development and multimedia applications. Python’s versatility allows you to create interactive and engaging virtual pets with minimal complexity. Additionally, Python is well-supported on the Raspberry Pi, with many resources and tutorials available to help you get started. However, if you prefer a different language, you can also explore options like Raspberry Pi JavaScript programming or other languages compatible with the Raspberry Pi. Ultimately, the choice of programming language depends on your personal preferences, existing skills, and the specific requirements of your virtual pet project.
Designing Your Pet’s Appearance
To bring your virtual pet to life, you’ll need to create its visual representation using graphics libraries or modules compatible with Raspberry Pi. One popular option is Pygame, a Python library that simplifies the process of creating 2D graphics and animations. With Pygame, you can design your pet’s appearance by drawing shapes, loading images, and combining them to form your desired look. Start by sketching your pet’s basic features, such as its body, eyes, and any unique characteristics. Then, use Pygame’s drawing functions to translate your sketch into code. You can experiment with different colors, sizes, and styles to give your pet a distinct personality. Additionally, consider animating your pet’s movements and expressions to make it more engaging and lifelike. For example, you can create separate images for different poses or emotions and switch between them based on the pet’s state or user interactions. As you design your pet’s appearance, keep in mind the overall user experience and ensure that the graphics are clear, appealing, and responsive. With a little creativity and experimentation, you can create a charming and memorable virtual companion that users will enjoy interacting with on their Raspberry Pi.

Implementing Pet Interactions
To bring your virtual pet to life, you’ll need to program its behaviors using Python. Start by defining functions for each interaction, such as feeding, playing, and sleeping. These functions should update the pet’s stats and display appropriate messages. Use conditional statements to check the pet’s current state and respond accordingly. For example, if the pet’s hunger level is high, the feeding function should decrease it and show a happy message. Implement user input to allow interaction with the pet through the command line or GUI buttons. You can use the input() function to capture user commands and call the corresponding behavior functions. Additionally, consider adding visual feedback, such as changing the pet’s appearance based on its mood or stats, to create a more engaging experience. With some creativity and programming skills, you’ll soon have a lively and interactive virtual pet running on your Raspberry Pi.
Enhancing Your Virtual Pet Experience
Adding Sound Effects
To make your virtual pet more engaging, consider adding sound effects using the Raspberry Pi’s audio capabilities. Start by connecting a speaker or headphones to the audio jack on your Raspberry Pi. Next, use a library like simpleaudio in Python to play audio files based on specific events or interactions with your pet. For example, you can trigger a cheerful sound when your pet is happy or a sad whimper when it’s hungry. You can find royalty-free sound effects online or record your own using a microphone. Experiment with different sounds to create a unique personality for your virtual pet. Remember to adjust the volume and duration of the audio clips to ensure they blend seamlessly with the overall experience. With the addition of sound effects, your Raspberry Pi virtual pet will come to life, providing a more immersive and interactive experience for users.
Implementing a User Interface
To create a user-friendly interface for your Raspberry Pi virtual pet, consider using buttons, screens, or web interfaces. For a simple setup, connect buttons to the GPIO pins on your Raspberry Pi and program them to trigger specific actions, such as feeding or playing with your pet. You can also incorporate a small LCD screen to display your pet’s status, mood, and other relevant information. Alternatively, design a web interface using HTML, CSS, and JavaScript, allowing you to interact with your virtual pet through a browser on any device connected to the same network as your Raspberry Pi. This approach offers more flexibility in terms of visual design and accessibility. Regardless of the method you choose, focus on creating an intuitive and engaging interface that encourages interaction and showcases your pet’s unique personality. Experiment with different layouts, colors, and animations to make your virtual pet come to life and provide a delightful user experience.

Conclusion
In conclusion, building a virtual pet using a Raspberry Pi is an engaging and educational project that combines hardware, software, and creativity. By following the steps outlined in this article, you can create your own interactive virtual companion while learning valuable skills in programming and electronics. The possibilities for customization and enhancement are endless, allowing you to tailor your virtual pet to your preferences and explore new features. Whether you’re a beginner or an experienced maker, this project offers a fun and rewarding experience. So, gather your materials, fire up your Raspberry Pi, and embark on an exciting journey to create your very own virtual pet. For more inspiring Raspberry Pi projects, be sure to explore the wealth of resources available online and within the Raspberry Pi community. Happy tinkering!


