Unlock the power of artificial intelligence with Raspberry Pi and OpenAI. This tiny but mighty combination opens up a world of possibilities, from creating intelligent voice assistants to building autonomous robots. With OpenAI’s cutting-edge models and the Raspberry Pi’s versatility, you can bring your wildest AI projects to life. Whether you’re a seasoned developer or a curious beginner, this guide will walk you through setting up OpenAI on your Raspberry Pi, exploring practical applications, and diving into hands-on projects that showcase the incredible potential of this dynamic duo. Get ready to push the boundaries of what’s possible and embark on an exhilarating journey into the future of AI with OpenAI and Raspberry Pi.
Getting Started with OpenAI on Raspberry Pi
Hardware Requirements
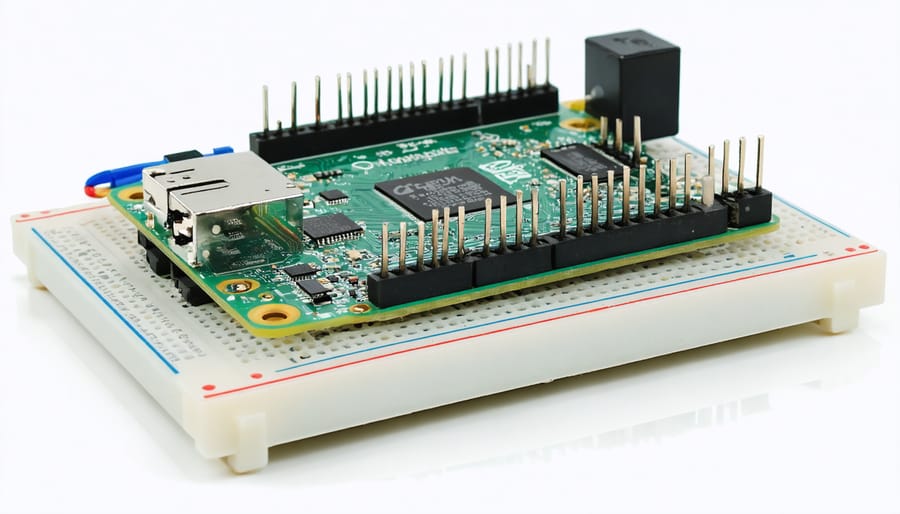
To get started with running OpenAI models on your Raspberry Pi, you’ll need a Raspberry Pi 4 Model B with at least 4GB of RAM. While lower-end models may work for some applications, the Pi 4 offers the best performance for AI tasks. In terms of storage, a minimum of 32GB is recommended, preferably using a fast microSD card or an external SSD for optimal read/write speeds. Depending on your specific project requirements, you may also need additional components like a camera module, microphone, or display. Ensure your Raspberry Pi has a stable power supply and adequate cooling, especially when running resource-intensive AI models.

Software Setup
To get started with using OpenAI on your Raspberry Pi, you’ll first need to set up the necessary software components. Begin by installing the operating system, such as Raspberry Pi OS (formerly Raspbian) or Ubuntu, on your Raspberry Pi. Follow the official documentation for your chosen OS to create a bootable SD card and configure the basic settings.
Once your Raspberry Pi is up and running, you’ll need to install Python. Most Raspberry Pi operating systems come with Python pre-installed, but it’s a good idea to ensure you have the latest version. Open a terminal and run the following commands to update and upgrade your packages:
“`
sudo apt update
sudo apt upgrade
“`
Next, verify your Python installation by running:
“`
python3 –version
“`
If Python is installed correctly, you should see the version number displayed.
Now, you’ll need to install the necessary OpenAI libraries. The primary library you’ll be using is the OpenAI GPT library, which allows you to interact with the powerful language models developed by OpenAI. To install the library, run the following command:
“`
pip install openai
“`
You may also want to install additional libraries, such as NumPy and TensorFlow, depending on your specific project requirements. Use the following commands to install these libraries:
“`
pip install numpy
pip install tensorflow
“`
With the operating system, Python, and the OpenAI libraries installed, you’re now ready to start developing your AI-powered applications on your Raspberry Pi. Remember to keep your software components up to date by regularly running the update and upgrade commands mentioned earlier.
Hands-On Project: Building an AI-Powered Voice Assistant

Setting Up the Microphone and Speaker
To set up the microphone and speaker for your Raspberry Pi, start by connecting a USB microphone to one of the available USB ports. Alternatively, you can use a USB soundcard with a 3.5mm microphone input. Next, connect your speakers to the 3.5mm audio output jack on the Raspberry Pi. If you’re using a monitor with built-in speakers, you can skip this step.
Once the hardware is connected, configure the audio settings in your Raspberry Pi. Open the terminal and run `sudo raspi-config`. Navigate to “System Options” and then “Audio.” Select the appropriate audio output device (e.g., 3.5mm jack or HDMI) and choose the USB microphone as the input device. Save the settings and reboot your Raspberry Pi.
To test the audio setup, use the `arecord` and `aplay` commands in the terminal. Record a short audio clip with `arecord test.wav` and play it back with `aplay test.wav`. If you hear the recorded audio, your microphone and speaker are configured correctly.
Integrating OpenAI’s GPT-3 API
To integrate OpenAI’s GPT-3 API with your Raspberry Pi project, you’ll need to use Python and the `openai` library. First, install the library by running `pip install openai` in your terminal. Next, import the library and set your API key using `openai.api_key = “YOUR_API_KEY”`.
To process voice commands, you can use a speech recognition library like `SpeechRecognition`. Install it with `pip install SpeechRecognition` and import it in your Python script. Use the library to listen for voice input and convert it to text.
Once you have the text input, you can send it to the GPT-3 API using the `openai.Completion.create()` method. Set the `engine` parameter to the desired GPT-3 model (e.g., “text-davinci-002”), provide the voice input text as the `prompt`, and specify other parameters like `max_tokens` and `temperature` to control the generated output.
After receiving the API response, you can extract the generated text from the `choices` list in the response object. Process the text to identify the desired action or command and execute it using your Raspberry Pi’s hardware or other connected devices.
Here’s a simplified example of how to integrate GPT-3 with voice commands:
“`python
import openai
import speech_recognition as sr
openai.api_key = “YOUR_API_KEY”
r = sr.Recognizer()
with sr.Microphone() as source:
print(“Speak now…”)
audio = r.listen(source)
try:
text = r.recognize_google(audio)
print(f”You said: {text}”)
response = openai.Completion.create(
engine=”text-davinci-002″,
prompt=f”User: {text}\nAI:”,
max_tokens=50,
n=1,
stop=None,
temperature=0.7,
)
ai_text = response.choices[0].text.strip()
print(f”AI: {ai_text}”)
# Process the AI-generated text and execute the desired action
except sr.UnknownValueError:
print(“Speech recognition could not understand audio”)
except sr.RequestError as e:
print(f”Could not request results from Google Speech Recognition service; {e}”)
“`
By integrating GPT-3 with voice commands on your Raspberry Pi, you can create powerful AI-driven projects that respond to natural language input and generate human-like responses or actions.
Creating the Voice Assistant Application
To create the voice assistant application, start by importing the necessary libraries and initializing the OpenAI API. Here’s a code snippet to get you started:
import openai
import speech_recognition as sr
import pyttsx3

openai.api_key = "YOUR_API_KEY"

recognizer = sr.Recognizer()
engine = pyttsx3.init()
Next, define a function to capture user input using the microphone and convert it to text using speech recognition:
def get_user_input():
    with sr.Microphone() as source:
        print("Listening...")
        audio = recognizer.listen(source)
    try:
        text = recognizer.recognize_google(audio)
        print(f"You said: {text}")
        return text
    except sr.UnknownValueError:
        print("Sorry, I could not understand that.")
    except sr.RequestError:
        print("Sorry, speech recognition service is currently unavailable.")
Now, create a function to send the user’s input to the OpenAI API and generate a response:
def generate_response(prompt):
    response = openai.Completion.create(
        engine="text-davinci-002",
        prompt=prompt,
        max_tokens=50,
        n=1,
        stop=None,
        temperature=0.7,
    )
    return response.choices[0].text.strip()
Finally, use the `pyttsx3` library to convert the generated response to speech:
def speak(text):
    engine.say(text)
    engine.runAndWait()
Put it all together in a main loop that continuously listens for user input, generates responses, and speaks them aloud:
while True:
    user_input = get_user_input()
    if user_input:
        response = generate_response(user_input)
        print(f"Assistant: {response}")
        speak(response)
With these code snippets, you’ve built the core functionality of your voice assistant application using OpenAI and Raspberry Pi.
Exploring Other AI Projects with Raspberry Pi
Beyond using OpenAI’s GPT models, the Raspberry Pi can be utilized for a wide array of AI projects that showcase its versatility and power. For instance, you can create an image recognition system using a camera module and OpenCV, allowing your Raspberry Pi to detect and classify objects in real-time. This can be further enhanced by integrating it with OpenAI’s CLIP model for more accurate image understanding.
Another exciting project is sentiment analysis, where you can use OpenAI’s language models to determine the emotional tone of text data. By connecting your Raspberry Pi to social media APIs or web scraping tools, you can analyze user comments, reviews, or tweets to gauge public opinion on various topics. This can be particularly useful for businesses looking to monitor their online reputation or for researchers studying social trends.
Moreover, you can explore machine learning projects that combine OpenAI’s models with other popular libraries like TensorFlow or PyTorch. From building a recommendation system based on user preferences to creating a chatbot that learns from conversations, the possibilities are endless. With the Raspberry Pi’s affordability and OpenAI’s powerful tools, you can bring your AI ideas to life and contribute to the growing community of innovators pushing the boundaries of what’s possible with these technologies.

Conclusion
OpenAI on Raspberry Pi offers exciting possibilities for creating intelligent projects and applications. By combining the power of OpenAI’s models with the versatility and affordability of the Raspberry Pi, developers and hobbyists can explore new frontiers in AI and embedded systems. Whether you’re interested in building conversational agents, image recognition systems, or natural language processing applications, the OpenAI-Raspberry Pi combination provides a solid foundation for innovation. As you embark on your own projects, remember to leverage the vast resources available online, from tutorials to community forums, to help guide your journey. With creativity, experimentation, and a willingness to learn, you can unlock the full potential of OpenAI on your Raspberry Pi and contribute to the ever-expanding world of AI-powered solutions.


