Harness the power of the sun to create an autonomous, off-grid solar-powered Raspberry Pi Zero! This compact, energy-efficient setup unlocks endless possibilities for remote data logging, environmental monitoring, and portable projects. With a few affordable components and some simple wiring, you can build a self-sustaining system that runs on clean, renewable energy. Follow our step-by-step guide to assemble your solar-powered Pi Zero, optimize its power consumption, and bring your innovative ideas to life. Whether you’re a hobbyist, educator, or IoT enthusiast, this project will inspire you to explore the untethered potential of the mighty Raspberry Pi Zero.

Gathering Your Components
Raspberry Pi Zero Essentials
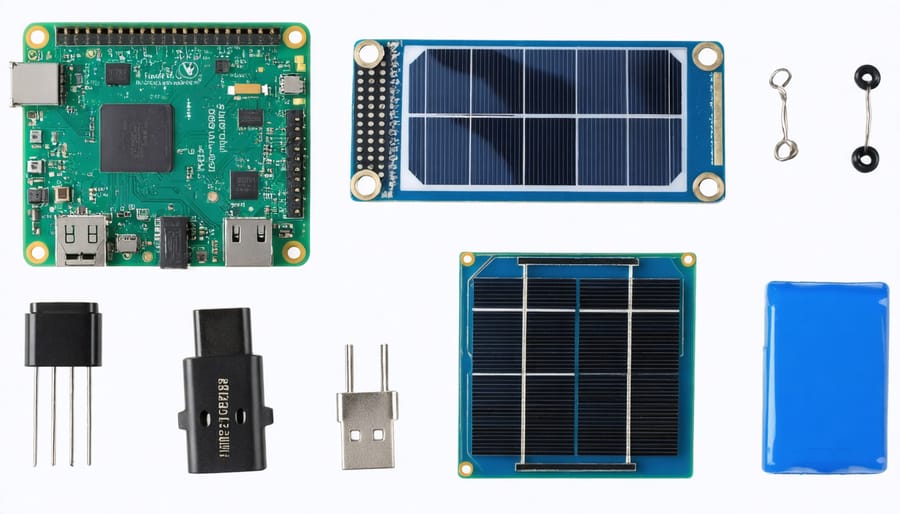
The Raspberry Pi Zero is a tiny, affordable single-board computer that packs a punch. Measuring just 65mm x 30mm, it features a 1GHz single-core CPU, 512MB RAM, mini HDMI and USB ports, and a microSD card slot for storage. To power your Pi Zero, you’ll need a 5V power supply with at least 1.2A output, such as the official Raspberry Pi Power Supply. A microSD card (8GB or larger) is essential for installing the operating system and storing files. Consider purchasing a case to protect your Pi Zero from the elements, especially for outdoor solar-powered projects. Optional accessories include a USB hub for connecting peripherals, a mini HDMI to HDMI adapter for displays, and a GPIO header for interfacing with sensors and modules. With these essentials, you’ll have everything you need to get started with your solar-powered Raspberry Pi Zero project.
Solar Power Components
To harness the sun’s energy for your Pi Zero, you’ll need a solar panel, charge controller, and rechargeable battery. Choose a solar panel with an output voltage of 5-12V and a power rating sufficient for your Pi Zero’s needs, typically around 5-10W. The charge controller regulates the power flow from the panel to the battery, preventing overcharging. A 12V lead-acid or lithium-ion battery with a capacity of 5-10Ah is suitable for most setups. Ensure the charge controller matches your battery type and solar panel specs. When connecting the components, follow the manufacturer’s guidelines and use appropriate wiring and connectors. By carefully selecting and integrating these key elements, you’ll create a reliable, self-sustaining power system for your solar-powered Raspberry Pi Zero project.
Assembling the Solar Power System

Wiring Diagram and Instructions
Here is the content for the “Wiring Diagram and Instructions” section, based on the provided guidelines:

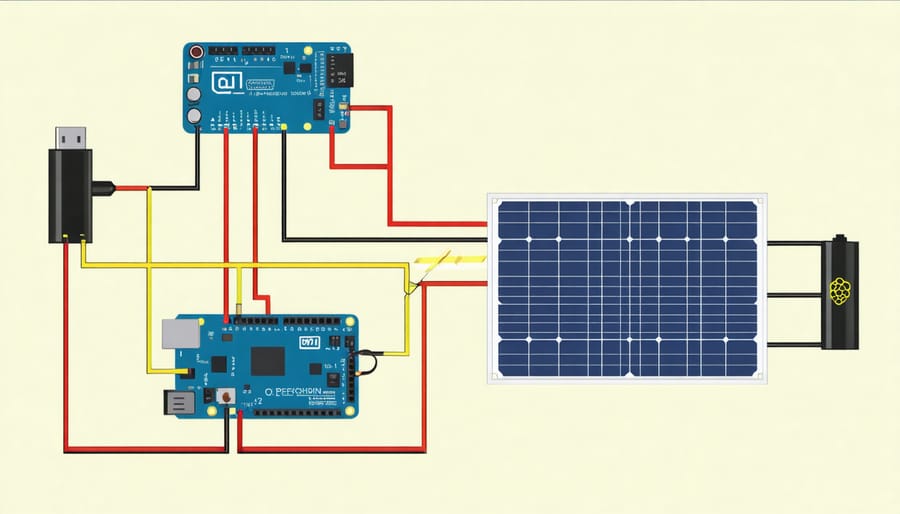
To wire up your solar powered Raspberry Pi Zero, you’ll need a compatible solar panel, a Li-ion battery pack, a TP4056 charging module, and a voltage boost converter. Begin by connecting the solar panel to the TP4056’s input terminals, ensuring correct polarity. Next, wire the Li-ion battery pack to the TP4056’s battery connections.
Connect the battery’s positive lead to the boost converter’s VIN pin and the negative lead to ground. The boost converter’s VOUT pin will supply 5V to the Pi Zero, so connect it to the 5V GPIO header pin. Ground the boost converter by connecting its GND pin to a GND header pin on the Pi Zero.
Double-check all connections for accuracy before proceeding. It’s crucial to get the wiring right to avoid damaging your components. If you’re unsure, consult the wiring diagram or refer to each module’s documentation for guidance.
With everything wired up, your solar powered Raspberry Pi Zero is ready to go! Place the solar panel in direct sunlight and the TP4056 will charge the battery pack. The boost converter ensures a steady 5V supply to the Pi Zero, even as the battery voltage fluctuates. You can check the charging status via the TP4056’s indicator LED.
For optimal performance, consider implementing power-saving measures on your Pi Zero, such as disabling HDMI, LED indicators, and unused peripherals. This setup is ideal for remote sensor deployments, weather stations, or any project requiring an off-grid, energy-efficient compute module. You can explore Raspberry Pi Zero hacking projects to see what creative ideas you can bring to life with your solar powered Pi Zero!
Weatherproofing and Mounting
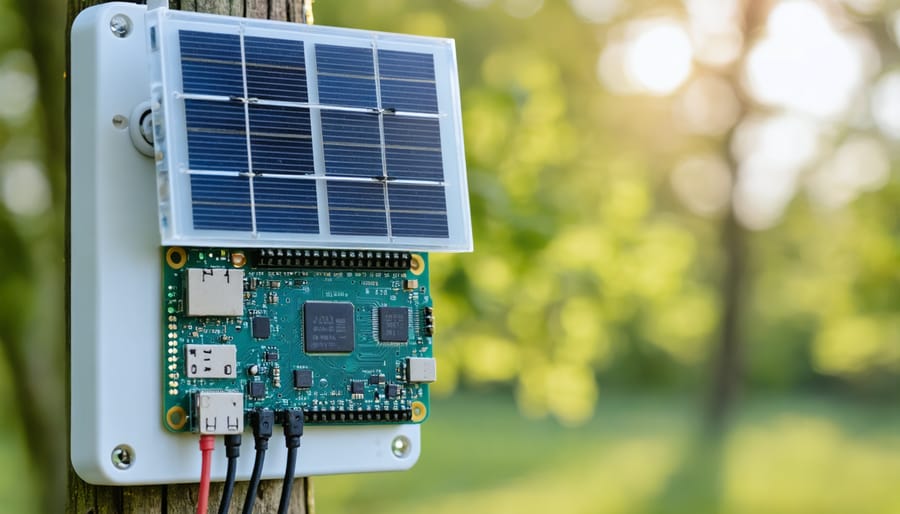
To weatherproof your solar-powered Raspberry Pi Zero, start by applying a conformal coating to the PCB to protect it from moisture and corrosion. Next, place the Pi Zero and other components in a waterproof enclosure, ensuring that any necessary cables are routed through properly sealed openings. When mounting the solar panel, choose a location that receives optimal sunlight exposure throughout the day. Use a sturdy mounting bracket and weatherproof adhesive to secure the panel at the desired angle. Consider using a UV-resistant clear acrylic sheet to protect the solar cells from harsh weather conditions without compromising their efficiency. Regularly inspect the panel for any debris or damage, and clean it with a soft, damp cloth as needed. By taking these precautions, you can ensure that your solar-powered Raspberry Pi Zero remains operational and reliable even in challenging outdoor environments.
Configuring the Raspberry Pi Zero
Installing a Lightweight OS
To ensure optimal power efficiency for your solar-powered Raspberry Pi Zero, it’s crucial to choose a lightweight operating system. We recommend installing Raspberry Pi OS Lite, a minimalist version of the official Raspbian OS without a desktop environment. This streamlined OS consumes fewer resources and extends battery life.
To install Raspberry Pi OS Lite, download the latest image from the official Raspberry Pi website and write it to a microSD card using a tool like Etcher. Insert the microSD card into your Pi Zero and connect it to a power source. Upon boot, log in using the default credentials (username: pi, password: raspberry) and run ‘sudo raspi-config’ to configure basic settings like timezone and Wi-Fi.
Next, update the system packages with ‘sudo apt update’ and ‘sudo apt full-upgrade’. To further optimize power consumption, disable unnecessary services and peripherals. For example, run ‘sudo systemctl disable bluetooth’ to turn off Bluetooth if not needed. You can also configure the Pi to underclock the CPU or turn off the HDMI port when not in use.
By installing Raspberry Pi OS Lite and making these power-saving tweaks, your solar-powered Pi Zero will run efficiently, making the most of its limited energy resources.
Power Management Settings
To optimize power usage and prevent unexpected shutdowns on your solar-powered Raspberry Pi Zero, there are several key settings to configure. First, adjust the “over_voltage” and “over_current” parameters in the config.txt file to ensure stable operation under variable power conditions. Next, enable the “force_turbo” setting to dynamically adjust CPU speed based on available power, improving Raspberry Pi Zero power efficiency. Consider disabling HDMI and onboard LEDs if not in use to further reduce power consumption.
In the /boot/cmdline.txt file, add “consoleblank=1” to turn off the display when inactive, preserving battery life. Install and configure utilities like “tlp” and “wiringpi” to monitor voltage levels and gracefully shut down the Pi when the battery reaches a critical threshold, preventing data corruption.
Finally, optimize your Python scripts by minimizing resource-intensive operations, using efficient libraries, and implementing sleep modes where possible. Regularly monitor power usage with tools like “htop” and “iotop” to identify and address any power-hungry processes. By fine-tuning these settings and practices, you’ll ensure your solar-powered Raspberry Pi Zero runs reliably and efficiently, even in challenging off-grid environments.
Real-World Applications
Remote Environmental Monitoring
The solar-powered Raspberry Pi Zero opens up exciting possibilities for remote environmental monitoring. With the right sensors, you can collect valuable data from the field and transmit it wirelessly to a central location for analysis. For example, attach temperature, humidity, and soil moisture sensors to your Pi Zero to monitor conditions in a remote garden or greenhouse. Or deploy it with air quality and weather sensors to track environmental changes in hard-to-reach locations. The low power consumption of the Pi Zero, combined with solar charging, allows for long-term, autonomous operation. Data can be sent via Wi-Fi, Bluetooth, or even cellular networks with the appropriate modules. With some coding skills, you can create custom scripts to log sensor readings, trigger alerts, and visualize the collected data through web-based dashboards.

Off-Grid Security Camera
A solar-powered Raspberry Pi Zero can be used to create an off-grid security camera system. Start by connecting a camera module to the Pi Zero and configuring it to capture images or video. Use a solar panel and battery pack to power the Pi Zero, ensuring it can operate independently without mains electricity. Configure the Pi to detect motion using a passive infrared (PIR) sensor, triggering the camera to record when movement is detected. Set up remote access via WiFi or cellular connection to securely view the camera feed and receive alerts. Weatherproof the entire setup by housing it in a suitable enclosure. With some coding and configuration, you can create an efficient, solar-powered surveillance system to monitor remote locations, wildlife, or property boundaries.
Conclusion
In conclusion, building a solar-powered Raspberry Pi Zero is an exciting and rewarding project that showcases the potential of renewable energy and low-power computing. By harnessing the sun’s energy, you can create a self-sufficient, off-grid device capable of running various applications and projects, such as environmental monitoring or a Raspberry Pi Zero security camera. With the right components, careful power management, and a bit of creativity, the possibilities are endless. We encourage you to give this project a try and experience the satisfaction of creating your own solar-powered Pi Zero. For more inspiring Raspberry Pi projects and tutorials, be sure to explore our website and join our community of passionate makers and innovators.


