Dive into the world of Raspberry Pi with Raspberry Pi OS, the official operating system that unlocks the full potential of this credit card-sized computer. Discover how this powerful, versatile platform empowers you to create innovative projects, from home automation systems to retro gaming consoles. With its user-friendly interface and vast community support, Raspberry Pi OS makes it easy for beginners and experienced users alike to explore the exciting possibilities of single-board computing. Get ready to embark on a journey of learning, creativity, and limitless potential with Raspberry Pi OS as your guide.
Gathering Your Supplies
Required Hardware
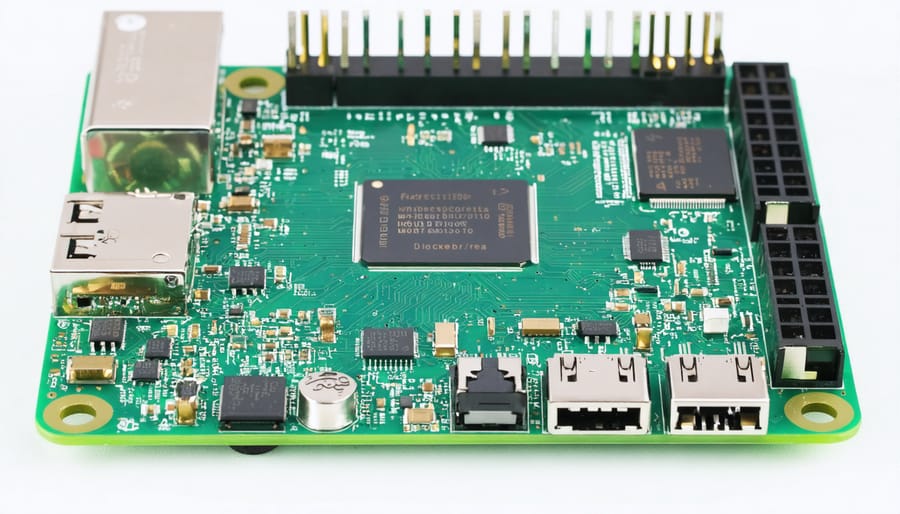
To get started with your Raspberry Pi OS tutorial, you’ll need a Raspberry Pi board (any model from Pi 2 onwards), a compatible power supply, and a microSD card with at least 8GB capacity (class 10 recommended for optimal performance). A case, HDMI cable, and USB keyboard and mouse are also essential accessories. For the initial setup, you’ll require a computer with an SD card reader to flash the Raspberry Pi OS image onto the microSD card. Optional equipment includes a USB hub for connecting additional peripherals, an Ethernet cable for wired networking, and a breadboard and jumper wires for electronic projects. Double-check that your power supply provides the correct voltage and amperage for your specific Raspberry Pi model to avoid damage.

Software Requirements
The Raspberry Pi OS tutorial requires a compatible Raspberry Pi model and a microSD card (8GB or larger) for the operating system. You’ll need a computer to download and write the OS image to the microSD card using the Raspberry Pi Imager tool, available for Windows, macOS, and Linux.
Once your Raspberry Pi is set up with the OS, you’ll use the built-in terminal and text editor for basic configuration and programming. The tutorial also covers using the Raspberry Pi Configuration tool to adjust system settings and enabling SSH and VNC for remote access. No additional software is needed, as the Raspberry Pi OS comes with essential tools pre-installed, making it beginner-friendly and easy to start exploring.
Installing Raspberry Pi OS
Downloading the OS Image
To download the latest version of Raspberry Pi OS, visit the official Raspberry Pi website at https://www.raspberrypi.com/software/operating-systems/. Here, you’ll find several options, including the recommended Raspberry Pi OS with desktop, a lightweight version without a desktop interface, and even a 64-bit variant for more advanced users. Simply click on the download link for your preferred version and save the ZIP file to your computer. Once the download is complete, extract the contents of the ZIP file to access the OS image file (.img), which you’ll use to install the operating system on your Raspberry Pi’s SD card.
Writing the Image to the microSD Card
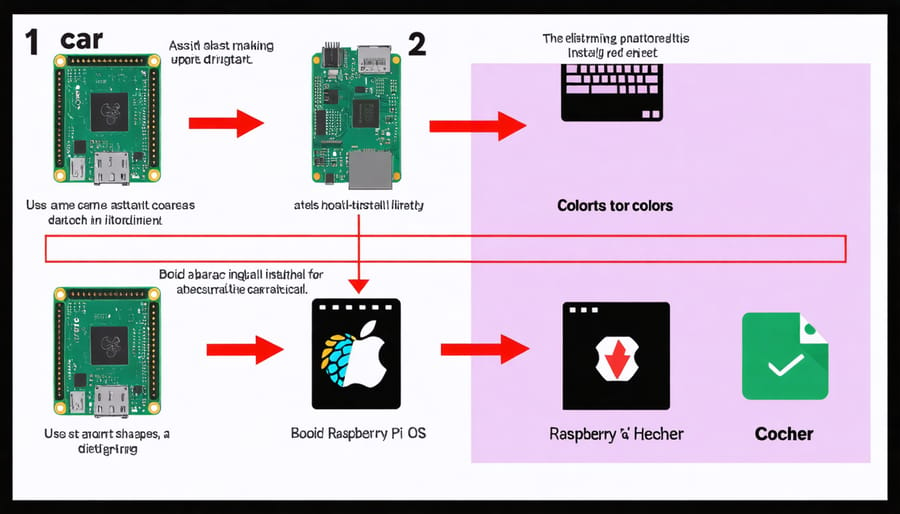
To write the Raspberry Pi OS image to your microSD card, you’ll need a tool like Etcher. This user-friendly software works on Windows, macOS, and Linux, making the process straightforward. Simply download and install Etcher on your computer, then launch the application. Click “Select image” and choose the Raspberry Pi OS image file you downloaded earlier. Next, insert your microSD card into your computer and click “Select target” in Etcher, choosing the microSD card as the destination. Finally, click “Flash!” to begin writing the image to the card. This process may take several minutes, depending on the size of the image and the speed of your microSD card. Once complete, Etcher will automatically verify the image to ensure a successful write. After the verification, your microSD card is ready to be inserted into your Raspberry Pi, and you can begin exploring the world of Raspberry Pi OS!

Booting Up Your Raspberry Pi
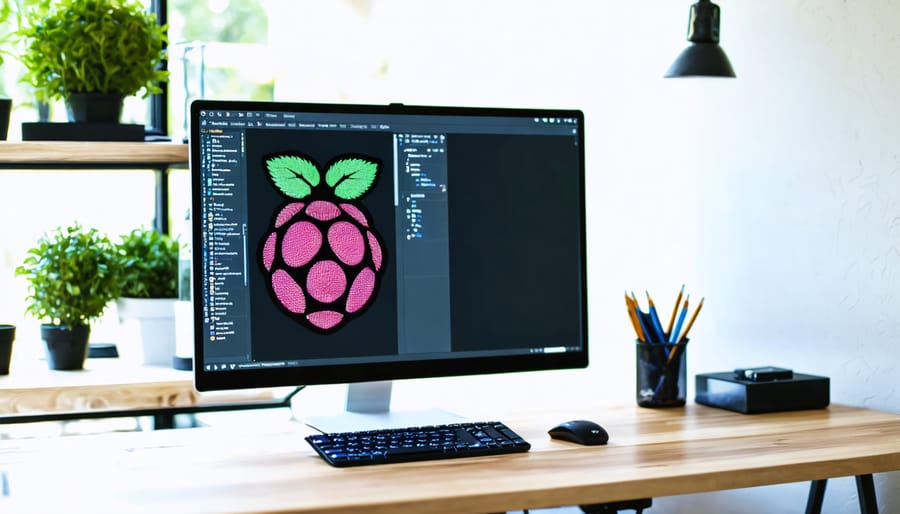
To boot up your Raspberry Pi, start by connecting the essential peripherals. Plug in a USB keyboard and mouse, then connect the HDMI cable from your Raspberry Pi to your monitor or TV. Insert the microSD card with the Raspberry Pi OS into the designated slot on the board. Next, connect the power supply to your Raspberry Pi’s micro USB port and plug it into an electrical outlet. Your Raspberry Pi will now power on and begin the boot process. You should see the Raspberry Pi OS desktop appear on your screen within a few moments. If you encounter any issues during the boot process, double-check your connections and ensure that your microSD card is properly inserted and contains a compatible operating system image. Once your Raspberry Pi has successfully booted, you’re ready to start exploring its capabilities and diving into your first projects!
Configuring Your Raspberry Pi
Updating the System
Keeping your Raspberry Pi OS up to date is essential for maintaining security and ensuring optimal functionality. To update the system, open a terminal and run the command `sudo apt update`, which refreshes the package lists from the repositories. Once the update is complete, use `sudo apt upgrade` to download and install the latest versions of installed packages. It’s recommended to perform these updates regularly. Additionally, you can use `sudo apt dist-upgrade` to handle changing dependencies with new package versions. Restart your Raspberry Pi after significant updates to apply any necessary changes. By keeping your system updated, you’ll benefit from bug fixes, security patches, and new features, ensuring a smooth and secure Raspberry Pi experience.

Customizing Settings
Customizing your Raspberry Pi OS settings is essential for optimizing your user experience and adapting the system to your specific needs. To change the localization settings, open the Raspberry Pi Configuration tool from the main menu. In the “Localisation” tab, you can adjust the locale, timezone, keyboard layout, and Wi-Fi country settings to match your preferences and location.
If you need to change your keyboard layout, simply select the appropriate option from the list of available layouts. This step is crucial for ensuring that your keystrokes match the characters displayed on the screen.
To connect your Raspberry Pi to a Wi-Fi network, click on the network icon in the top-right corner of the screen and select your desired network from the list. Enter the network password when prompted, and your Raspberry Pi will establish a connection. You may find this guide on Raspberry Pi 4 Model B helpful if you need specific instructions for different models.
Don’t forget to explore other settings, such as audio output, display resolution, and setting up remote access to your Raspberry Pi using tools like SSH or VNC. By taking the time to customize these settings, you’ll create a more comfortable and efficient working environment tailored to your specific requirements.
Installing Essential Software
Once you have your Raspberry Pi up and running, it’s time to install some essential software to maximize its potential. The Raspberry Pi OS comes with a built-in package manager called “apt” that makes installing software a breeze. To get started, open a terminal and run sudo apt update to update the package list, followed by sudo apt upgrade to install any available updates.
Next, consider installing a code editor like Visual Studio Code or Sublime Text for writing and editing your projects. You can install VS Code by running sudo apt install code. For web development, tools like Apache, PHP, and MySQL are must-haves. Install them by running sudo apt install apache2 php mysql-server.
If you’re interested in programming, Python is a popular choice for Raspberry Pi projects. It comes pre-installed, but you can ensure you have the latest version with sudo apt install python3. For other languages like Java or Node.js, use the appropriate apt commands. Expanding your skill set with JavaScript could also be beneficial, as seen in Unlock the Potential of Raspberry Pi with JavaScript.
Don’t forget to install git for version control and collaboration. Run sudo apt install git to get started. Other handy utilities include htop for monitoring system resources (sudo apt install htop) and VNC for remote desktop access (sudo apt install realvnc-vnc-server).
Remember, there are countless software options available for your Raspberry Pi. Explore the official repositories and community forums to discover tools tailored to your specific projects and interests.
Getting Started with Your Projects
Beginner-Friendly Project Ideas
Here are a few simple beginner-friendly projects to showcase the capabilities of Raspberry Pi OS:
1. Retro Gaming Console: Turn your Raspberry Pi into a classic gaming machine using RetroPie, an emulation platform that supports various retro gaming systems.
2. Media Center: Set up a home media server using Kodi, a powerful open-source media player that allows you to stream movies, TV shows, and music from your Raspberry Pi.
3. Web Server: Use your Raspberry Pi as a low-cost web server by installing Apache, PHP, and MySQL, enabling you to host websites and web applications from your device.
4. Home Automation Hub: Transform your Raspberry Pi into a smart home hub using platforms like Home Assistant or OpenHAB, allowing you to control and automate various smart devices in your home.
Additional Resources and Communities
To further your Raspberry Pi OS journey, explore the official Raspberry Pi documentation at raspberrypi.org. The Raspberry Pi Foundation also offers a variety of free online courses and tutorials on their training platform. Join the vibrant Raspberry Pi community on forums like Raspberry Pi Forums and Reddit’s r/raspberry_pi to connect with fellow enthusiasts, seek advice, and share your projects. Don’t miss the wealth of user-created tutorials and project ideas on platforms like Instructables and The MagPi magazine. With these resources at your fingertips, you’ll be well-equipped to dive deeper into the world of Raspberry Pi OS and bring your ideas to life.
Conclusion
In this tutorial, we’ve covered the essential steps for setting up and getting started with Raspberry Pi OS. From choosing the right hardware components to installing the operating system and configuring basic settings, you now have a solid foundation to build upon. Remember to explore the various configuration options, experiment with different software packages, and take advantage of the vast community resources available online. With your Raspberry Pi OS setup complete, you’re ready to dive into the exciting world of Raspberry Pi projects, whether it’s building a home media server, creating a retro gaming console, or developing your own IoT devices. The possibilities are endless, so let your creativity guide you as you embark on your Raspberry Pi journey. Happy tinkering!


