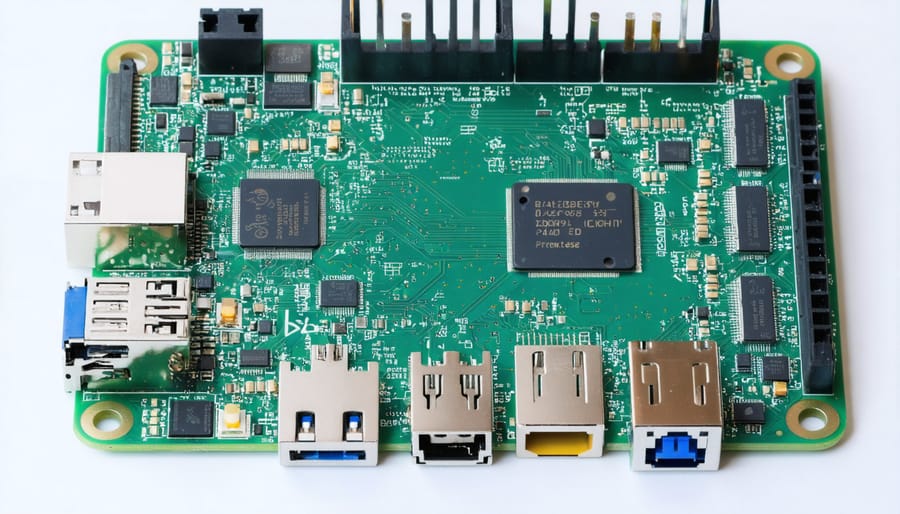
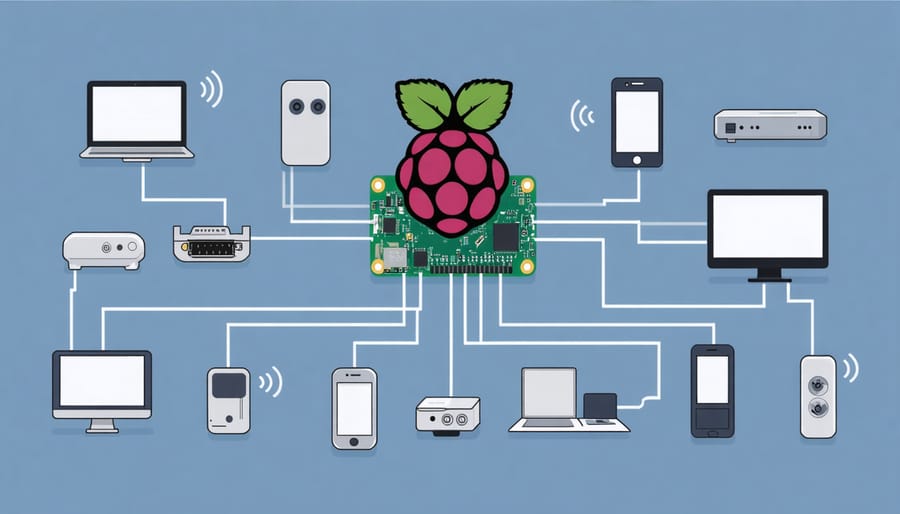
Discover the power of transforming your Raspberry Pi into a versatile, compact server. This credit card-sized computer packs a punch, offering endless possibilities for hosting websites, managing files, streaming media, and more. With its low power consumption, affordable price point, and surprising performance, the Raspberry Pi is an ideal solution for running a personal server at home or for small-scale projects.
In this article, we’ll explore the capabilities of the Raspberry Pi as a server, guiding you through the essential requirements, software options, and step-by-step setup process. We’ll also showcase inspiring real-world applications that demonstrate the potential of this tiny but mighty device.
Whether you’re a tech enthusiast, hobbyist, or educator, running a server on a Raspberry Pi opens up a world of opportunities for learning, experimentation, and innovation. Get ready to unleash the hidden potential of your Raspberry Pi and embark on an exciting journey into the realm of server management and deployment.
Hardware Requirements

Raspberry Pi Models
Various Raspberry Pi models are suitable for running a server, each with different specifications and capabilities. The Raspberry Pi Zero and Zero W are the most compact and energy-efficient options but have limited processing power and memory. The Raspberry Pi 3 Model B+ and earlier models offer a good balance of performance and affordability for lightweight server tasks. However, the Raspberry Pi 4 Model B is the most powerful option, featuring a faster processor, up to 8GB of RAM, and USB 3.0 ports, making it ideal for more demanding server applications. When choosing a model for your server, consider factors such as the number of concurrent users, the complexity of the server software, and any additional services you plan to run alongside the main server application.
Storage and Memory
The storage and memory requirements for running a server on a Raspberry Pi vary depending on the specific application. For basic web servers or file servers, a Raspberry Pi with 1GB RAM and a 16GB microSD card is usually sufficient. However, more resource-intensive applications like game servers or media servers may require 2GB or more RAM and larger storage capacity. It’s essential to choose a high-quality microSD card with fast read/write speeds for optimal server performance. Consider using an external hard drive or SSD for additional storage if needed. Regularly monitor your Pi’s memory usage and free up space as necessary to ensure smooth operation.

Server Software Options
Web Servers
When it comes to running web servers on a Raspberry Pi, you have several options. Apache and Nginx are two popular choices that offer robust features and extensive documentation. Apache is known for its modularity and flexibility, while Nginx excels in handling high-traffic websites efficiently. Both can be installed easily using the Pi’s package manager.
For those seeking lightweight alternatives, options like Lighttpd and Caddy are worth considering. These web servers have a smaller footprint and consume fewer resources, making them ideal for running on a Raspberry Pi. They also offer simple configuration files and built-in security features, making setup a breeze.
Ultimately, the choice of web server depends on your specific requirements, such as the complexity of your website, expected traffic, and available resources. Experimenting with different options will help you find the best fit for your Raspberry Pi server project.
File Servers
The Raspberry Pi can be configured as a file server using various network-attached storage (NAS) solutions. Samba is a popular choice, allowing you to share files and printers between Unix-based systems and Windows. It’s easy to set up and provides seamless integration with Windows networks. Another option is NFS (Network File System), which enables file sharing between Unix-based systems. It offers better performance than Samba but may require more configuration. For those looking to create their own cloud storage solution, software like Nextcloud and Seafile can turn your Raspberry Pi into a private cloud server. These open-source platforms provide features like file syncing, sharing, and collaboration, giving you full control over your data. With a Raspberry Pi and the right software, you can create a powerful and customizable file server tailored to your needs.
Media Servers
One popular use for a Raspberry Pi server is as a media server, streaming your personal collection of movies, TV shows, music, and photos to various devices. Powerful media server software like Plex, Kodi, and Emby can be installed on the Pi, turning it into a centralized hub for all your media. These applications offer user-friendly interfaces, metadata fetching, and transcoding capabilities to ensure smooth playback on any device. Setting up a media server on a Raspberry Pi is a cost-effective alternative to purchasing a dedicated NAS or running a power-hungry PC 24/7. Plus, with the Pi’s low power consumption, you can leave your media server running continuously without significant impact on your electricity bill. You could even combine your media server with a Minecraft server for the ultimate home entertainment setup!
Setup and Configuration
Installing the Operating System
To install a server-optimized operating system on your Raspberry Pi, download the lightweight Raspberry Pi OS Lite image from the official website. Write the image to a microSD card using a tool like Etcher. Insert the card into your Pi, connect it to power, and let it boot up. On first boot, you’ll be prompted to configure basic settings like timezone and password. Once set up, update the system packages to ensure you have the latest security patches and software versions. Your Raspberry Pi is now ready to function as a server with minimal overhead.
Basic Server Configuration
To set up your Raspberry Pi as a server, start by enabling SSH for secure remote access. Open the terminal and enter “sudo raspi-config”, then navigate to “Interface Options” and enable SSH. Next, configure a static IP address to ensure consistent network connectivity. Edit the dhcpcd.conf file with “sudo nano /etc/dhcpcd.conf” and uncomment the lines for static IP configuration. Enter your desired IP address, router IP, and DNS servers. Save the changes and reboot your Pi. With these basic configurations complete, your Raspberry Pi is ready to function as a server, allowing you to remotely manage and deploy various services.
Security Considerations
When running a server on your Raspberry Pi, it’s crucial to implement basic security measures to protect your device and data. Start by setting up a firewall to control incoming and outgoing network traffic, allowing only necessary connections. Create strong, unique passwords for user accounts and disable the default “pi” user. Regularly update the operating system and any installed software to patch vulnerabilities. If your server handles sensitive data, consider enabling SSL/TLS encryption for secure communication. Implementing these fundamental security practices will help safeguard your Raspberry Pi server from potential threats, ensuring a more secure environment for your IoT security projects and applications.
Real-World Applications
Home Server
One of the most powerful applications of a Raspberry Pi server is its ability to serve as a centralized hub for your home network. With its low power consumption and compact size, a Pi is perfect for running 24/7 to handle file storage, media streaming, and home automation tasks.
By connecting an external hard drive to your Pi server, you can create a Network Attached Storage (NAS) solution, allowing you to store and access files from any device on your network. This is ideal for backing up important documents, photos, and videos, as well as sharing files between family members or roommates.
Additionally, a Raspberry Pi server can act as a media server, streaming movies, TV shows, and music to your smart TV, gaming console, or mobile devices. With software like Plex or Kodi, you can organize your media library and enjoy seamless streaming throughout your home.
Finally, a Pi server can be the brain of your smart home, running home automation software like Home Assistant or OpenHAB. This allows you to control and monitor smart devices, such as lights, thermostats, and security cameras, from a single, unified interface. With a Raspberry Pi at the center of your home network, the possibilities for convenience and customization are endless.

Development and Testing Environment
A Raspberry Pi server provides an affordable and accessible platform for web development, application testing, and continuous integration/continuous deployment (CI/CD) pipelines. With its low cost and small form factor, a Pi server is an excellent choice for developers looking to create a local development environment without investing in expensive hardware.
By setting up a web server on a Raspberry Pi, developers can create and test web applications in a controlled environment before deploying them to production servers. This allows for faster iteration and better testing, ensuring high-quality web applications.
Moreover, a Raspberry Pi server can be used to run automated tests and build processes as part of a CI/CD pipeline. With tools like Jenkins or GitLab, developers can create automated workflows that build, test, and deploy their applications whenever changes are made to the codebase. This streamlines the development process and reduces the risk of errors or bugs making it into production.
Using a Raspberry Pi as a development and testing environment not only saves costs but also provides a hands-on learning experience for developers looking to improve their skills and understanding of server-side technologies.
Conclusion
In conclusion, running a server on a Raspberry Pi is not only possible but also a cost-effective and educational way to explore the world of server administration. Whether you’re setting up a personal cloud storage solution, hosting a website, or creating a home media server, the Raspberry Pi’s versatility and affordability make it an excellent choice for beginners and experienced users alike.
As you embark on your Raspberry Pi server journey, remember to choose the right model based on your needs, install a compatible operating system, and follow best practices for security and maintenance. With a little patience and experimentation, you’ll soon have a fully functional server running on your tiny but mighty Raspberry Pi.
To further expand your knowledge and skills, consider exploring the vast array of online resources, tutorials, and community forums dedicated to Raspberry Pi projects. From official documentation to user-created guides, you’ll find a wealth of information to help you optimize your server setup and tackle any challenges along the way.


