Transform your Raspberry Pi into a powerful network security monitor with this step-by-step guide. Learn how to bulletproof your Raspberry Pi security while setting up an affordable, effective tool for detecting and analyzing potential threats on your home network. This beginner-friendly tutorial covers everything from gathering the necessary supplies to configuring the software, empowering you to take a proactive approach to safeguarding your digital assets. By the end of this guide, you’ll have a fully functional network security monitor that can help you identify suspicious activity, block unwanted connections, and keep your devices safe from cyber attacks. Get ready to dive into the world of DIY cybersecurity and discover the power of using a Raspberry Pi to enhance your home network’s defenses.

Gathering Your Supplies
Hardware Requirements
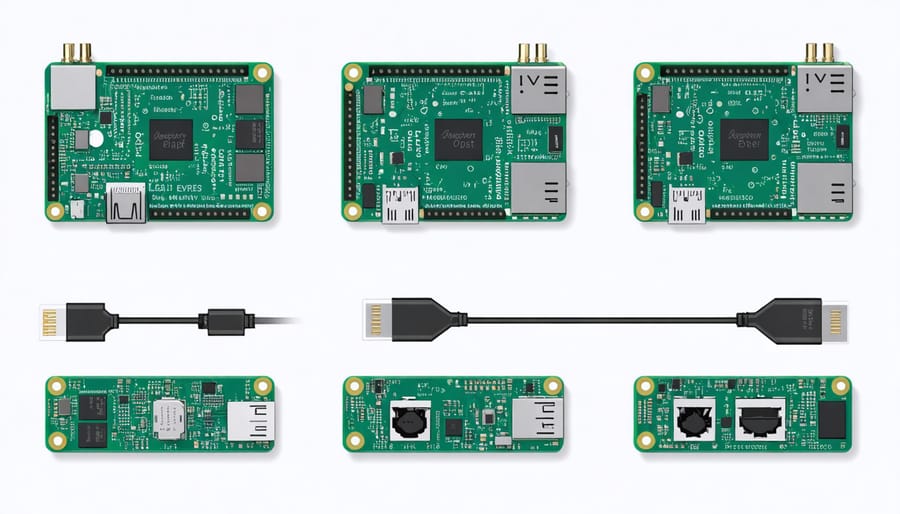
To build your Raspberry Pi network security monitor, you’ll need a Raspberry Pi 4 Model B (2GB RAM or higher) and a compatible power supply. A microSD card (16GB or larger) is required for the operating system and software. You’ll also need an Ethernet cable to connect the Pi to your network router or switch. Additionally, consider using a USB Ethernet adapter for a second network interface to monitor network traffic in promiscuous mode. Finally, a protective case is recommended to keep your Raspberry Pi safe and secure while it’s running.
Software Requirements
The Raspberry Pi network security monitor requires a Raspberry Pi single-board computer running the Raspberry Pi OS, a Debian-based Linux operating system optimized for the Pi hardware. This lightweight OS provides a stable and secure foundation for the monitoring tool.
To transform the Raspberry Pi into a network security monitor, you’ll need to install and configure several open-source software packages. The primary tool is Zeek (formerly known as Bro), a powerful network analysis framework that captures and analyzes network traffic in real-time. Zeek’s extensive scripting capabilities enable custom security monitoring rules and alerts.
Additionally, you may choose to install complementary tools like Snort, an intrusion detection and prevention system, or Suricata, a multi-threaded intrusion detection engine. These packages work in tandem with Zeek to enhance the Pi’s network security monitoring capabilities, providing a comprehensive and customizable solution for protecting your home network.
Step-by-Step Assembly & Setup

Hardware Assembly
To assemble your Raspberry Pi network security monitor, start by connecting the Raspberry Pi board to the case, ensuring a secure fit. Next, insert the microSD card with the pre-installed operating system into the designated slot on the board. Connect the Ethernet cable to the Raspberry Pi’s Ethernet port and plug the other end into your router or network switch.
If you’re using a USB Wi-Fi adapter, plug it into one of the USB ports on the Raspberry Pi. Attach the heat sinks to the processor and memory chips, following the manufacturer’s instructions. This step is crucial for preventing overheating during extended use.
Now, connect your monitor or display to the Raspberry Pi using an HDMI cable. If your display has built-in speakers, you can also connect an audio cable to the 3.5mm jack on the board. Plug in a USB keyboard and mouse to the remaining USB ports.
Finally, connect the power supply to the micro-USB power input on the Raspberry Pi. Double-check all connections before powering on the device. Once everything is securely connected, plug in the power supply to an electrical outlet and wait for the Raspberry Pi to boot up. You should see the operating system’s desktop or login screen on your connected display, indicating a successful hardware assembly.
Operating System Installation
To install the operating system on your Raspberry Pi, download the latest version of Raspberry Pi OS from the official website. Use a tool like Etcher to flash the OS image onto a microSD card. Once the flashing process is complete, insert the microSD card into your Raspberry Pi.
Connect a keyboard, mouse, and monitor to your Pi, then power it on. Follow the on-screen instructions to set up your language, time zone, and user account. When prompted, choose to expand the filesystem to ensure you have access to the full storage capacity of your microSD card.
Next, configure your network settings. If using an Ethernet connection, simply plug in the cable. For Wi-Fi, select your network and enter the password. Finally, update your system by opening a terminal and running “sudo apt update” followed by “sudo apt full-upgrade”. Reboot your Pi after the updates are installed, and you’ll have a fully configured OS ready for your network security monitoring project.
Security Software Setup
To set up your network security monitoring software on the Raspberry Pi, start by updating the system using the commands `sudo apt update` and `sudo apt upgrade`. Next, install Zeek (formerly Bro) by running `sudo apt install zeek`. Configure Zeek to monitor your network interface, such as `eth0`, by editing the `/etc/zeek/node.cfg` file.
Install Suricata with `sudo apt install suricata`. Modify the Suricata configuration file at `/etc/suricata/suricata.yaml` to specify your network interface and any custom rules you want to implement. You can find pre-made rule sets on the Emerging Threats website.
To visualize the data collected by Zeek and Suricata, install the ElasticSearch, Logstash, and Kibana (ELK) stack. Begin by installing Java using `sudo apt install default-jdk`. Then, follow the official Elastic guide to install ElasticSearch, Logstash, and Kibana on your Raspberry Pi.
Configure Logstash to ingest logs from Zeek and Suricata, and set up Kibana dashboards to display relevant security information. With the software installed and configured, your Raspberry Pi network security monitor is ready to start protecting your home network.

Configuring Your Network Monitor
Defining Alert Rules
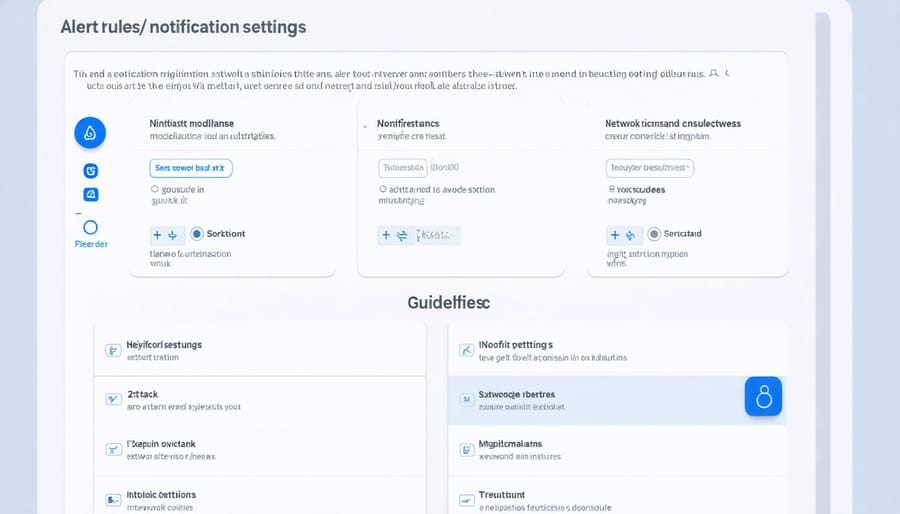
When defining alert rules for your Raspberry Pi network security monitor, consider the types of suspicious activity you want to flag. Common examples include multiple failed login attempts, unusual traffic spikes, connections from unknown IP addresses, and attempts to access restricted ports or services.
To set up these rules, use the built-in options in your chosen intrusion detection software. Most tools allow you to customize alert thresholds, such as the number of failed logins or the amount of traffic that triggers an alert. You can also specify which IP ranges or ports to monitor closely.
For example, you might create a rule that sends an alert when there are more than five failed SSH login attempts within a 10-minute window or when traffic on a specific port exceeds a certain threshold. Be sure to harden your device by changing default passwords and closing unnecessary ports to minimize false positives.
Experiment with different rule configurations to strike a balance between detecting genuine threats and avoiding alert fatigue. Over time, you’ll develop a better understanding of your network’s normal behavior and can fine-tune your alert rules accordingly.
Notification Options
The Raspberry Pi network security monitor offers several notification options to ensure you stay informed about potential security threats. Email alerts are a popular choice, as they allow you to receive notifications directly to your inbox. To set up email notifications, you’ll need to configure the monitoring software with your email server settings and specify the email address where you want to receive the alerts.
For more immediate notifications, you can opt for SMS alerts. This requires integrating an SMS gateway service with your monitoring software. Popular options include Twilio and Plivo, which provide APIs for sending text messages. Once set up, you’ll receive real-time SMS notifications whenever the system detects suspicious activity on your network.
Another option is to use instant messaging platforms like Slack or Telegram. These services offer APIs that allow you to send notifications directly to your preferred communication channels. By configuring your monitoring software to connect with these APIs, you can receive real-time alerts within your team’s existing collaboration tools.
For a more visual approach, you can set up a web-based dashboard that displays real-time security information. This can be achieved using tools like Grafana or Kibana, which integrate with the monitoring software to provide an intuitive, customizable interface for viewing and analyzing security data.
Regardless of the notification method you choose, it’s essential to properly configure the alerting thresholds to strike a balance between timely notifications and minimizing false positives. By tailoring the notification settings to your specific security needs, you can ensure that your Raspberry Pi network security monitor keeps you well-informed and prepared to respond to any potential threats.
Conclusion
In conclusion, building a Raspberry Pi network security monitor is an excellent way to enhance your home network’s security while learning valuable skills in the process. By leveraging the power of open-source tools and the versatility of the Raspberry Pi, you can create a low-cost, efficient, and customizable solution to monitor your network traffic and detect potential threats. This project not only provides a practical application for your Raspberry Pi but also helps you gain a deeper understanding of network security concepts and best practices. Whether you’re a tech enthusiast, hobbyist, or educator, this project offers a fun and engaging way to explore the world of cybersecurity. So, grab your Raspberry Pi, follow the steps outlined in this tutorial, and start building your own network security monitor today!
Frequently Asked Questions
Yes, the Raspberry Pi 4 and newer models are compatible with this network security monitoring project. For older models, you may need to adjust the software installation process slightly. Future upgrades to the Raspberry Pi hardware or the security monitoring software should not significantly impact the setup, as the core concepts remain the same. If you encounter issues during the installation or configuration process, first double-check that you have followed each step correctly. Common troubleshooting tips include ensuring your Pi has a stable power supply, verifying that your network connections are secure, and checking for any error messages in the terminal output. If you continue to face challenges, consult the official documentation for the specific software components you are using or seek support from the Raspberry Pi community forums, where experienced users are often happy to help beginners overcome obstacles.


