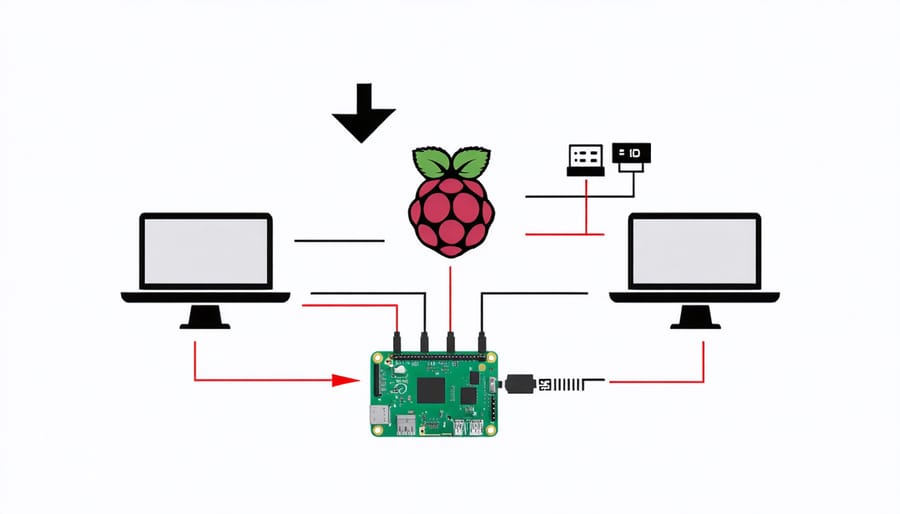
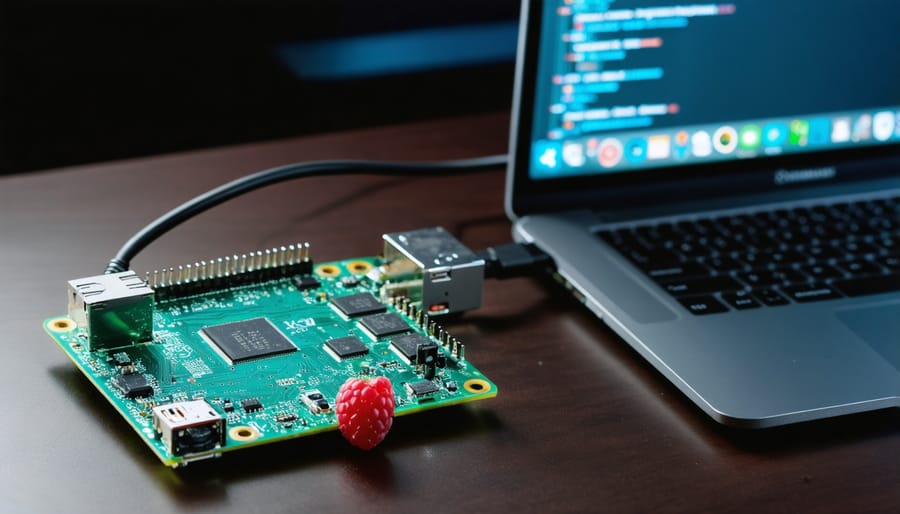
Dive into the world of cybersecurity with these engaging Raspberry Pi projects that will transform your understanding of digital threats and defenses. From setting up a Secure Your Raspberry Pi as a network monitoring tool to creating a portable hacking device, these hands-on tutorials provide practical experience in key cybersecurity concepts. With step-by-step instructions, detailed component lists, and clear explanations, you’ll gain the skills to detect vulnerabilities, analyze network traffic, and fortify your digital systems. Whether you’re a tech enthusiast or a curious beginner, these projects offer an accessible and exciting way to explore the critical world of cybersecurity using the versatile Raspberry Pi platform. Get ready to build, code, and defend as you embark on these captivating cybersecurity adventures.
Build a Raspberry Pi Firewall
Required Hardware and Software
To get started with your cybersecurity Raspberry Pi projects, you’ll need a Raspberry Pi board (preferably a Raspberry Pi 4 with at least 4GB RAM), a power supply, an SD card (minimum 16GB), and an Ethernet cable or Wi-Fi connection. You’ll also need a monitor, keyboard, and mouse for initial setup. On the software side, most projects utilize the Raspberry Pi OS (formerly Raspbian), which can be downloaded from the official Raspberry Pi website. Depending on the specific project, you may need to install additional tools like Nmap, Wireshark, or Kali Linux tools using apt-get or other package managers.
Configuration Steps
To configure the firewall on your Raspberry Pi, start by updating the system packages with the command sudo apt update && sudo apt upgrade. Next, install the Uncomplicated Firewall (UFW) by running sudo apt install ufw.
Before enabling the firewall, allow incoming SSH connections to maintain remote access. Use the command sudo ufw allow ssh or sudo ufw allow 22 to permit SSH traffic.
To allow incoming HTTP and HTTPS traffic for web server applications, enter sudo ufw allow http and sudo ufw allow https, or alternatively, sudo ufw allow 80 and sudo ufw allow 443.
If you need to open specific ports for other services or applications, use the command sudo ufw allow port_number/protocol. Replace “port_number” with the actual port and “protocol” with either “tcp” or “udp”.
Once you have allowed the necessary incoming connections, enable the firewall by running sudo ufw enable. Confirm the action by pressing “y” when prompted.
To verify the firewall status and rules, use the command sudo ufw status verbose. This will display a list of allowed and denied connections, along with the firewall status.
Remember to periodically review and update your firewall rules to ensure the security of your Raspberry Pi. You can deny specific incoming connections using sudo ufw deny port_number/protocol and delete existing rules with sudo ufw delete allow/deny rule.
By following these steps and regularly monitoring your firewall configuration, you can effectively protect your Raspberry Pi from unauthorized access and potential security threats.

Create a Portable Hacking Device

Setting Up Kali Linux
To set up Kali Linux on your Raspberry Pi, start by downloading the Kali Linux ARM image from the official website. Use a tool like Etcher to write the image to a microSD card. Insert the microSD card into your Raspberry Pi and connect it to a monitor, keyboard, and mouse.
Power on the Raspberry Pi and follow the on-screen instructions to complete the initial setup. Create a user account and password when prompted. Once the setup is complete, update the system by running the commands “sudo apt update” and “sudo apt upgrade” in the terminal.
Next, configure the network settings according to your requirements. If using a wireless connection, use the command “sudo iwconfig” to view available wireless interfaces and “sudo iwlist scanning” to scan for available networks. Edit the “/etc/network/interfaces” file to set up the wireless connection.
To enhance the security of your Kali Linux installation, consider changing the default SSH keys, disabling unnecessary services, and setting up a firewall using tools like UFW (Uncomplicated Firewall). Regular system updates and strong passwords are also crucial for maintaining a secure environment.
With Kali Linux set up on your Raspberry Pi, you now have a powerful and portable tool for learning and practicing various cybersecurity techniques, such as penetration testing, network analysis, and vulnerability assessment.
Essential Penetration Testing Tools
To get started with penetration testing on your Raspberry Pi, you’ll need to install some essential tools. Kali Linux, a popular penetration testing distribution, is a great choice for your Pi. It comes preloaded with a wide array of tools for network scanning, vulnerability assessment, and exploitation.
Key tools to explore include Nmap for network discovery and security auditing, Wireshark for packet analysis, and Metasploit for executing exploit code against target systems. You’ll also want to install Burp Suite, a powerful web application security testing platform.
For anonymity and security during your testing, consider setting up a VPN on your Pi. This will help protect your identity and encrypt your traffic. Additionally, familiarize yourself with methods to hide your IP address to further enhance your privacy.
Other useful tools include John the Ripper for password cracking, Hydra for brute-forcing login credentials, and Aircrack-ng for wireless network auditing. With these tools at your disposal, your Raspberry Pi will be a formidable penetration testing device. Just remember to use these tools responsibly and only on systems you have explicit permission to test.
Implement a Honeypot System
Honeypot Software Options
Several popular honeypot software options are compatible with the Raspberry Pi, making it an excellent platform for setting up a decoy system to lure and detect potential attackers. One well-known choice is Kippo, an SSH honeypot that simulates a vulnerable Linux system. It can log attacker interactions, including login attempts and commands executed. Another option is Dionaea, a multi-protocol honeypot that emulates various services like HTTP, FTP, and SMB. It captures malware samples and records attacker behavior. Cowrie, a fork of Kippo, adds more advanced logging and support for Telnet and SFTP. Is Raspberry Pi open source? Its open nature allows for easy customization of honeypot setups. With these software options, cybersecurity enthusiasts can transform their Raspberry Pi into an effective tool for studying and defending against malicious actors in a controlled environment.
Deployment and Monitoring
Once the honeypot is set up and configured, it’s time to deploy it and start monitoring for potential intrusions. Begin by connecting your Raspberry Pi to your network, either through an Ethernet cable or Wi-Fi. Ensure that the honeypot services are running and accessible from the network.
To monitor the honeypot, you can use various tools and techniques. One popular method is to set up logging and alerting using tools like Filebeat and Logstash. These tools help collect and centralize logs from the honeypot, making it easier to analyze and detect suspicious activities.
Another essential aspect of monitoring is visualizing the data collected by the honeypot. You can use tools like Grafana or Kibana to create interactive dashboards that display real-time metrics, such as the number of connections, source IP addresses, and targeted ports. These dashboards provide valuable insights into the traffic patterns and help identify potential threats.
In addition to passive monitoring, consider setting up alerts to notify you of specific events or anomalies. For example, you can configure alerts for high-volume traffic spikes, multiple failed login attempts, or connections from known malicious IP addresses. Tools like Prometheus Alertmanager or Nagios can help automate the alerting process and send notifications via email, SMS, or messaging platforms.
Remember to regularly update your honeypot’s software, plugins, and security patches to ensure its effectiveness and protect it from potential vulnerabilities. By deploying and monitoring your Raspberry Pi honeypot, you can gain valuable insights into the tactics and techniques used by attackers, contribute to the cybersecurity community, and enhance your own skills in threat detection and analysis.
Build a Network Monitoring Dashboard
Monitoring Tools and Setup
When it comes to monitoring your Raspberry Pi-based cybersecurity projects, open-source tools are the way to go. These tools provide powerful features and flexibility without breaking the bank. One popular option is Nagios, a comprehensive monitoring system that keeps track of your hardware, network, and services. Setting up Nagios on your Pi is straightforward – simply install the necessary packages and configure the monitoring settings to suit your needs. Another great tool is Grafana, which allows you to create stunning visualizations and dashboards to monitor your Pi’s performance and security metrics in real-time. With a little bit of setup, you can have Grafana up and running in no time, giving you valuable insights into your cybersecurity projects. Other notable open-source monitoring tools include Zabbix, Icinga, and Prometheus, each with their own unique features and strengths. By leveraging these tools on your Raspberry Pi, you can ensure that your cybersecurity projects are running smoothly and effectively, while also gaining valuable experience in system monitoring and management. So roll up your sleeves, dive into the world of open-source monitoring, and take your Raspberry Pi cybersecurity projects to the next level!
Configuring the Dashboard
To configure and customize your Raspberry Pi cybersecurity monitoring dashboard, start by accessing the dashboard interface through a web browser. The dashboard typically runs on a specific port, such as port 80 or 8080, depending on your setup. Once logged in, familiarize yourself with the dashboard layout and available options.
Most dashboards allow you to configure data sources, such as the Raspberry Pi itself, network devices, or external APIs. Add or modify data sources as needed, specifying the required connection details and authentication credentials. Next, customize the dashboard widgets to display relevant information. This may include system metrics, network traffic, intrusion detection alerts, or other security-related data.
Adjust the layout of the widgets by resizing, moving, or adding new ones to create a personalized view that suits your monitoring needs. Many dashboards support custom queries or scripts to retrieve specific data points. Explore these options to fine-tune the information displayed on your dashboard.
Additionally, configure alert thresholds and notifications to receive timely updates when suspicious activities or anomalies are detected. Specify the conditions that trigger alerts and choose the desired notification methods, such as email, SMS, or integration with other tools like Slack or PagerDuty.
Finally, consider setting up user roles and access controls to ensure that only authorized individuals can view and modify the dashboard. Regularly review and update the dashboard configuration to align with your evolving cybersecurity requirements and to incorporate any new features or enhancements provided by the dashboard software.

Conclusion
The Raspberry Pi cybersecurity projects explored in this article offer invaluable opportunities for skill development and hands-on learning. By engaging with these projects, you can gain practical experience in network security, intrusion detection, vulnerability assessment, and ethical hacking techniques. Not only will you enhance your understanding of cybersecurity concepts, but you’ll also develop problem-solving skills and the ability to think like a security professional.
Moreover, these projects provide a safe and controlled environment to experiment with cybersecurity tools and techniques without the risks associated with real-world systems. They allow you to learn from your mistakes, iterate on your approaches, and refine your skills at your own pace. Whether you’re a beginner looking to break into the field or an experienced professional seeking to expand your knowledge, these Raspberry Pi projects offer a fun and accessible way to dive into cybersecurity.
So, what are you waiting for? Grab your Raspberry Pi, gather the necessary components, and embark on an exciting journey of cybersecurity exploration. With the step-by-step tutorials and resources provided, you have everything you need to get started. Don’t be intimidated by the complexity of cybersecurity – these projects break it down into manageable chunks and guide you through the process. Take the first step, and you’ll be amazed at how quickly you can build your own cybersecurity tools and gain valuable insights into the world of information security. Happy hacking!
Further Reading
Explore the versatility of the Raspberry Pi with projects beyond cybersecurity. Discover how to build a solar-powered Raspberry Pi for sustainable computing, or learn to create a pocket-sized security camera with Raspberry Pi Zero.


