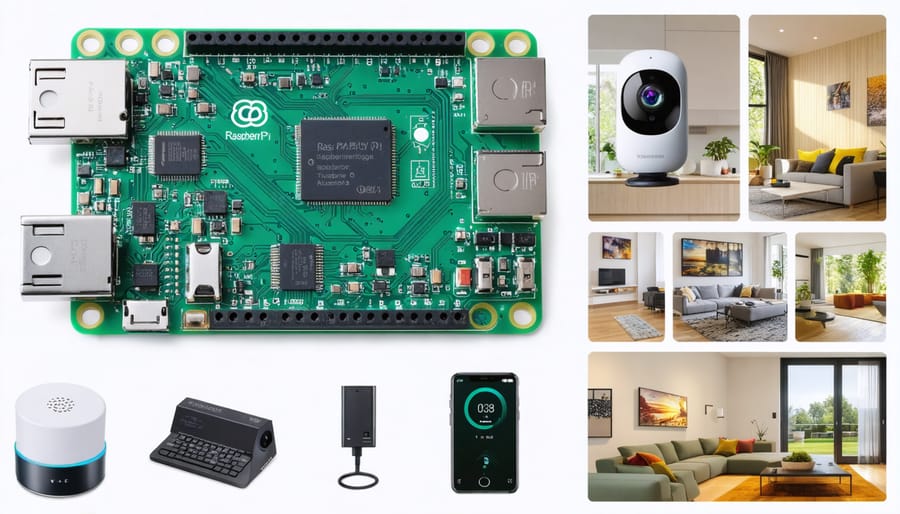
Unlock the power of the Raspberry Pi and transform your home into a smart, automated haven. With its compact size, versatile capabilities, and user-friendly interface, the Raspberry Pi is the perfect tool for creating customized home automation projects that simplify your life and elevate your living space.
Imagine controlling your lights, appliances, and security systems with a simple voice command or a tap on your smartphone. Picture your home adjusting its temperature, lighting, and ambiance based on your preferences and schedules. With Raspberry Pi home automation projects, these possibilities become reality.
Whether you’re a beginner looking to dip your toes into the world of home automation or an experienced tinkerer seeking advanced projects, the Raspberry Pi offers endless opportunities. From smart doorbells and voice-controlled assistants to intelligent energy management systems and automated plant watering, there’s a project for every skill level and interest.
In this article, we’ll guide you through the exciting journey of building your own Raspberry Pi home automation projects. We’ll cover the essential setup, provide step-by-step tutorials for popular projects, and share tips and tricks to help you unleash your creativity. Get ready to embark on a thrilling adventure that will redefine the way you interact with your home.
Getting Started with Raspberry Pi Home Automation

Hardware Requirements
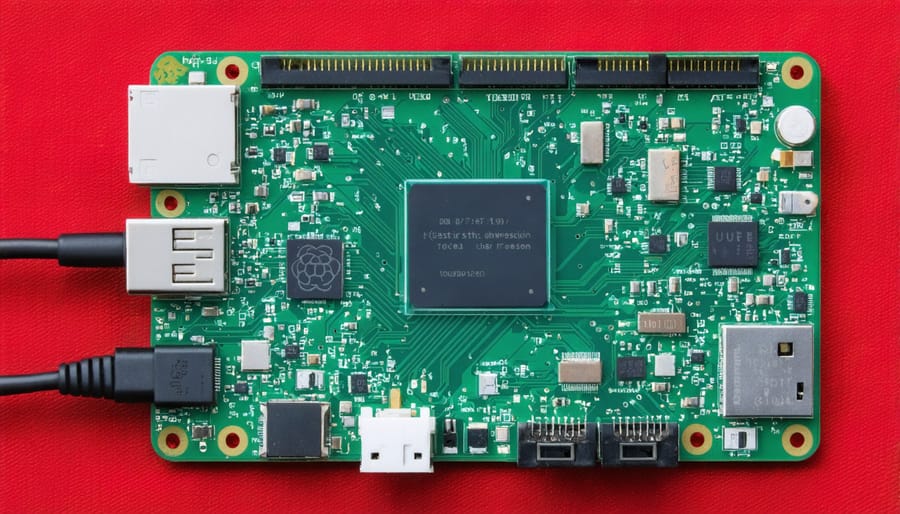
To get started with your Raspberry Pi home automation projects, you’ll need a few essential components. At the heart of your setup is the Raspberry Pi 4, a powerful single-board computer that offers the perfect balance of performance and affordability. You’ll also need a compatible power supply, a microSD card for storage, and an optional case to protect your Pi.
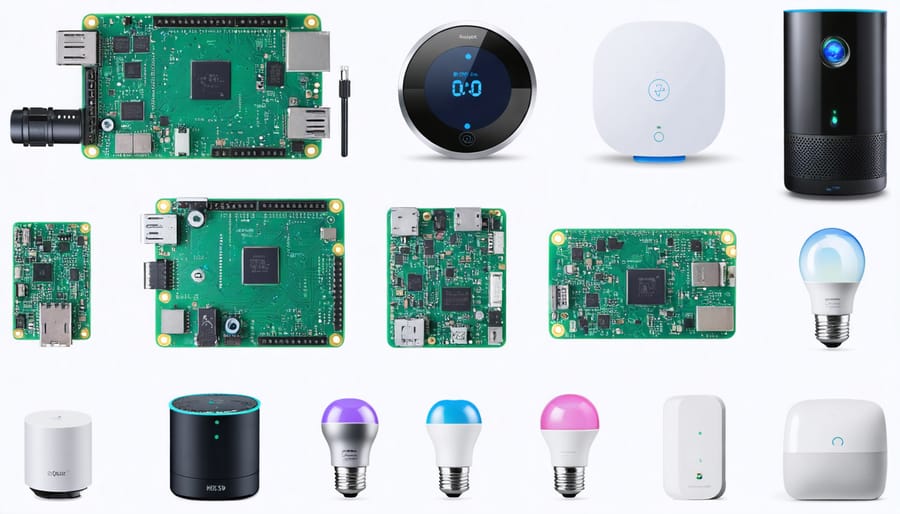
Depending on your specific projects, you may require additional sensors, actuators, and peripherals. These can include motion sensors, temperature sensors, cameras, relays, and more. You’ll also need jumper wires, breadboards, and a soldering iron for connecting components.
To control your home automation system remotely, you might consider adding a Wi-Fi dongle or Ethernet cable. A touchscreen display can provide an intuitive interface for monitoring and controlling your devices. Don’t forget to gather any necessary cables, such as HDMI for video output and USB for connecting peripherals.
As you plan your projects, make a list of the specific components you’ll need and ensure compatibility with your Raspberry Pi. With these essential hardware requirements in hand, you’ll be well-equipped to embark on your exciting home automation journey using the versatile Raspberry Pi platform.
Software Setup
To set up your Raspberry Pi for home automation projects, you’ll need to install and configure the necessary software. Start by installing the latest version of Raspberry Pi OS on your device. This can be done using the Raspberry Pi Imager, which simplifies the process of writing the OS image to an SD card.
Once the OS is installed, connect your Raspberry Pi to the internet and run the initial setup wizard. Update the system packages to ensure you have the latest versions of all the software. Next, install the required libraries and dependencies for your specific home automation projects, such as GPIO libraries for controlling sensors and actuators, or communication libraries like MQTT for sending and receiving messages between devices.
Depending on your project requirements, you may need to set up additional software such as Node-RED, a visual programming tool for wiring together hardware devices, APIs, and online services. Other popular software options include Home Assistant, a powerful open-source home automation platform, and OpenHAB, which provides a vendor-neutral approach to home automation.
Finally, configure the installed software according to your project needs, such as setting up MQTT brokers, configuring device drivers, and creating automation rules and workflows. With the necessary software installed and configured, your Raspberry Pi will be ready to control and automate various aspects of your home.

10 Raspberry Pi Home Automation Projects
Smart Thermostat
Creating a smart thermostat with a Raspberry Pi allows you to control your home’s temperature remotely and save energy. To build this project, you’ll need a Raspberry Pi, a temperature sensor (like the DS18B20), and a relay module to control your HVAC system. Connect the temperature sensor to the Raspberry Pi’s GPIO pins and the relay module to the HVAC system. Install the necessary libraries and write a Python script to read the temperature data and control the relay based on user-defined settings. Create a web interface or mobile app to allow remote access and control of the thermostat. With this setup, you can monitor and adjust your home’s temperature from anywhere, set schedules, and even implement machine learning algorithms to optimize energy efficiency based on your preferences and habits.
Voice-Controlled Lights
Setting up voice-controlled lights with a Raspberry Pi is an exciting and practical home automation project. To get started, you’ll need a Raspberry Pi, a compatible voice assistant (such as Google Assistant or Alexa), and smart light bulbs or switches. Begin by installing the necessary software on your Raspberry Pi, such as the Google Assistant SDK or the Alexa Skills Kit. Next, connect your smart lights to your home network and configure them using their respective apps. Once your lights are set up, create a new skill or action for your voice assistant that communicates with your Raspberry Pi. You can use programming languages like Python to write scripts that control your lights based on voice commands. With a bit of coding and configuration, you’ll be able to turn your lights on and off, adjust brightness, and even change colors using simple voice commands.
Home Security System
Building a DIY home security system with a Raspberry Pi, cameras, and motion sensors is an exciting project that offers customization and control over your home’s safety. Start by setting up your Raspberry Pi and connecting it to your network. Next, attach cameras and motion sensors to the Pi using compatible modules. Configure the software to detect motion, send alerts, and record footage when triggered. You can also set up remote access to monitor your home from anywhere. With some coding knowledge, you can create custom rules and integrations, such as turning on lights or sounding alarms when motion is detected. For inspiration and detailed instructions, check out these Home Security System projects that showcase the potential of a Raspberry Pi-powered security setup.
Smart Doorbell
Transform your front door into a smart doorbell with a Raspberry Pi. By integrating a camera, microphone, speaker, and motion sensor, you can create a system that sends notifications to your smartphone when someone rings the doorbell or approaches your door. The Raspberry Pi processes the input from the sensors and triggers the notification, which can include a live video feed and the option to initiate two-way communication. This allows you to see, hear, and speak with visitors remotely, enhancing your home’s security and convenience. Setting up the smart doorbell involves connecting the hardware components to the Raspberry Pi, configuring the software to detect motion and button presses, and setting up the notification system using a mobile app or email alerts. With this smart doorbell project, you’ll never miss a visitor again!
Automated Pet Feeder
Building an automated pet feeder with a Raspberry Pi is a fun and practical project that ensures your furry friends are fed on schedule. To create this device, you’ll need a Raspberry Pi, a servo motor, a food dispenser, and a few other components. Begin by setting up the Raspberry Pi and connecting the servo motor to control the dispenser’s opening and closing mechanism. Next, use a programming language like Python to create a script that controls the servo motor based on a predefined feeding schedule. You can customize the script to dispense specific amounts of food at designated times. Additionally, consider integrating a camera module to monitor your pet’s eating habits remotely or adding sensors to detect when the food dispenser is running low. With this automated pet feeder, you can ensure your pet’s meals are always on time, even when you’re away from home.

Smart Garden Irrigation System
A smart garden irrigation system using a Raspberry Pi is an efficient way to monitor soil moisture and control watering. To set it up, connect a soil moisture sensor to the Raspberry Pi’s GPIO pins and install a relay module to control the water pump. Use a programming language like Python to read the sensor data and trigger the relay based on predefined moisture thresholds. You can also incorporate additional sensors, such as temperature and humidity, to make more informed watering decisions. The Raspberry Pi can be programmed to send notifications or alerts via email or SMS when the soil moisture levels are too low or high. With a bit of coding and some basic hardware components, you can create a smart, automated irrigation system that optimizes water usage and ensures your plants receive the care they need.
Energy Monitoring System
Building an energy monitoring system with a Raspberry Pi is a great way to track and visualize your home’s energy consumption. Start by connecting a current sensor to your electrical panel and the Raspberry Pi’s GPIO pins. Install the necessary software, such as the EmonPi framework, which allows you to measure and record energy data. Use libraries like matplotlib or Plotly to create informative graphs and charts that display your energy usage patterns over time. Integrate the system with a web-based dashboard for easy access to real-time and historical data. This project not only helps you understand your energy consumption habits but also empowers you to make informed decisions to optimize energy efficiency and reduce costs. With a Raspberry Pi and a few additional components, you can gain valuable insights into your home’s energy usage.
Smart Mirror
Creating a Smart Mirror with a Raspberry Pi is a fascinating project that combines functionality and aesthetics. To get started, you’ll need a Raspberry Pi, a monitor, a two-way mirror, and a frame to house the components. Begin by setting up your Raspberry Pi with the necessary software, such as MagicMirror², an open-source platform designed for smart mirrors. This software allows you to display personalized information like weather updates, news headlines, calendar events, and more on your mirror’s surface. You can customize the layout and add modules to suit your preferences. Once you’ve configured the software, assemble the smart mirror by placing the monitor behind the two-way mirror and securing it in the frame. With your Raspberry Pi connected to the monitor and powering the system, you’ll have a sleek, intelligent mirror that keeps you informed and organized while elevating your home’s tech appeal.
Remote-Controlled Curtains
Automating curtains or blinds with a Raspberry Pi is a convenient and impressive home automation project. To get started, you’ll need a Raspberry Pi, a motor controller, a stepper motor or servo, and some basic hardware components. Begin by connecting the motor controller to the Raspberry Pi and the motor to the curtain or blind mechanism. Use Python libraries like RPi.GPIO or pigpio to control the motor’s movement based on user input or scheduled events. You can create a web interface or mobile app to remotely control the curtains, or set up a schedule for automatic opening and closing at specific times. Additionally, you can integrate light sensors to adjust the curtains based on ambient light levels, creating a truly automated experience. With a little creativity and coding skills, you can enjoy the convenience and energy savings of remote-controlled curtains in your smart home.
Multi-Room Audio System
Setting up a multi-room audio system with a Raspberry Pi allows you to stream synchronized music across your home. Start by installing the necessary software, such as Snapcast or Volumio, on your Raspberry Pi. Connect your speakers to the Pi using either analog or digital outputs, depending on your setup. Configure the software to recognize your speakers and create separate zones for each room. Once set up, you can use a web interface or mobile app to control playback, adjust volume, and manage your music library. With a Raspberry Pi-powered multi-room audio system, you can enjoy seamless, high-quality audio throughout your home, whether you’re listening to your favorite playlists, podcasts, or radio stations. This project is perfect for music enthusiasts looking to create an immersive audio experience in their smart home setup.
Conclusion
The potential for Raspberry Pi in home automation projects is truly remarkable. With its compact size, low cost, and versatile features, the Raspberry Pi has become a go-to choice for tech enthusiasts, hobbyists, and educators looking to create smart home solutions. From voice-controlled lights and automated plant watering systems to smart security cameras and energy monitoring devices, the possibilities are endless.
By exploring the projects outlined in this article, you have gained a solid foundation in using Raspberry Pi for home automation. However, this is just the beginning of your journey. With the knowledge and skills you’ve acquired, you can now let your creativity run wild and develop your own unique smart home solutions tailored to your specific needs and preferences.
Remember, the Raspberry Pi community is vast and supportive, with countless resources, tutorials, and forums available to help you along the way. Don’t be afraid to experiment, modify existing projects, and even create your own from scratch. The satisfaction of building a personalized smart home device that simplifies your daily life is truly unparalleled.
So, what are you waiting for? Embrace the exciting world of Raspberry Pi home automation and start building your own smart home projects today. With a little imagination, effort, and the power of Raspberry Pi, you can transform your living space into a cutting-edge, automated haven that enhances your comfort, convenience, and overall quality of life.


