Unlock the power of the Raspberry Pi 4 and bring your creative ideas to life with these beginner-friendly projects! From building a retro gaming console to creating a smart home hub, the RPi4 offers endless possibilities for hands-on learning and innovation. Our step-by-step tutorials will guide you through each project, helping you master the basics of electronics, programming, and DIY skills. Discover how to turn your RPi4 into a media center, a web server, or even a robot car, all while having fun and expanding your tech knowledge. Get ready to dive into the exciting world of Raspberry Pi 4 projects and unleash your inner maker today!

Retro Gaming Console
Hardware Setup
To get started with your Raspberry Pi 4 project, you’ll need a few essential components. First, gather a Raspberry Pi 4 board, a compatible power supply, a microSD card (at least 8GB), an HDMI cable, and a USB keyboard and mouse. You may also want a case to protect your Pi.
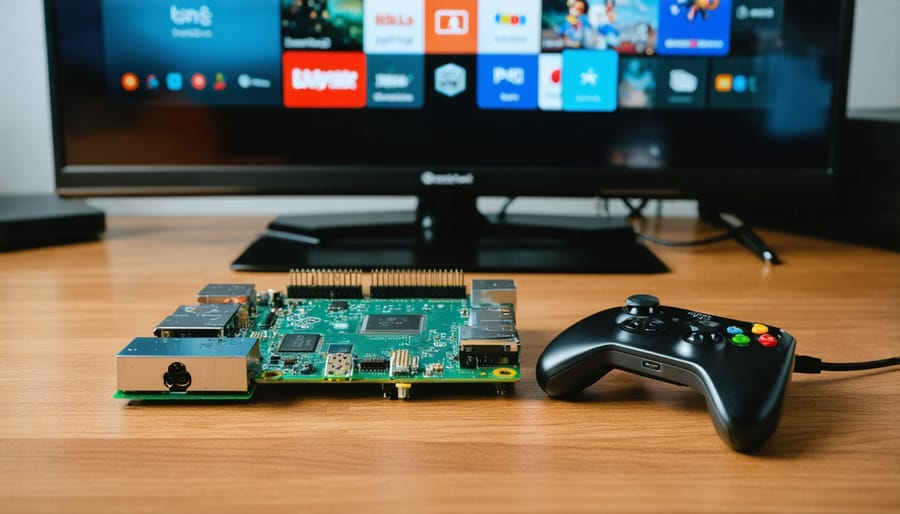
Begin by inserting the microSD card into your computer and using the Raspberry Pi Imager to install the desired operating system. Once complete, slot the microSD card into your Pi. Connect the HDMI cable to your monitor or TV, and plug in the keyboard, mouse, and any other peripherals you need for your specific project, such as a retro gaming machine. Finally, connect the power supply to your Pi and watch it boot up. With the hardware assembled, you’re ready to dive into your first Raspberry Pi 4 project!
Software Configuration
To set up your Raspberry Pi 4 for emulation, start by installing an emulation-focused operating system like RetroPie or Lakka. Download the OS image and use software like Etcher to flash it onto a microSD card. Insert the card into your RPi4, connect peripherals, and boot it up.
Once the OS is running, configure your controller settings and other preferences using the on-screen menus. Next, transfer your legally-obtained ROMs to the appropriate folders on the microSD card. You can do this via USB, SSH, or by removing the card and mounting it on another computer.
After adding your ROMs, restart the RPi4 to refresh the game list. Your emulators should now display the available games, ready to play. If needed, further tweak emulator settings to optimize performance for your specific games and preferences. With the software configured, you’re ready to enjoy retro gaming on your Raspberry Pi 4!

Smart Home Hub
Choosing Peripherals
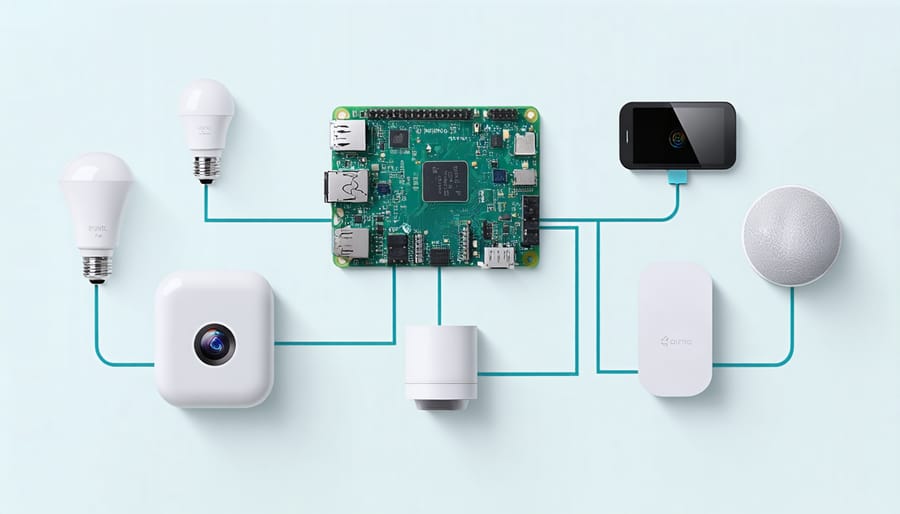
When choosing peripherals for your Raspberry Pi 4 smart home projects, consider beginner-friendly devices that are easy to set up and integrate. A popular option is the Sense HAT, an add-on board with sensors for temperature, humidity, pressure, and orientation, as well as an LED matrix display. It’s perfect for monitoring room conditions or creating a visual home automation system. Another great choice is the Pimoroni Automation HAT, which features relays, analog channels, and digital I/O for controlling lights, motors, and other devices. For voice control, the Google AIY Voice Kit enables you to build a voice assistant using the Google Assistant SDK. These peripherals offer a wide range of possibilities for your RPi4 smart home projects while remaining accessible to beginners.
Home Assistant Setup
Installing and configuring Home Assistant on your Raspberry Pi 4 is a straightforward process. Begin by flashing the Home Assistant image to a microSD card using a tool like Etcher. Insert the microSD card into your RPi4, connect it to your network via Ethernet or Wi-Fi, and power it on. Access the Home Assistant web interface by entering the RPi4’s IP address in a browser. From there, you can set up integrations with various smart home devices and services, such as smart lights, thermostats, and security cameras. Home Assistant supports a wide range of protocols, including Zigbee and Z-Wave, making it compatible with many popular smart home products. You can also create custom automations and scripts using the built-in editor or by writing YAML configuration files. With Home Assistant running on your Raspberry Pi 4, you’ll have a powerful, open-source platform for controlling and automating your smart home.
Creating Automations
With your Raspberry Pi 4, you can create custom home automations to simplify your life. For example, set up a smart doorbell that sends notifications to your phone when someone rings it. Or, automate your lights to turn on and off based on a schedule or motion detection. You can even build a voice-controlled assistant to manage your smart home devices hands-free. The possibilities are endless! With a little creativity and some basic programming skills, you can transform your home into a high-tech haven tailored to your needs and preferences.
Network Ad-Blocker
Pi-hole Installation
To install Pi-hole on your Raspberry Pi 4, start by updating your system with sudo apt update && sudo apt upgrade. Next, enter the following command to download and run the Pi-hole installer:
curl -sSL https://install.pi-hole.net | bash
Follow the on-screen prompts to configure your Pi-hole settings such as choosing an upstream DNS provider and selecting which lists to block. Once the installation is complete, you can access the Pi-hole web interface by entering your RPi4’s IP address in a web browser.
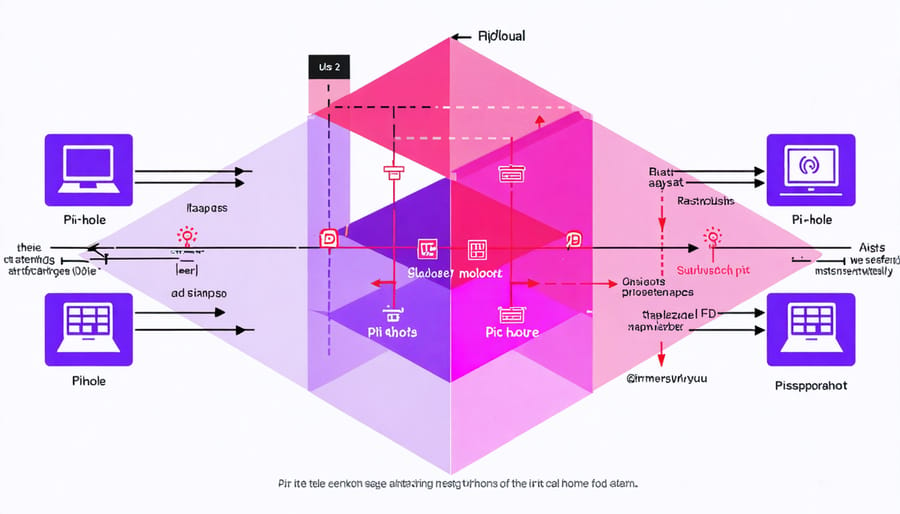
Configure your network devices to use the RPi4 as their DNS server, either by setting it manually on each device or by updating your router’s DHCP settings. Now, ads and trackers will be blocked across your entire network, providing a cleaner browsing experience and potentially improving network performance.

Router Configuration
To configure your router to use the Pi-hole, access your router’s admin interface and navigate to the DHCP settings. Locate the DNS server fields and replace any existing entries with the IP address of your Raspberry Pi running Pi-hole. This directs all DNS requests from devices on your network to the Pi-hole for filtering. Save the changes and restart your router if required. Connected devices may need to renew their DHCP leases to obtain the updated DNS settings. Once configured, the Pi-hole will block ads and unwanted content across your entire network, providing a cleaner browsing experience on all devices.
Personal Cloud Storage
Choosing a Cloud Platform
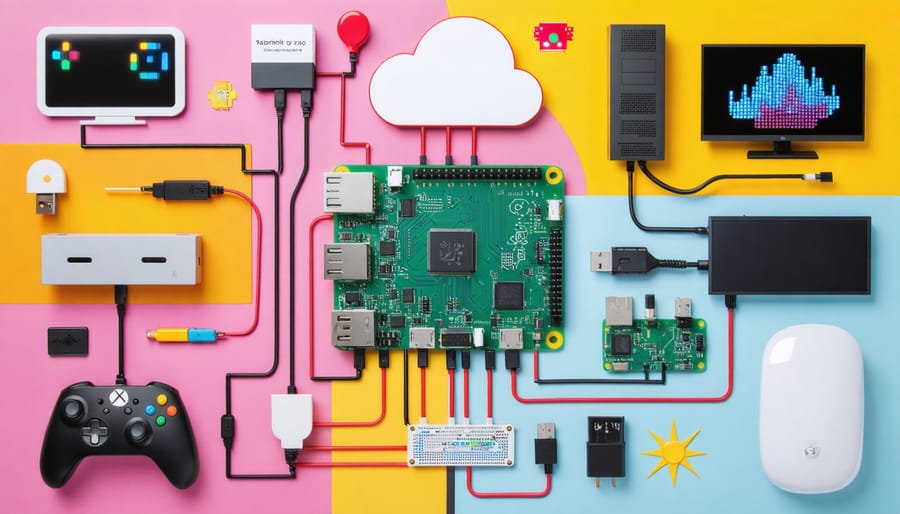
When setting up your Raspberry Pi 4 as a personal cloud server, you have several beginner-friendly self-hosted cloud software options. NextCloud and Seafile are two popular choices that offer easy installation and configuration on the RPi4. Both provide features like file syncing, sharing, and remote access. Pydio is another alternative with a user-friendly web interface and support for multiple storage backends. For a lightweight option, Syncthing focuses on simple, decentralized file synchronization without the need for a central server. Ultimately, the best choice depends on your specific needs and preferences, but these options are all well-suited for beginners exploring the world of self-hosted cloud solutions on their Raspberry Pi 4.
Storage Drive Setup
For your Raspberry Pi 4 storage needs, we recommend using a high-quality microSD card with a minimum capacity of 16GB and class 10 speed rating. This ensures optimal performance and sufficient space for your operating system and projects. To set up the microSD card, simply insert it into your computer’s card reader and use the Raspberry Pi Imager tool to flash the desired operating system. Once complete, safely eject the card and insert it into the microSD slot on your Raspberry Pi 4. Alternatively, you can use an external USB drive or SSD for additional storage capacity and faster read/write speeds, which is particularly beneficial for data-intensive projects.
Cloud Software Config
To set up your chosen cloud platform on your Raspberry Pi 4, start by ensuring your device is connected to the internet. For this tutorial, we’ll use AWS IoT Core as an example. Begin by creating an AWS account and navigating to the IoT Core dashboard. Click on “Onboard” and choose “Get started” under “Configuring a device.” Follow the prompts to create a new thing and download the connection kit containing the necessary certificates and keys. Next, install the AWS IoT Device SDK on your Raspberry Pi using pip. Move the downloaded certificates and keys to the appropriate directory and update the sample script with your unique endpoint and file paths. Finally, run the script to test the connection and verify that your Raspberry Pi is successfully communicating with AWS IoT Core. With this setup complete, you’re ready to start building exciting cloud-connected projects!
Conclusion
In conclusion, the Raspberry Pi 4 offers a wealth of opportunities for beginners to dive into the world of DIY electronics and programming. From setting up a personal web server to building a retro gaming console, these projects provide a hands-on introduction to the capabilities of this powerful single-board computer. As you gain confidence and skills, you’ll find that the possibilities with the Raspberry Pi 4 are truly endless.
Whether you’re a tech enthusiast, hobbyist, or educator, these beginner-friendly projects serve as a starting point for your journey with the Raspberry Pi 4. As you continue to explore and experiment, you’ll discover even more exciting applications and innovations that can be achieved with this versatile device. So, don’t be afraid to let your creativity run wild and embrace the learning opportunities that come with each project. The Raspberry Pi community is vast and supportive, ready to help you along the way as you unleash the full potential of your Raspberry Pi 4.


