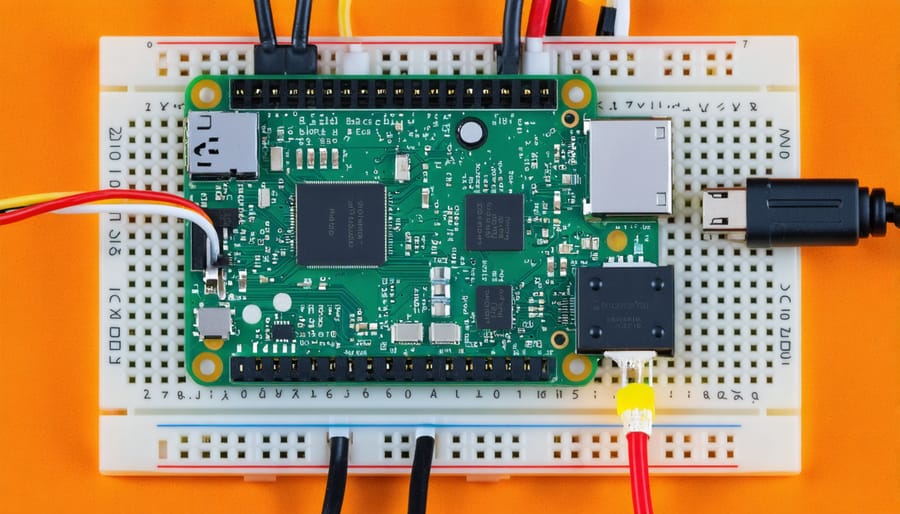
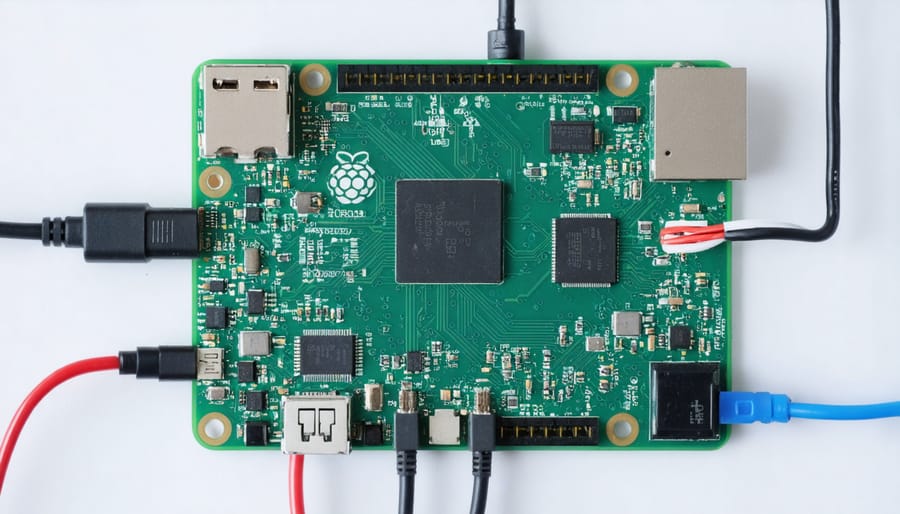
Discover the power of combining Raspberry Pi and JavaScript to create innovative projects and unlock new possibilities. This potent pairing allows you to harness the flexibility and accessibility of JavaScript with the versatility and affordability of Raspberry Pi, opening up a world of opportunities for hobbyists, educators, and professionals alike. Whether you’re a beginner looking to dive into the exciting realm of IoT and web-connected devices or an experienced developer seeking to push the boundaries of what’s possible, Raspberry Pi and JavaScript provide the perfect platform to bring your ideas to life. Get ready to explore, create, and innovate as we delve into the exciting intersection of Raspberry Pi and JavaScript.
Setting Up Your Raspberry Pi for JavaScript Development
Installing Node.js and npm
To get started with JavaScript on your Raspberry Pi, you’ll need to install Node.js and npm (Node Package Manager). Node.js is a JavaScript runtime that allows you to execute JavaScript code outside of a web browser, while npm is a package manager for installing and managing JavaScript libraries and tools.
Installing Node.js and npm on your Raspberry Pi is a straightforward process. First, open a terminal window on your Raspberry Pi and run the following command to update your system’s package list:
sudo apt update
Once the update is complete, you can install Node.js and npm by running:
sudo apt install nodejs npm
The installation process may take a few minutes, depending on your internet connection speed and the performance of your Raspberry Pi. After the installation is finished, you can verify that Node.js and npm are properly installed by checking their versions:
node -v
npm -v
These commands will display the installed versions of Node.js and npm, respectively. Now that you have Node.js and npm set up on your Raspberry Pi, you’re ready to start writing and running JavaScript code. In the next section, we’ll explore some simple JavaScript projects you can try on your Raspberry Pi, like controlling LEDs or reading data from sensors. Be sure to check out our Raspberry Pi 4 pinout guide to familiarize yourself with the board’s layout and available pins for your projects.
Configuring Your Development Environment
To set up a comfortable and efficient coding environment on your Raspberry Pi, start by connecting a high-quality keyboard and mouse for a seamless typing experience. Consider using a larger monitor or even multiple screens to give yourself ample space for coding and testing. Ensure your workspace has good lighting and ventilation to keep you focused and alert.
Next, choose an IDE (Integrated Development Environment) that suits your needs. Popular options for JavaScript development on the Pi include Visual Studio Code, Atom, and Sublime Text. These IDEs offer features like syntax highlighting, auto-completion, and debugging tools to streamline your workflow.
Customize your IDE’s settings, themes, and keyboard shortcuts to match your preferences and boost productivity. Install helpful extensions for JavaScript development, such as ESLint for code linting and Prettier for automatic code formatting.
To manage your JavaScript projects effectively, use version control systems like Git. This allows you to track changes, collaborate with others, and easily revert to previous versions if needed. Consider using platforms like GitHub or GitLab to host your repositories remotely.
Finally, optimize your Pi’s performance by managing resources effectively. Close unnecessary applications and browser tabs while coding to free up RAM. Regularly update your Pi’s operating system and development tools to ensure you have the latest features and security patches. By creating a tailored and efficient coding setup, you’ll be well-equipped to tackle your JavaScript projects on the Raspberry Pi.
Getting Started with JavaScript on Raspberry Pi
Blinking an LED with JavaScript
Here’s a simple project to get started with controlling an LED using JavaScript on your Raspberry Pi. First, connect an LED to GPIO pin 18 (or any other GPIO pin) on your Pi. Make sure to use a resistor to limit the current and protect the LED.
Next, create a new JavaScript file and import the ‘onoff’ library, which provides an easy way to interact with GPIO pins. Use the ‘Gpio’ constructor to create a new object for your LED, specifying the pin number and direction (output).
To make the LED blink, create a function that toggles the state of the LED using the ‘writeSync’ method. The function should alternate between turning the LED on (1) and off (0) each time it’s called.
Set up an interval using ‘setInterval’ to call your blinking function at a regular interval, such as every 500ms (half a second). This will cause the LED to continuously blink on and off.
Finally, run your JavaScript file using Node.js on your Raspberry Pi. You should see the connected LED blinking at the specified interval.
Feel free to experiment with different intervals, or try adding more LEDs connected to different GPIO pins. You can also explore the ‘onoff’ library further to discover more advanced LED control techniques, such as PWM (Pulse Width Modulation) for adjusting brightness.
With this basic example under your belt, you’ll be ready to tackle more complex projects using JavaScript and Raspberry Pi, such as building an LED display or creating a web interface to control your LEDs remotely.
Reading Sensor Data with JavaScript
Reading sensor data with JavaScript on a Raspberry Pi is a straightforward process. To get started, you’ll need to connect your sensor to the Pi’s GPIO pins and install the necessary libraries. For this example, we’ll use the popular DHT11 temperature and humidity sensor and the node-dht-sensor library.
First, connect the DHT11 sensor to your Pi following the manufacturer’s instructions. Typically, this involves connecting the VCC pin to 3.3V, GND to ground, and the DATA pin to a GPIO pin (e.g., GPIO4). Next, install the node-dht-sensor library by running `npm install node-dht-sensor` in your project directory.
Now, create a new JavaScript file (e.g., `dht11.js`) and require the library:
“`javascript
const sensor = require(‘node-dht-sensor’);
“`
To read data from the sensor, use the `read()` method, specifying the sensor type and GPIO pin:
“`javascript
sensor.read(11, 4, function(err, temperature, humidity) {
if (!err) {
console.log(`Temperature: ${temperature}°C, Humidity: ${humidity}%`);
}
});
“`
This code reads the temperature and humidity values from the DHT11 sensor connected to GPIO4 and logs them to the console. You can run the script with `node dht11.js` to see the output.
To take this further, you could create a web server using Express.js to display the sensor data in real-time on a web page or send the data to a cloud platform like Firebase for remote monitoring. The possibilities are endless when combining sensors, Raspberry Pi, and JavaScript!
Advanced JavaScript Projects for Raspberry Pi

Building a Web-Controlled Robot
Building a web-controlled robot with Raspberry Pi and JavaScript is an exciting project that combines hardware and software skills. First, assemble your robot using a Raspberry Pi, motors, sensors, and a chassis. Install Node.js on the Pi and use the Johnny-Five library to interact with the hardware components. Create a web interface using HTML, CSS, and JavaScript to control the robot remotely. Use WebSockets to establish real-time communication between the web interface and the robot. Implement functions to control the robot’s movements, such as forward, backward, left, and right. You can also add features like streaming video from a camera attached to the robot. This project is a great way to learn about robotics projects and how to integrate Raspberry Pi with JavaScript. With some creativity and experimentation, you can build an impressive web-controlled robot that showcases your skills.

Creating a Raspberry Pi-Powered Web Server
Setting up a web server on your Raspberry Pi using Node.js and Express is a straightforward process. First, install Node.js on your Pi by running the appropriate commands in the terminal. Once Node.js is installed, create a new directory for your web server project and navigate to it. Initialize a new Node.js project using `npm init` and follow the prompts. Next, install the Express framework by running `npm install express`. Create a new file named `server.js` and require the Express module. Set up a basic Express server by specifying a port to listen on and defining routes for handling HTTP requests. Finally, start the server by running `node server.js` in the terminal. Your Raspberry Pi is now running a web server, accessible from any device on the same network by entering the Pi’s IP address and the specified port in a web browser.
Conclusion
In conclusion, using JavaScript with your Raspberry Pi opens up a world of exciting possibilities for interactive projects and innovations. By following the setup guide and exploring the starter projects, you’ll gain hands-on experience with JavaScript programming on the Raspberry Pi. As you become more comfortable, don’t hesitate to dive into more advanced projects and push the boundaries of what you can create. The Raspberry Pi community is full of inspiring ideas and supportive members who are always eager to share their knowledge. So go ahead, unleash your creativity, and embark on your own JavaScript journey with the Raspberry Pi!


