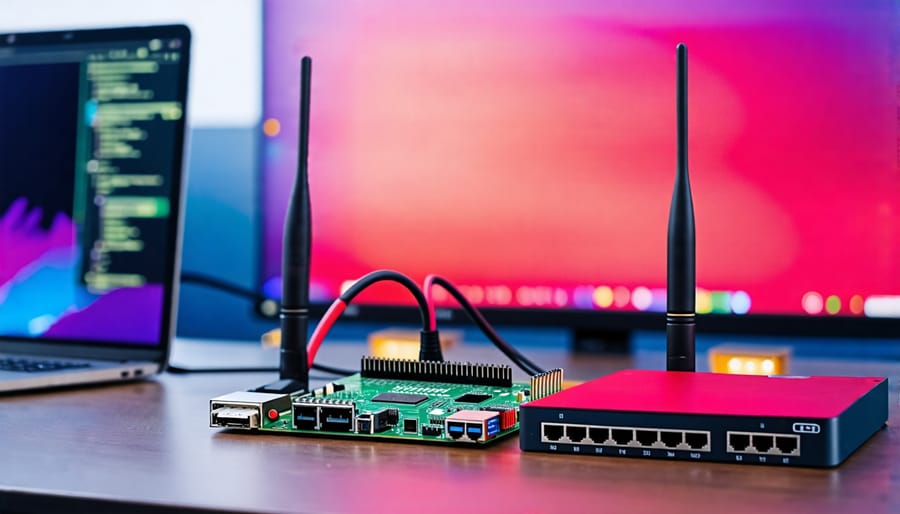
Unlock the power of your Raspberry Pi by transforming it into a versatile router. With a few simple steps, you can create a cost-effective, customizable networking solution that offers remote access, enhanced security, and granular control over your home or office network. Discover how this tiny computer can revolutionize your networking setup, providing an efficient and flexible alternative to traditional routers. Embrace the limitless possibilities of the Raspberry Pi and take control of your connectivity like never before.
Why Use a Raspberry Pi as a Router?

Customization and Flexibility
Using a Raspberry Pi as a router offers unparalleled customization and flexibility compared to traditional off-the-shelf routers. With a Raspberry Pi, you have complete control over your network configuration, allowing you to tailor it to your specific needs. You can install and configure various software packages, such as DNS servers, VPN clients, or ad-blocking tools, to enhance your network’s functionality and security. Moreover, the Raspberry Pi’s GPIO pins enable you to connect additional hardware, such as LEDs or displays, to monitor your network status or create custom interfaces. This level of customization is not possible with most consumer-grade routers, which often have limited configuration options and closed-source firmware. By leveraging the power of open-source software and the Raspberry Pi’s versatile hardware, you can build a router that perfectly suits your requirements, whether you need advanced security features, specific network protocols, or unique functionalities for your projects.
Cost-Effectiveness
Using a Raspberry Pi as a router can be a cost-effective alternative to purchasing a high-end commercial router. While top-of-the-line routers with advanced features can cost several hundred dollars, a Raspberry Pi setup can be assembled for a fraction of that price. The Raspberry Pi board itself is relatively inexpensive, and the additional components required, such as a power supply, SD card, and Ethernet cables, are also affordable. This makes it an attractive option for those on a budget who still want to enjoy the benefits of a feature-rich router. Furthermore, using a Raspberry Pi allows for greater customization and control over the router’s functionality, which can lead to cost savings in the long run by eliminating the need for additional hardware or software purchases. Overall, the cost-effectiveness of a Raspberry Pi router setup makes it an appealing choice for tech enthusiasts, hobbyists, and educators looking to explore networking projects without breaking the bank.
Hardware and Software Requirements
Hardware Components
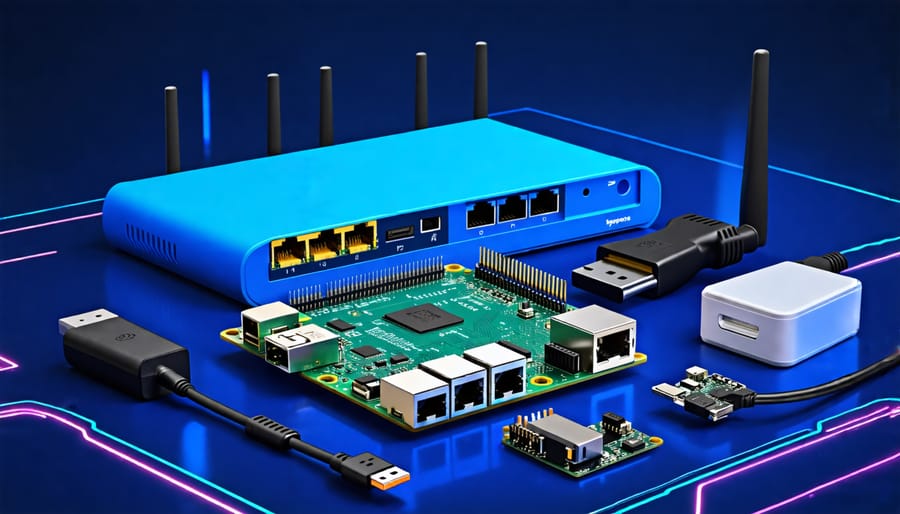
To use a Raspberry Pi as a router, you’ll need a few essential hardware components. First, choose a suitable Raspberry Pi model, such as the Raspberry Pi 4 or Raspberry Pi 3 B+, which offer built-in Ethernet ports and sufficient processing power. You’ll also need at least two Ethernet cables to connect the Raspberry Pi to your modem and other devices. A reliable power supply, such as the official Raspberry Pi power adapter, is crucial to ensure stable operation. Additionally, consider using a case to protect your Raspberry Pi from dust and damage. While not essential, a heat sink can help dissipate heat and maintain optimal performance. With these hardware components, you’ll be well-equipped to set up your Raspberry Pi as a versatile and cost-effective router for your home network.

Software Requirements
To transform your Raspberry Pi into a fully functional router, you’ll need to install a compatible operating system and a few essential software packages. We recommend using the Raspberry Pi OS (formerly Raspbian), as it offers a user-friendly interface and supports a wide range of networking tools. Begin by downloading the latest version of Raspberry Pi OS from the official website and installing it on your Pi’s SD card.
Once your Raspberry Pi is up and running, update the system packages to ensure you have the latest versions. Open the terminal and run the following commands:
“`
sudo apt update
sudo apt upgrade
“`
Next, install the necessary software packages for configuring your Pi as a router. The key components include:
– dnsmasq: A lightweight DNS and DHCP server
– hostapd: A service that allows your Pi to act as a Wi-Fi access point
– iptables: A firewall and packet filtering tool
Install these packages by running:
“`
sudo apt install dnsmasq hostapd iptables
“`
With the operating system and essential software packages in place, you’re now ready to configure your Raspberry Pi as a router.
Step-by-Step Guide: Setting Up Your Raspberry Pi Router
Installing the Operating System
To install the operating system on your Raspberry Pi, start by downloading the recommended OS image, such as Raspberry Pi OS (formerly Raspbian), from the official Raspberry Pi website. Next, use a tool like Etcher to write the OS image to a microSD card. This process will erase any existing data on the card, so make sure to back up important files before proceeding.
Insert the microSD card into your Raspberry Pi and connect it to a power source. The Raspberry Pi will boot up, and you’ll see the initial setup screen. Follow the on-screen instructions to configure basic settings like language, time zone, and Wi-Fi connection. It’s also a good idea to update the system packages to ensure you have the latest security patches and software versions. Open a terminal and run the following commands:
“`
sudo apt update
sudo apt upgrade
“`
Once the update process is complete, your Raspberry Pi is ready for the next steps in setting it up as a router. With the operating system installed and updated, you can now proceed to configure the necessary software and settings to transform your Raspberry Pi into a fully functional router.
Configuring Network Settings
To configure the network settings on your Raspberry Pi router, you’ll need to set up the IP addressing and DHCP. Start by assigning static IP addresses to the Raspberry Pi’s ethernet (eth0) and wireless (wlan0) interfaces. Open the “/etc/dhcpcd.conf” file and add the following lines:
interface eth0
static ip_address=192.168.1.1/24
interface wlan0
static ip_address=192.168.2.1/24
These settings assign the IP address 192.168.1.1 to the ethernet interface and 192.168.2.1 to the wireless interface. The “/24” represents the subnet mask of 255.255.255.0.
Next, install the DHCP server by running “sudo apt-get install dnsmasq”. Configure the DHCP server by editing the “/etc/dnsmasq.conf” file. Uncomment and modify the following lines:
interface=wlan0
dhcp-range=192.168.2.2,192.168.2.100,255.255.255.0,24h
This configuration enables DHCP on the wireless interface (wlan0) and sets the IP range from 192.168.2.2 to 192.168.2.100, with a lease time of 24 hours.
To enable IP forwarding, open the “/etc/sysctl.conf” file and uncomment the line:
net.ipv4.ip_forward=1
Apply the changes by running “sudo sysctl -p”.
Finally, configure the firewall to allow traffic between the ethernet and wireless interfaces. Install the firewall package with “sudo apt-get install iptables” and add the following rules:
sudo iptables -t nat -A POSTROUTING -o eth0 -j MASQUERADE
sudo iptables -A FORWARD -i eth0 -o wlan0 -m state –state RELATED,ESTABLISHED -j ACCEPT
sudo iptables -A FORWARD -i wlan0 -o eth0 -j ACCEPT
These rules enable Network Address Translation (NAT) and allow traffic to flow between the interfaces.
Save the firewall rules by running “sudo sh -c “iptables-save > /etc/iptables.ipv4.nat”” and configure the rules to load on boot by editing the “/etc/rc.local” file. Add the following line before “exit 0”:
iptables-restore < /etc/iptables.ipv4.nat With these network settings in place, your Raspberry Pi is now configured to act as a router, assigning IP addresses to connected devices and enabling internet access through the ethernet interface.

Enabling Wireless Connectivity
To enable wireless connectivity on your Raspberry Pi router, you’ll need to configure the built-in Wi-Fi interface. Start by opening the configuration file for the wireless interface using the command sudo nano /etc/network/interfaces. Locate the section for wlan0 and update it with the following lines:
auto wlan0
iface wlan0 inet static
    address 192.168.42.1
    netmask 255.255.255.0
    wireless-channel 1
    wireless-essid PiRouter
    wireless-mode ap
This configuration sets up the Wi-Fi interface with a static IP address, netmask, channel, SSID (network name), and access point mode. Save the changes and exit the editor.
Next, install the necessary wireless tools and hostapd, which is the access point software, by running:
sudo apt update

sudo apt install wireless-tools hostapd
Create a new configuration file for hostapd with sudo nano /etc/hostapd/hostapd.conf and add the following:
interface=wlan0
driver=nl80211
ssid=PiRouter
hw_mode=g
channel=1
wpa=2
wpa_passphrase=YourSecurePassword
wpa_key_mgmt=WPA-PSK
wpa_pairwise=TKIP
rsn_pairwise=CCMP
auth_algs=1
macaddr_acl=0
Replace YourSecurePassword with a strong password for your wireless network. Save and exit the editor.
Edit the default hostapd configuration file at /etc/default/hostapd and uncomment the DAEMON_CONF line, updating it to:
DAEMON_CONF="/etc/hostapd/hostapd.conf"
Finally, enable the hostapd service to start at boot:
sudo systemctl unmask hostapd

sudo systemctl enable hostapd
Reboot your Raspberry Pi, and your wireless router should now be broadcasting the “PiRouter” SSID. Connect to it using the password you set earlier, and you’ll be ready to configure the rest of your Raspberry Pi router setup.
Conclusion
In conclusion, using a Raspberry Pi as a router offers a cost-effective, customizable, and educational solution for creating a home network. By following the step-by-step guide provided in this article, you can set up your own Raspberry Pi router, configure it to your specific needs, and enjoy the benefits of a secure and efficient network. This project not only helps you gain a better understanding of networking concepts but also allows you to explore the vast possibilities of the Raspberry Pi platform.
We encourage you to embark on this exciting project and experience the satisfaction of building your own router. Don’t be intimidated if you’re new to Raspberry Pi or networking; the Raspberry Pi community is known for its supportive and helpful members. There are numerous resources available online, including forums, tutorials, and video guides, to assist you throughout the process.
As you continue your journey with Raspberry Pi, consider exploring other fascinating projects that can further enhance your skills and knowledge. The Raspberry Pi Foundation’s official website and forums are excellent starting points for finding inspiration and connecting with like-minded enthusiasts.
By using a Raspberry Pi as a router, you’ll not only improve your home network but also develop valuable skills in Linux, networking, and hardware configuration. Embrace the opportunity to learn, create, and innovate with this versatile single-board computer.


