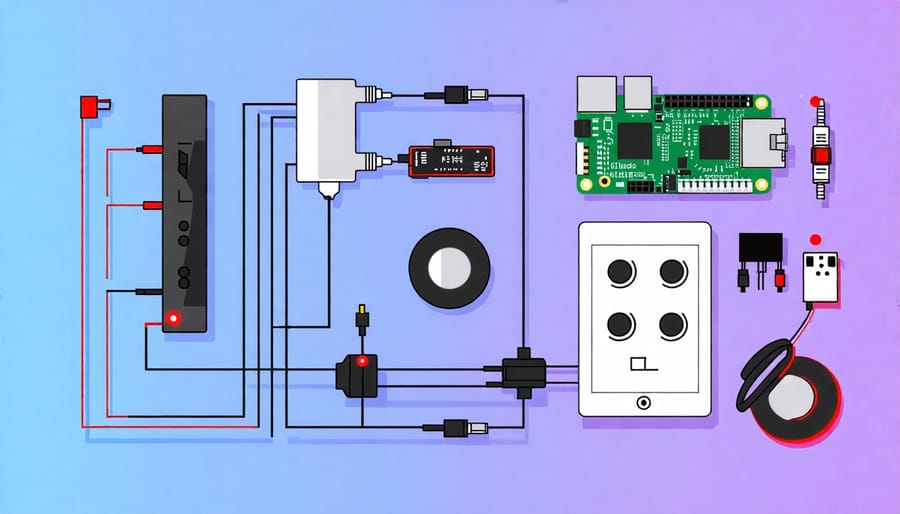
Transform your Raspberry Pi into a powerful audio interface for recording, music production, and more. This versatile single-board computer offers a cost-effective solution for creating a DIY audio interface with professional-grade capabilities. By leveraging the Raspberry Pi’s GPIO pins, USB ports, and audio jack, you can build a customized audio interface tailored to your specific needs. With a few essential components and some configuration, your Raspberry Pi audio interface will rival commercial options at a fraction of the cost. Unlock the full potential of your Raspberry Pi and take your audio projects to the next level.
Understanding Audio Interfaces

Analog-to-Digital Conversion
When using a Raspberry Pi as an audio interface, it’s crucial to understand how analog-to-digital conversion works. Audio interfaces are designed to convert analog audio signals from instruments or microphones into digital data that can be processed and recorded by a computer. This process involves sampling the continuous analog waveform at regular intervals and assigning each sample a binary value. The higher the sampling rate and bit depth, the more accurate the digital representation of the original analog signal. Most modern audio interfaces, including those built with a Raspberry Pi, support sampling rates up to 192 kHz and bit depths of 24 bits, ensuring high-quality audio capture. By converting analog signals to digital, you can record, edit, and manipulate audio using software on your Raspberry Pi, opening up a world of possibilities for music production and audio projects.
Digital-to-Analog Conversion
To convert the digital audio signals back to analog for playback, the Raspberry Pi audio interface employs a digital-to-analog converter (DAC). The DAC takes the digital audio data, which consists of binary numbers representing the audio waveform, and translates it into a continuous analog signal that can be sent to speakers or headphones. This process involves reconstructing the original analog waveform from the discrete digital samples, typically using techniques like oversampling and low-pass filtering to smooth out the signal and reduce artifacts. High-quality DACs in audio interfaces ensure accurate and detailed analog signal reproduction, resulting in superior audio quality compared to built-in sound cards. When selecting a Raspberry Pi audio interface, consider the DAC specifications, such as bit depth and sample rate, to ensure it meets your audio quality requirements for your specific applications, whether it’s music production, high-fidelity playback, or professional recording.
Why Use a Raspberry Pi as an Audio Interface?
Using a Raspberry Pi as an audio interface offers several compelling advantages for tech enthusiasts, hobbyists, and educators. One of the primary benefits is the low cost compared to dedicated audio interfaces. With a Raspberry Pi, you can create a functional audio interface for a fraction of the price, making it an attractive option for those on a budget or looking to experiment with audio projects.
Another significant advantage is the level of customization and flexibility that a Raspberry Pi offers. As an open-source platform, you have complete control over the software and can tailor the setup to your specific needs. This allows you to install and configure various audio-related programs, plugins, and libraries, enabling you to create a personalized audio interface that suits your unique requirements.
The Raspberry Pi’s compact size and portability are also notable benefits. You can easily integrate it into existing setups or create mobile recording solutions, making it ideal for on-the-go recording, live performances, or field recordings. The device’s small footprint also means it can be discreetly tucked away, minimizing clutter in your workspace.
Furthermore, using a Raspberry Pi as an audio interface opens up a world of learning opportunities. It allows you to dive into the intricacies of audio processing, gain a deeper understanding of how audio interfaces work, and develop valuable skills in Linux, command-line interfaces, and audio software configuration. This hands-on experience can be particularly beneficial for students, educators, and anyone interested in exploring the intersection of technology and audio.

Hardware Requirements
Raspberry Pi Board
For an ideal Raspberry Pi audio interface setup, we recommend using the Raspberry Pi 4 with at least 2GB of RAM. This model offers a powerful quad-core processor, USB 3.0 ports for faster data transfer, and better overall performance compared to previous versions. While older models like the Raspberry Pi 3B+ can still work, the Raspberry Pi 4’s enhanced specifications make it better suited for handling audio processing tasks and running music software smoothly. Ensure you have a compatible power supply and a reliable microSD card with sufficient storage capacity for your operating system and audio projects.
USB Audio Interface
When using a Raspberry Pi as an audio interface, you’ll need a compatible USB audio interface to handle the audio input and output. Look for interfaces with good quality preamps, low-latency drivers, and support for your desired sample rates and bit depths. Popular options include the USB audio interface Focusrite Scarlett Solo, PreSonus AudioBox USB 96, and Behringer U-Phoria UM2. These interfaces offer a range of features, such as XLR and instrument inputs, phantom power for condenser microphones, and direct monitoring capabilities. Choose an interface that meets your specific needs and budget, and ensure it’s compatible with your Raspberry Pi model and operating system.
Other Peripherals
In addition to the Raspberry Pi and audio interface, you’ll need a few other peripherals to get your setup up and running. A micro USB cable is essential for powering the Raspberry Pi, while a standard USB cable connects the audio interface to the Pi. Don’t forget a reliable power supply that provides at least 2.5A to ensure your Raspberry Pi has enough juice to handle audio processing tasks. You may also want to invest in a case to protect your Raspberry Pi from dust and damage. Finally, consider using high-quality audio cables to connect your instruments or microphones to the audio interface for optimal sound quality.

Step-by-Step Setup Guide
Installing the Operating System
To install a compatible OS on your Raspberry Pi, start by downloading the Raspberry Pi OS image from the official website. Next, use a tool like Etcher to flash the image onto a microSD card. Insert the microSD card into your Raspberry Pi and connect it to a monitor, keyboard, and mouse. Power on the device and follow the on-screen instructions to set up your preferred language, time zone, and user credentials. Once the setup is complete, update the system by running “sudo apt update” and “sudo apt upgrade” in the terminal. With these steps, you’ll have a compatible OS running on your Raspberry Pi, ready to be configured as an audio interface. If you encounter any issues during the installation process, refer to the official Raspberry Pi documentation or seek help from the community forums.
Connecting the Audio Interface
To connect your USB audio interface to the Raspberry Pi, simply plug the interface into one of the USB ports on the Pi. Ensure that the audio interface is powered on and any necessary drivers are installed. The Raspberry Pi should automatically detect the connected device. If you have multiple USB devices connected, you may need to configure the audio settings to set the USB audio interface as the default input and output device. This can be done through the Raspberry Pi’s system settings or by editing the configuration files. Once properly connected and configured, your Raspberry Pi is ready to be used as an audio interface for recording or music production.
Configuring Audio Settings
To configure your Raspberry Pi to recognize and use the audio interface, start by connecting the interface to the Pi’s USB port. Then, open a terminal and run aplay -l to list available audio devices. Look for your interface in the output.
Next, update your system with sudo apt update and sudo apt upgrade. Install the required audio tools using sudo apt install alsa-utils pulseaudio.
Open the configuration file with sudo nano /etc/asound.conf and add the following lines, replacing “YourAudioInterface” with your device’s name:
pcm.!default {
  type plug
  slave {
    pcm "hw:YourAudioInterface"
  }
}
Save the file and exit. Then, open /etc/pulse/default.pa and add load-module module-alsa-sink device=hw:YourAudioInterface at the end. Save and exit.
Reboot your Pi with sudo reboot. Once it restarts, your audio interface should be recognized and set as the default device.
To test the setup, connect a microphone or instrument to the interface and run arecord -f cd -d 10 test.wav to record a 10-second clip. Play it back with aplay test.wav. If you hear the recording, your Raspberry Pi is now configured to use the audio interface!
Troubleshooting Common Issues
When using your Raspberry Pi as an audio interface, you may encounter a few common issues. If you’re experiencing crackling or popping sounds, it could be due to insufficient power supply. Make sure your Raspberry Pi is connected to a reliable power source that provides at least 5V and 3A. Another potential cause of audio glitches is high CPU usage. Try closing unnecessary applications and processes to free up resources for audio processing.
If you’re not hearing any sound output, double-check your audio connections and ensure that your Raspberry Pi is set as the default audio device in your software settings. It’s also worth verifying that your audio drivers are up to date and compatible with your Raspberry Pi model.
In some cases, you may experience latency or delay in your audio signal. To minimize latency, try adjusting your audio buffer size in your software settings. A smaller buffer size will reduce latency but may require more processing power. Experiment with different buffer sizes to find the optimal balance for your setup.
If you encounter any other issues or error messages, consult the official Raspberry Pi documentation and forums for specific troubleshooting steps. The Raspberry Pi community is a valuable resource for finding solutions to common problems and sharing experiences with other users.
Remember, troubleshooting is a natural part of the learning process when working with Raspberry Pi projects. Don’t get discouraged if you run into obstacles along the way. With patience and persistence, you’ll be able to overcome most issues and enjoy the benefits of using your Raspberry Pi as a versatile audio interface.
Conclusion
In conclusion, using a Raspberry Pi as an audio interface offers a cost-effective, customizable, and compact solution for recording and music production. By leveraging the power of this tiny computer, you can create a high-quality audio setup that rivals more expensive commercial options. With the right hardware and software, setting up a Raspberry Pi audio interface is a straightforward process that can be completed in just a few steps. Whether you’re a musician, podcaster, or audio enthusiast, experimenting with a Raspberry Pi audio interface is an exciting way to explore the world of digital audio and expand your creative possibilities. So why not give it a try and unleash the potential of your Raspberry Pi today?


