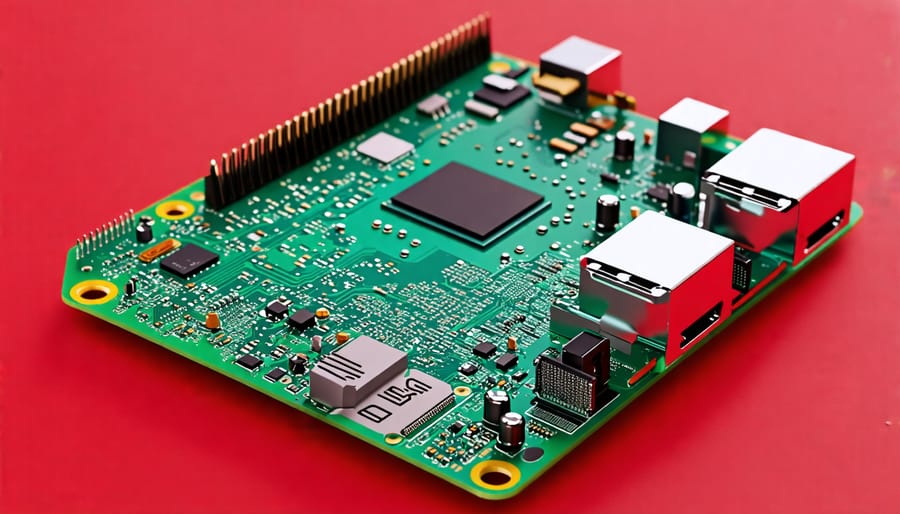
Discover the power of water cooling to unlock the full potential of your chosen Raspberry Pi models. Elevate your Raspberry Pi’s performance to new heights by implementing a custom water cooling solution that efficiently dissipates heat, enabling stable overclocking for demanding applications. Dive into this comprehensive guide to learn about the benefits of water cooling, the essential components you’ll need, and step-by-step instructions to build your own high-performance, water-cooled Raspberry Pi. Embrace the cutting-edge of Raspberry Pi customization and push the boundaries of what’s possible with this powerful single-board computer. Get ready to transform your Raspberry Pi into a silent, ultra-fast, and remarkably cool powerhouse that will take your projects to the next level.
Understanding the Benefits of Water Cooling

Improved Thermal Management
Water cooling is an effective way to dissipate heat from the Raspberry Pi, allowing it to maintain optimal performance even under heavy loads. Unlike traditional air cooling, which relies on fans and heatsinks, water cooling uses a liquid coolant to absorb and transfer heat away from the processor. This coolant is pumped through a water block that sits directly on top of the Raspberry Pi’s SoC, efficiently drawing heat away from the chip. The heated coolant then flows through a radiator, where it is cooled by fans before being recirculated back to the water block. This continuous cycle of heat transfer enables the Raspberry Pi to operate at lower temperatures, even when overclocked or running resource-intensive applications. By maintaining a stable, cool operating temperature, water cooling can help prevent thermal throttling, ensure consistent performance, and potentially extend the lifespan of your Raspberry Pi. Additionally, the improved thermal management provided by water cooling allows for more aggressive overclocking, enabling users to push their Raspberry Pi’s performance to new heights without the risk of overheating or instability.
Increased Overclocking Potential
Water cooling your Raspberry Pi unlocks its full potential for overclocking by keeping temperatures stable under heavy loads. Overclocking involves increasing the clock speed of the CPU and GPU beyond their default settings, which can lead to significant performance gains. However, this process generates more heat, which can cause thermal throttling and instability if not properly managed.
By efficiently dissipating heat, water cooling allows you to push your Raspberry Pi’s clock speeds higher without compromising stability. Lower operating temperatures enable you to experiment with more aggressive overclock settings, potentially achieving speeds of 2.0 GHz or more on the CPU and 750 MHz on the GPU, depending on your specific model and cooling setup.
With a well-designed water cooling system, you can maintain these high clock speeds for extended periods without the risk of overheating or thermal throttling. This is particularly beneficial for resource-intensive applications like gaming, video encoding, or running complex simulations. By keeping your Raspberry Pi cool and stable, you can unlock its full performance potential and tackle demanding projects with confidence.
Gathering the Necessary Components
To gather the necessary components for your Raspberry Pi water cooling project, you’ll need a few key hardware items and supplies. Start with a Raspberry Pi board (any model will work, but we recommend the Raspberry Pi 4 for its higher performance). Next, you’ll need a water block specifically designed for the Raspberry Pi, which will transfer heat from the CPU to the water. Look for a high-quality copper or aluminum water block for optimal thermal conductivity.
You’ll also need a small water pump to circulate the coolant through the system. A 12V DC pump with a flow rate of around 200-300 L/h should suffice. To store and cool the liquid, get a small reservoir and radiator. A 120mm radiator and a 200-300ml reservoir will work well for this setup.
To connect all the components, you’ll need some tubing (preferably soft, flexible silicone tubing with an inner diameter matching your water block and radiator fittings) and fittings (G1/4″ fittings are common for PC water cooling). Don’t forget to get a bottle of premixed coolant or distilled water with corrosion inhibitors and biocides to prevent algae growth and protect your components.
Finally, you may need some additional items like a fan for the radiator, thermal pads or paste for the water block, cable ties, and a drill or hole saw if you plan to mount the radiator and reservoir in a custom case. Make sure to double-check the compatibility of all your components before purchasing them to ensure a smooth and leak-free assembly process.


Step-by-Step Assembly Guide
Preparing the Raspberry Pi
Before attempting to water-cool your Raspberry Pi, it’s crucial to safely disassemble the board. Start by unplugging all cables and peripherals, including the power supply. Gently remove the Raspberry Pi from its case, if applicable. Take note of the Raspberry Pi pinout and the location of key components like the CPU, GPU, and RAM.
Using a small Phillips screwdriver, carefully remove the heatsinks from the CPU and other chips. Be cautious not to damage any components during this process. If your Raspberry Pi has a pre-installed fan, detach it from the board.
Next, clean the surfaces of the chips using a soft, lint-free cloth or cotton swab dipped in isopropyl alcohol. This step ensures optimal thermal conductivity between the water block and the components. Allow the alcohol to evaporate completely before proceeding.
Inspect the Raspberry Pi board for any signs of damage or corrosion. If everything looks good, you’re ready to move on to the next stage of the water cooling installation process. Remember to handle the board with care and always ground yourself by touching a metal object to prevent electrostatic discharge from damaging sensitive components.
Assembling the Water Cooling Loop
To assemble the water cooling loop for your Raspberry Pi, start by connecting the water block to the CPU using the provided thermal paste and mounting hardware. Ensure a secure fit to maximize heat transfer. Next, attach the tubing to the water block’s inlet and outlet ports, securing them with the appropriate fittings or clamps.
Connect the other end of the inlet tubing to the pump’s outlet, and the pump’s inlet to the radiator’s outlet. This creates a continuous loop for the coolant to circulate. When attaching tubing to the radiator and pump, use the provided fittings and clamps to prevent leaks.
Double-check that all connections are tight and secure before proceeding. Fill the reservoir with the recommended coolant, ensuring it’s compatible with your system’s components. Slowly pour the coolant into the reservoir, allowing it to fill the tubing and other components. Keep filling until the reservoir is at the appropriate level.
Before powering on the system, thoroughly check for any leaks or loose connections. If everything looks good, connect the pump and fans to the appropriate power sources and headers on the Raspberry Pi. Power on the system and monitor the coolant flow and temperature to ensure proper functioning.
It’s crucial to regularly maintain your water cooling loop. Periodically check for leaks, ensuring the coolant level remains adequate, and clean the components as needed to prevent buildup and optimize performance. By following these steps and maintaining your water cooling system, you’ll be able to effectively cool your Raspberry Pi and unlock its full potential.
Filling and Leak Testing
Here is the section content for “Filling and Leak Testing” in 100 words:
With all components securely in place, it’s time to fill the loop with coolant. Use a funnel to carefully pour the coolant into the reservoir, ensuring no air bubbles are trapped. Once filled, connect the power supply and run the pump at low speed to circulate the fluid. Inspect all fittings and connections for any leaks or drips. If leaks are found, immediately power off the system and address the issue before proceeding. Allow the loop to run for several hours, periodically checking for leaks. Once confident there are no leaks, your Raspberry Pi water cooling system is ready for action!
Configuring and Optimizing Performance
Once you’ve successfully set up your water-cooled Raspberry Pi, there are several steps you can take to fine-tune its performance. First, ensure that your operating system and all software packages are up-to-date. This will help optimize compatibility and stability. Next, consider overclocking your Raspberry Pi to push its processing power to the limits. With water cooling in place, you can safely increase clock speeds without risking thermal throttling or damage. However, be sure to incrementally test stability and temperatures as you overclock to find the sweet spot for your specific setup.
Another key aspect of performance optimization is effective power management. Adjust your Raspberry Pi’s power settings to strike a balance between performance and efficiency based on your workload requirements. Monitoring system resources like CPU usage, memory allocation, and disk I/O can help you identify potential bottlenecks and make informed optimization decisions.
Lastly, don’t forget to secure your Raspberry Pi by implementing best practices such as strong passwords, regular updates, and firewalls. By taking a holistic approach to configuration and optimization, you can unlock the full potential of your water-cooled Raspberry Pi for even the most demanding projects and applications.
Conclusion
In conclusion, water cooling your Raspberry Pi offers numerous benefits, including improved performance, increased stability, and the ability to overclock for even better results. By following the step-by-step guide and using the recommended components, you can create an efficient and reliable water cooling system for your Raspberry Pi. Not only will this project help you push the limits of your device, but it also serves as an excellent learning opportunity for those interested in computer hardware and thermal management. So, whether you’re a tech enthusiast, hobbyist, or educator, we encourage you to give this Raspberry Pi water cooling project a try and experience the benefits firsthand. Happy tinkering!


