

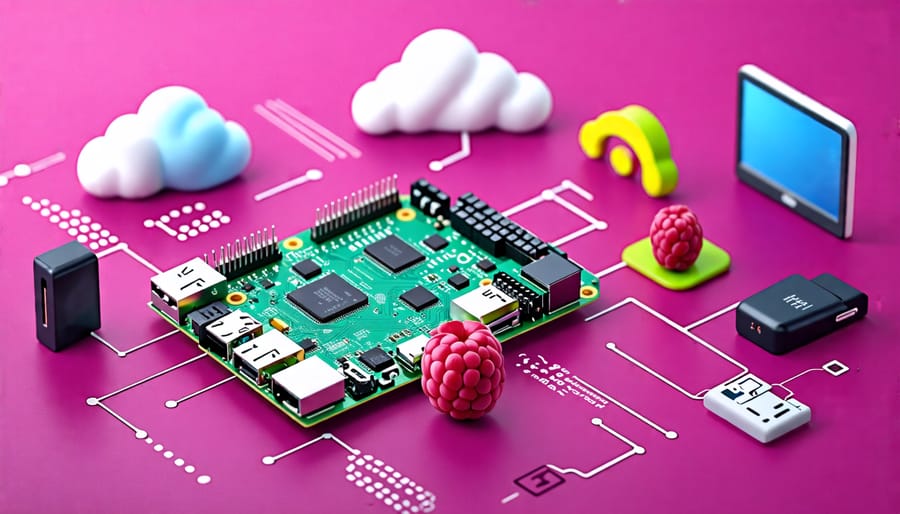
Unlock the power of cloud computing with your Raspberry Pi, the tiny computer that’s revolutionizing the tech world. Imagine turning your Pi into a remote server, accessible from anywhere on the planet – it’s not just possible; it’s easier than you think. By connecting your Raspberry Pi to the cloud, you open up a world of possibilities for remote access, data storage, and innovative projects that push the boundaries of what this versatile device can do.
In this comprehensive guide, we’ll walk you through the process step-by-step, from choosing the right cloud platform to setting up your hardware and software for seamless integration. Whether you’re a hobbyist looking to explore new frontiers or an educator seeking to inspire your students, this article will equip you with the knowledge and tools to make your Raspberry Pi cloud projects a reality.
Get ready to discover the incredible potential of your Raspberry Pi when it’s connected to the vast resources of the cloud. Let’s dive in and start building something amazing together!
Choosing the Right Cloud Platform
AWS IoT
AWS IoT is a powerful platform that enables seamless integration between Raspberry Pi and the cloud. With AWS IoT, you can securely connect your Raspberry Pi to the AWS cloud, allowing you to collect, process, and analyze data from your IoT devices. The platform offers a wide range of features, including device management, data collection, and real-time analytics. You can easily register your Raspberry Pi as a “thing” in the AWS IoT platform, and then use the AWS IoT SDK to establish a secure connection between your device and the cloud. Once connected, you can leverage the power of AWS services, such as AWS Lambda, Amazon S3, and Amazon DynamoDB, to build sophisticated IoT applications. Whether you’re looking to create a home automation system, a weather monitoring station, or a smart garden, the AWS IoT platform provides the tools and flexibility you need to bring your ideas to life.
Google Cloud IoT Core
Google Cloud IoT Core is a powerful platform that enables seamless connectivity between Raspberry Pi devices and the cloud. With IoT Core, you can easily manage, monitor, and control your Raspberry Pi projects from anywhere in the world. The platform supports secure communication protocols like MQTT and HTTP, ensuring your data is protected during transmission. IoT Core also integrates with other Google Cloud services, such as Cloud Pub/Sub and Cloud Functions, allowing you to build sophisticated IoT applications that leverage the full power of the cloud. Whether you’re building a smart home system, an industrial monitoring solution, or an educational project, Google Cloud IoT Core provides a reliable and scalable infrastructure for connecting your Raspberry Pi to the cloud. With its user-friendly interface and extensive documentation, IoT Core makes it easy for developers of all skill levels to bring their Raspberry Pi projects to life in the cloud.
Microsoft Azure IoT Hub
Microsoft Azure IoT Hub is a powerful cloud-based solution that seamlessly integrates with Raspberry Pi, enabling users to create robust and scalable IoT projects. With its extensive set of features and tools, Azure IoT Hub simplifies the process of connecting, monitoring, and managing IoT devices. Raspberry Pi enthusiasts can leverage Azure IoT Hub’s secure device-to-cloud and cloud-to-device communication capabilities to exchange data and commands efficiently. The platform also offers real-time monitoring, remote configuration, and over-the-air updates, ensuring that your Raspberry Pi projects remain up-to-date and optimized. Azure IoT Hub’s extensive documentation and support for multiple programming languages make it accessible to developers of all skill levels. Whether you’re building a smart home solution, an industrial monitoring system, or an educational project, Microsoft Azure IoT Hub provides a reliable and feature-rich platform to bring your Raspberry Pi innovations to life in the cloud.
Setting Up Your Raspberry Pi for Cloud Connection
Hardware Requirements
To connect your Raspberry Pi to the cloud, you’ll need the following necessary hardware components:
– Raspberry Pi board (any model)
– Power supply (micro USB for older models, USB-C for newer ones)
– MicroSD card (at least 8GB, Class 10 recommended)
– Ethernet cable or Wi-Fi adapter (if not built-in)
– HDMI cable and monitor (for initial setup)
– USB keyboard and mouse (for initial setup)
Ensure your Raspberry Pi has a stable power source and a reliable internet connection. A case is optional but recommended to protect the board.
Software Configuration
To set up your Raspberry Pi for cloud integration, start by installing a compatible operating system. Raspberry Pi OS (formerly Raspbian) is the official and most popular choice, offering a user-friendly interface and extensive support. Download the OS image from the official Raspberry Pi website and flash it onto a microSD card using a tool like Etcher or Raspberry Pi Imager.
Once the OS is installed, boot up your Raspberry Pi and connect it to the internet. Open the terminal and update the system packages by running “sudo apt update” and “sudo apt upgrade”. This ensures you have the latest security patches and software versions.
Next, install the necessary packages for your chosen cloud platform. For example, if you’re using AWS IoT, you’ll need to install the AWS IoT Device SDK for Python. Run “sudo pip install AWSIoTPythonSDK” to install the SDK. Similarly, if you’re using Google Cloud IoT Core, install the Google Cloud SDK by running “curl https://sdk.cloud.google.com | bash”.
Depending on your project requirements, you may need to install additional software packages. For instance, if you’re using your Raspberry Pi as a web server, install Apache or Nginx. If you’re working with databases, consider installing MySQL or PostgreSQL. Use the package manager (apt) to easily install these software components.
Finally, configure your Raspberry Pi to automatically connect to your preferred cloud platform on startup. This may involve creating a systemd service or modifying the rc.local file. Consult your cloud platform’s documentation for specific instructions on setting up automatic connection and authentication.
By following these software configuration steps, your Raspberry Pi will be ready to securely connect and interact with your chosen cloud platform, opening up a world of possibilities for IoT projects and remote access.
Security Considerations
When connecting your Raspberry Pi to the cloud, it’s crucial to prioritize security. Implement security best practices such as using strong passwords, enabling two-factor authentication, and regularly updating your operating system and software. Ensure your Raspberry Pi is protected by a firewall and consider using a virtual private network (VPN) for secure remote access. Regularly monitor your device’s network activity and logs for any suspicious behavior. When selecting a cloud platform, opt for reputable providers that offer robust security features and comply with industry standards. By following these measures, you can minimize the risk of unauthorized access and protect your data as it travels between your Raspberry Pi and the cloud. Remember, security is an ongoing process, so stay vigilant and proactively address any potential vulnerabilities to keep your Raspberry Pi and cloud connection secure.
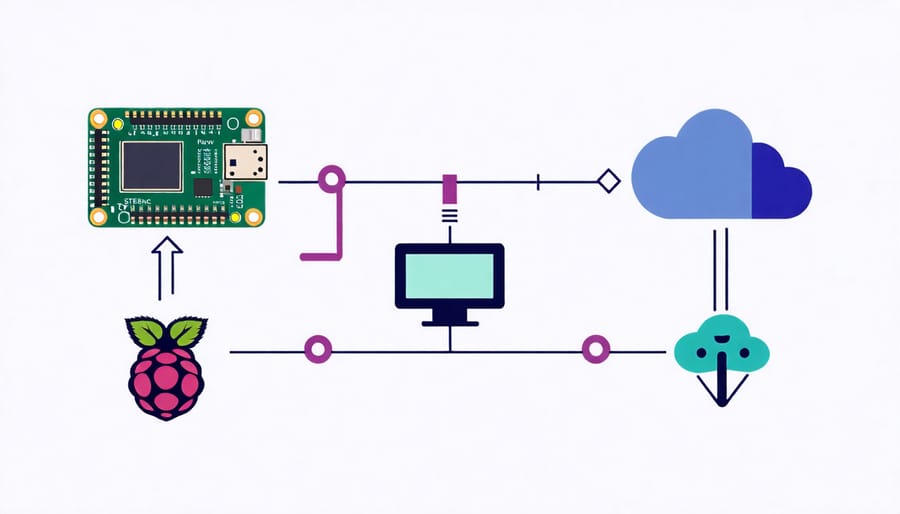
Connecting Raspberry Pi to the Cloud
Creating a Cloud Account
To create a cloud account, visit the website of your chosen cloud platform and sign up for an account. Most platforms offer a free tier or trial period, which is suitable for getting started with Raspberry Pi projects. During the registration process, provide the required information, such as your name, email address, and payment details (if applicable). Once your account is set up, you will have access to the cloud platform’s dashboard, where you can manage your services, resources, and settings. Take some time to familiarize yourself with the interface and explore the available options for connecting your Raspberry Pi to the cloud.
Configuring Cloud Services
To configure cloud services for your Raspberry Pi, you’ll need to create an account with your chosen provider and obtain the necessary credentials. For example, with AWS IoT, you’ll need to create a “Thing” for your Raspberry Pi and generate certificates and keys to enable secure communication. With Microsoft Azure, you’ll create an IoT Hub and register your device, which will provide you with a connection string. Google Cloud IoT requires setting up a registry and creating a device, which generates a public/private key pair. Once you have your credentials, you’ll need to configure your Raspberry Pi to use them. This typically involves installing the provider’s SDK or libraries and updating your Python script with the appropriate connection details. Be sure to keep your credentials secure and never share them publicly. With the cloud services configured and credentials in hand, you’re ready to start sending data from your Raspberry Pi to the cloud.
Establishing the Connection
To establish a connection between your Raspberry Pi and the cloud, you’ll need to configure your device and set up the necessary software. First, ensure your Raspberry Pi is connected to the internet via Ethernet or Wi-Fi. Next, install the required libraries for your chosen cloud platform. For example, if using AWS IoT, run the following command:
sudo pip install AWSIoTPythonSDK
Create a new Python script and import the necessary libraries:
from AWSIoTPythonSDK.MQTTLib import AWSIoTMQTTClient
Set up your AWS IoT credentials, including your unique device certificate, private key, and root CA certificate. Instantiate the AWSIoTMQTTClient with your device details:
myMQTTClient = AWSIoTMQTTClient("your_device_name")

myMQTTClient.configureEndpoint("your_aws_iot_endpoint", 8883)

myMQTTClient.configureCredentials("path/to/root-CA.crt", "path/to/private.key", "path/to/certificate.pem")
Finally, connect your Raspberry Pi to AWS IoT:
myMQTTClient.connect()
Your Raspberry Pi is now connected to the cloud and ready to send and receive data.
Real-World Applications and Projects
IoT Sensor Monitoring
Raspberry Pi and cloud services can be combined to create powerful real-time sensor monitoring systems. By connecting sensors to the Raspberry Pi’s GPIO pins, you can collect data from the environment and send it to the cloud for storage, analysis, and visualization. For example, you can use a temperature and humidity sensor to monitor indoor conditions, or an air quality sensor to track pollution levels in your area. With cloud services like AWS IoT, Google Cloud IoT, or Microsoft Azure IoT Hub, you can easily set up a secure connection between your Raspberry Pi and the cloud. These platforms offer tools for device management, data processing, and real-time analytics, allowing you to create custom dashboards and alerts based on your sensor data. By leveraging the power of the cloud, you can transform your Raspberry Pi into a versatile real-time sensor monitoring device for various applications, from home automation to environmental monitoring and beyond.
Remote Device Control
With your Raspberry Pi connected to the cloud, you can easily control devices remotely using web-based interfaces or mobile apps. Most cloud platforms offer built-in device management features, allowing you to send commands, monitor status, and receive data from your connected devices. For example, you can use the cloud to turn LEDs on or off, adjust sensor settings, or trigger actions based on specific conditions. This remote control capability is especially useful when your Raspberry Pi is deployed in hard-to-reach locations or when you need to manage multiple devices simultaneously. To set up remote device control, you’ll typically need to configure your Raspberry Pi to listen for incoming commands from the cloud and translate them into actions for the connected devices. This can be achieved using custom scripts or by leveraging pre-built libraries and frameworks provided by your chosen cloud platform, making the process more accessible for users of all skill levels.
Conclusion
In conclusion, integrating a Raspberry Pi with the cloud opens up a world of possibilities for innovative projects and applications. By leveraging the power of cloud platforms, users can enhance the capabilities of their Raspberry Pi, enabling remote access, data storage, and real-time monitoring. Whether you’re a beginner or an experienced developer, the combination of Raspberry Pi and cloud technology offers endless opportunities for exploration and creativity. As you embark on your own projects, remember to experiment, learn from the community, and push the boundaries of what’s possible. With the right tools, knowledge, and imagination, you can create truly remarkable solutions that showcase the potential of Raspberry Pi and cloud integration.