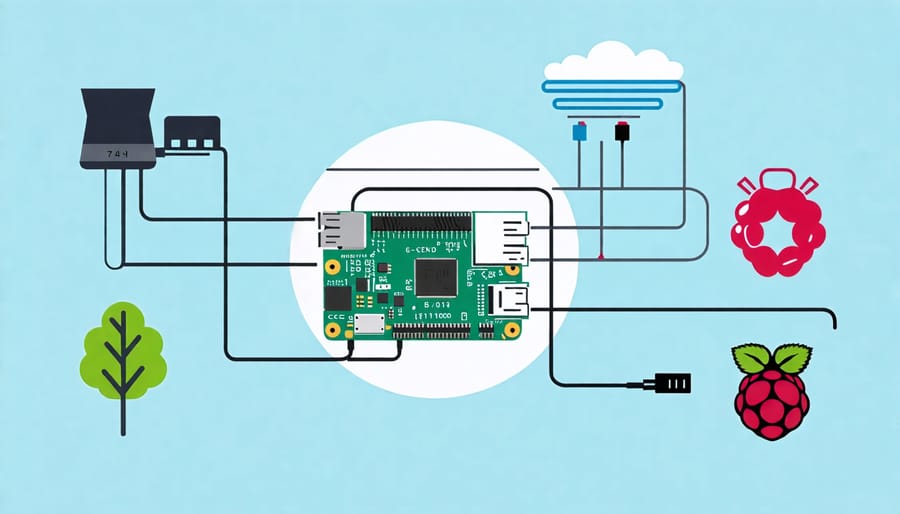
Transform your Raspberry Pi into a powerful network drive with this step-by-step guide. Elevate your home network’s storage capabilities, access files from any device, and unleash the true potential of your Pi. Whether you’re a beginner or an advanced user, this comprehensive tutorial will walk you through the process, from configuring Samba to optimizing performance. Get ready to revolutionize your data storage game with a Raspberry Pi network drive that combines flexibility, affordability, and endless possibilities.
What You’ll Need
Before you begin setting up your Raspberry Pi as a network drive, ensure you have the necessary hardware and software components. We recommend using a Raspberry Pi 4 Model B with at least 2GB of RAM for optimal performance. You’ll need a compatible microSD card with a minimum capacity of 8GB to install the operating system and store files. A reliable power supply is crucial, so opt for the official Raspberry Pi power adapter or a third-party alternative with a 5V/3A output. For the operating system, we suggest using the latest version of Raspberry Pi OS (previously known as Raspbian), which can be downloaded from the official Raspberry Pi website. Additionally, have an Ethernet cable handy to connect your Raspberry Pi to your network router. To interact with your Raspberry Pi, you’ll need a separate computer or laptop with an SSH client installed, such as PuTTY for Windows or the built-in Terminal for macOS and Linux. Lastly, make sure you have a monitor, keyboard, and mouse available for the initial setup process.

Step-by-Step Guide
Step 1: Install the Operating System
To install the operating system on your Raspberry Pi, start by downloading the latest version of Raspbian from the official Raspberry Pi website. Next, use a tool like Etcher to write the Raspbian image to a microSD card. Insert the microSD card into your Raspberry Pi and connect it to a monitor, keyboard, and mouse. Power on the device and follow the on-screen instructions to set up Raspbian, including selecting your language, timezone, and creating a user account. Once the setup is complete, you’ll be greeted with the Raspbian desktop environment, and your Raspberry Pi will be ready for further configuration as a network drive. If you encounter any issues during the installation process, refer to the official Raspberry Pi documentation or seek support from the vibrant Raspberry Pi community forums.

Step 2: Configure Network Settings
To configure your Raspberry Pi’s network settings, start by connecting it to your network using an Ethernet cable or Wi-Fi. Open the terminal and run `sudo raspi-config`. Navigate to “System Options” and select “Wireless LAN” to set up Wi-Fi if needed. Next, choose “Network Options” and “Hostname” to give your Pi a unique name on the network.
To assign a static IP address, select “Network Options” and “IP Settings”. Change the “IP Address Allocation” to “Static” and enter your desired IP address, subnet mask, gateway, and DNS server. This ensures your Pi always has the same IP address, making it easier to access consistently.
Finally, reboot your Raspberry Pi for the changes to take effect. You can now easily connect to your Pi using the static IP address, streamlining the process of setting up and accessing your network drive.
Step 3: Attach and Format the Storage Drive
To attach your storage drive, connect it to the Raspberry Pi using a compatible USB port or SATA interface, depending on the drive type. Once connected, power on the Raspberry Pi and wait for it to boot up.
Before using the drive, you’ll need to format it with a compatible file system. We recommend using the ext4 file system for optimal performance and compatibility with Linux-based systems like the Raspberry Pi.
To format the drive, open the terminal and use the lsblk command to identify the device name of your storage drive (e.g., /dev/sda). Then, use the mkfs.ext4 command followed by the device name to format the drive:
sudo mkfs.ext4 /dev/sdaBe cautious when executing this command, as it will erase all data on the drive. Once formatted, your storage drive is ready to be mounted and used as a network drive.
Step 4: Install and Configure Samba
To install Samba on your Raspberry Pi, open a terminal and run the command `sudo apt-get install samba samba-common-bin`. Once installed, create a backup of the Samba configuration file with `sudo cp /etc/samba/smb.conf /etc/samba/smb.conf.bak`.
Next, open the Samba configuration file using `sudo nano /etc/samba/smb.conf`. Scroll down to the “Authentication” section and ensure the following lines are present and uncommented:
“`
security = user
map to guest = bad user
“`
This enables user-level security and allows guest access for unknown users.
Now, add a new section at the end of the file to define your shared directory:
“`
[PiShare]
path = /path/to/your/shared/directory
writeable = yes
create mask = 0777
directory mask = 0777
public = yes
guest ok = yes
“`
Replace `/path/to/your/shared/directory` with the actual path to the directory you want to share.
Save the changes and exit the editor. Create the shared directory if it doesn’t already exist, and set the appropriate permissions with `sudo chmod 777 /path/to/your/shared/directory`.
Finally, restart the Samba service with `sudo systemctl restart smbd` to apply the changes. Your Raspberry Pi is now configured as a network drive, ready for file sharing across your local network.
Step 5: Create User Accounts and Directories
To create user accounts, open the terminal and use the command `sudo adduser username` for each account, replacing “username” with the desired account name. Set a strong password and fill in the user information when prompted.
Next, create directories for shared files. Navigate to the external drive’s mount point using `cd /path/to/mount/point`. Create directories with `sudo mkdir directory-name`, replacing “directory-name” with your preferred name for each shared folder.
Adjust the permissions for these directories to allow access for the appropriate users. Use `sudo chown username:group directory-name` to set the owner and group, and `sudo chmod permissions directory-name` to set the read, write, and execute permissions. For example, `sudo chmod 770 shared-files` grants read, write, and execute permissions to the owner and group, but no access to others.
By setting up user accounts and directories with the proper permissions, you can ensure secure and organized access to shared files on your Raspberry Pi network drive.
Step 6: Test and Troubleshoot
After setting up your Raspberry Pi network drive, it’s essential to test its functionality. First, try accessing the drive from another device on your network using the IP address or hostname. If you encounter issues, double-check your network settings and ensure that the Samba service is running correctly on your Pi. Common problems include incorrect permissions, firewall blockages, or misconfigured settings in the smb.conf file. Use the smbclient command on Linux or the net use command on Windows to test the connection and troubleshoot any errors. With patience and attention to detail, you’ll soon have a reliable and accessible network drive powered by your Raspberry Pi.
Step 7: Access Your Network Drive
To access your Raspberry Pi network drive from other devices on your network, simply open your file explorer and locate the network section. Look for your Raspberry Pi’s hostname or IP address, and click on it to access the shared folders. If prompted, enter the username and password you set up during the Samba configuration process. Once authenticated, you’ll be able to browse, read, and write files on the Raspberry Pi network drive just like any other folder on your device. This seamless access makes it easy to transfer files, collaborate on projects, or use the Raspberry Pi as a central storage hub for your home or office network.

Advanced Tips and Tricks
To optimize performance, consider using a wired Ethernet connection instead of Wi-Fi for faster and more stable data transfer speeds. You can also overclock your Raspberry Pi’s CPU and GPU to boost performance, but be cautious as this may generate more heat and require additional cooling. If you need to enable remote access to your Raspberry Pi network drive, set up a VPN server or use SSH tunneling to create a secure connection. This allows you to access your files from anywhere with an internet connection while keeping your data protected.
When it comes to securing the network drive, make sure to change the default password for your Raspberry Pi and any other login credentials. Enable firewall rules to restrict incoming traffic and allow only necessary ports and protocols. Regularly update your Raspberry Pi’s operating system and any installed software to patch security vulnerabilities. Additionally, consider implementing disk encryption to protect your data in case of physical theft or unauthorized access to the storage device. By following these advanced tips and tricks, you can ensure that your Raspberry Pi network drive is not only performant but also secure and accessible from anywhere you need it.
Conclusion
In conclusion, setting up a Raspberry Pi as a network drive offers numerous benefits, including cost-effectiveness, flexibility, and the ability to create a centralized storage solution for your home or office. By following the step-by-step instructions outlined in this article, you can easily transform your Raspberry Pi into a powerful and reliable network drive. Whether you’re a beginner or an experienced user, this project is an excellent way to explore the capabilities of your Raspberry Pi and enhance your network setup. Don’t hesitate to give it a try and unleash your creativity with further customization options to make your Raspberry Pi network drive truly your own.


