
Integrate a speed sensor with your Raspberry Pi by first connecting the sensor to the GPIO pins, ensuring the correct orientation of each wire to avoid malfunctions. Next, write a Python script that utilizes the RPi.GPIO library to read input signals from the sensor, allowing real-time speed tracking. Calibrate the sensor using a tachometer or a known reference to validate accuracy and adjust your script accordingly. Explore the versatility of your setup by applying your Raspberry Pi speed sensor project in various scenarios, such as monitoring rotating machinery, vehicles, or any dynamic systems within educational experiments.
Understanding Speed Sensors and Raspberry Pi
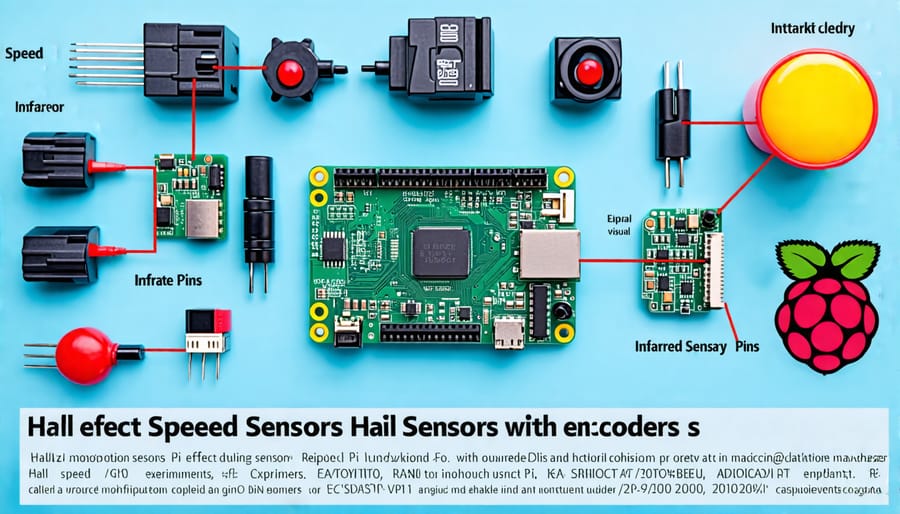
Types of Speed Sensors
When incorporating speed sensors with a Raspberry Pi, there are several types to consider, each with unique features and compatibilities that make them suitable for various projects.
Hall effect sensors are popular due to their ability to detect magnetic fields, making them ideal for measuring rotational speed. These sensors work by generating a small voltage when exposed to a magnetic field and can be easily integrated with a Raspberry Pi using GPIO pins. Their non-contact nature makes them durable and reliable for long-term usage, especially in environments where mechanical wear is a concern.
Infrared sensors, on the other hand, use light to measure speed by detecting changes in light patterns as objects pass by. These can be particularly useful in non-contact applications such as counting rotations or tracking the speed of an object across a path. Connecting an infrared sensor to a Raspberry Pi involves setting up a light source and a photodetector, which can be easily managed through Python scripts for real-time processing.
Rotary encoders are another option, providing precise measurement of an object’s rotation. These sensors consist of a rotating disk with marked positions that an optical or magnetic sensor reads to determine angular position and speed. Rotary encoders are especially beneficial for precision tasks, such as robotic arms or motor controls. They can interface seamlessly with Raspberry Pi, offering detailed feedback crucial for complex projects.
Each of these sensors opens up a world of possibilities for Raspberry Pi enthusiasts, offering reliable and effective methods to measure speed in various contexts. Exploring how to leverage these sensors can ignite innovation and practical applications for both beginners and advanced users alike.
How Speed Sensors Interact with Raspberry Pi
Speed sensors, integral to many Raspberry Pi projects, operate by converting physical speed into electronic signals. These sensors often use Hall effect or optical principles to detect velocity. For example, a Hall effect sensor reads changes in magnetic fields typically from a rotating magnet, producing pulses that indicate speed. Optical speed sensors, on the other hand, detect changes in light reflection, often from a rotating disc.
Integrating these sensors with a Raspberry Pi involves connecting them to the Pi’s GPIO pins, which allows the device to read the pulse signals. This interaction is crucial for capturing and processing speed data. The Raspberry Pi, equipped with its powerful processing capabilities and versatile programming environment, can interpret these signals to measure speed accurately. By utilizing Python or other compatible programming languages, users can create scripts to process this data, enabling real-time speed monitoring and even automation based on speed thresholds. This seamless interaction encourages endless possibilities for innovative Raspberry Pi projects and applications.
Hands-On Project: Setting Up a Raspberry Pi Speed Sensor
Equipment and Setup
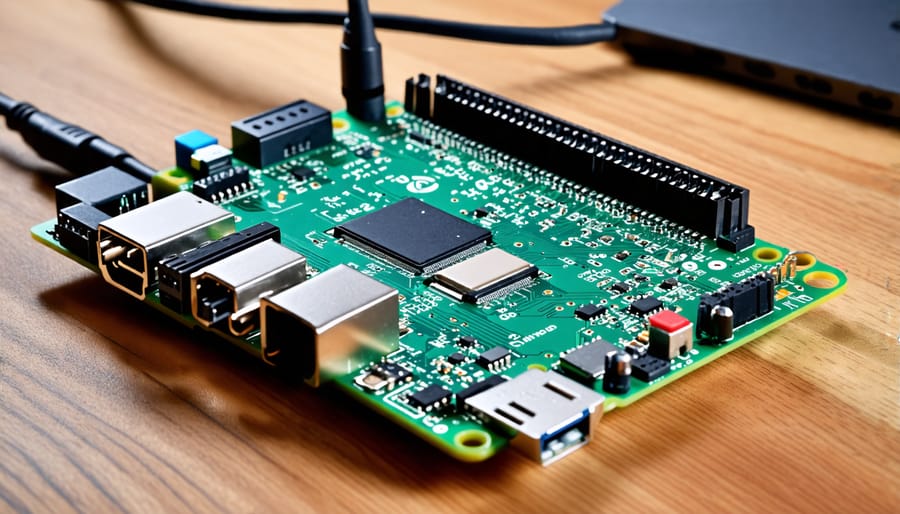
To get started with connecting a speed sensor to your Raspberry Pi, you’ll need a few essential components. First, of course, is the Raspberry Pi itself; a model like the Raspberry Pi 4 is recommended for its power and versatility. You will also need a speed sensor; a popular choice is the IR Speed Sensor Module, which is both affordable and easy to integrate. Other indispensable materials include jumper wires for making connections, a breadboard to organize circuitry, and a power supply. Optionally, if you’re interested in a sustainable approach, consider integrating a solar-powered Raspberry Pi setup.
Begin by assembling your Raspberry Pi and installing the latest Raspbian OS to ensure compatibility with your sensor. Next, set up the breadboard beside your Raspberry Pi, and use the jumper wires to connect the speed sensor to the appropriate GPIO pins on your Raspberry Pi. Wiring diagrams are readily available online to guide you through the connections. Once connected, you can proceed to write a Python script to read data from the sensor, allowing you to measure and log speed efficiently. With these basic steps, you’re well on your way to creating innovative projects with your Raspberry Pi.
Writing and Executing the Code
To get started with reading and analyzing data from a speed sensor using a Raspberry Pi, you’ll first need to write a simple Python script. Python’s flexibility and ease of use make it ideal for Raspberry Pi projects, especially for beginners venturing into the world of sensors.
Begin by ensuring your Raspberry Pi is set up and connected to your speed sensor correctly. This usually involves connecting the sensor’s output pin to one of the GPIO pins on the Raspberry Pi. Once connected, ensure you have the RPi.GPIO library installed. You can do this by running `sudo apt-get install python3-rpi.gpio` in the terminal.
Next, create a new Python file, let’s call it `speed_sensor.py`. This script will read signals from the sensor, calculate speed, and display it. Start by importing necessary libraries:
“`python
import RPi.GPIO as GPIO
import time
“`
Set the GPIO mode and define the pin connected to the sensor:
“`python
GPIO.setmode(GPIO.BCM)
speed_sensor_pin = 17
GPIO.setup(speed_sensor_pin, GPIO.IN)
“`
Now, create a function to detect input state changes, which indicates the activation of the sensor:
“`python
def read_sensor():
return GPIO.input(speed_sensor_pin)
“`
To measure the speed, you need to calculate the time between state changes. You can use a loop to continuously check the sensor’s state and measure the time taken for each cycle:
“`python
try:
while True:
start_time = time.time()
while read_sensor() == 0:
pass
while read_sensor() == 1:
pass
elapsed_time = time.time() – start_time
speed = calculate_speed(elapsed_time)
print(f”Speed: {speed} units”)
finally:
GPIO.cleanup()
“`
The `calculate_speed` function is hypothetical and should be defined according to the sensor’s characteristics and your specific requirements. This code provides a basic framework, and as you grow more comfortable, you can expand it, perhaps logging data over time for more detailed analysis. Using a Raspberry Pi and this basic setup, you can measure speed and gain insights into how sensors and microcomputers can be used in practical applications.
Applications and Projects Using Speed Sensors
Integrating speed sensors with your Raspberry Pi opens up a world of exciting projects and real-world applications. For tech enthusiasts looking to delve into the world of robotics with Raspberry Pi, speed sensors offer a way to bring intelligent motion to life. You could build a line-following robot that uses speed sensors to adjust its speed dynamically, ensuring smoother turns and accurate alignment. This project provides a hands-on way to explore the basics of feedback loops and control systems.
Beyond robotics, speed sensors can enhance a smart transportation solution. Consider a DIY odometer system for bicycles or small vehicles where the sensor measures the wheel rotations and calculates the speed. This setup could be connected wirelessly to your smartphone or laptop, offering real-time speed and distance updates.
Additionally, integrating speed sensors into fitness equipment could revolutionize home workouts. By attaching a sensor to a treadmill, for instance, you can track speed data over time, providing insights into performance improvements or patterns. This information could further be uploaded to a personal fitness app, allowing you to set goals and track your progress efficiently.
Educationally, speed sensors can be excellent tools for physics experiments. Students could use them to measure the speed of model cars or even falling objects, providing practical insights into concepts like acceleration and velocity. These projects are not only engaging but also develop problem-solving and coding skills in students.
Whether you’re exploring complex robotics projects or simple household applications, speed sensors paired with the Raspberry Pi offer a flexible and informative way to deepen your understanding of both technology and its practical applications.
Troubleshooting Common Issues
If your speed sensor isn’t working correctly, first double-check your wiring connections. Ensure all wires are securely attached and correctly placed on the GPIO pins as per the sensor’s datasheet. If the sensor data seems inconsistent, try using a pull-up resistor to stabilize the signal. Verify your Raspberry Pi’s setup by updating it to the latest software version, as outdated software can cause compatibility issues. Check your Python or C++ script for errors, especially in pin assignments. For more inspiration and troubleshooting ideas, explore other Raspberry Pi projects. Remember, patience and small tweaks make a big difference in projects like these.
Conclusion
In conclusion, exploring speed sensors with Raspberry Pi opens up a world of possibilities for innovative projects. By experimenting with these tools, you can enhance your technical skills and creativity. Embrace the challenge, dive into hands-on projects, and discover the endless potential that Raspberry Pi offers for tech enthusiasts and hobbyists alike.