
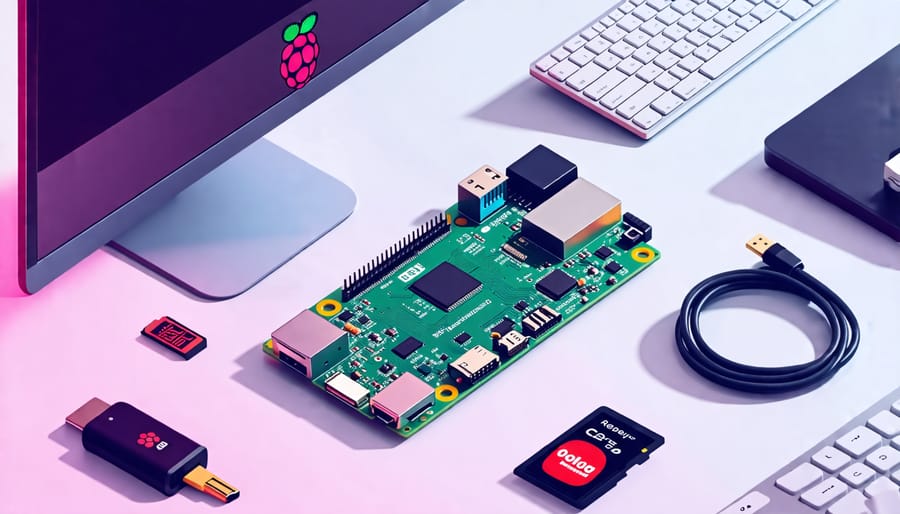
Gather your components: Acquire a Raspberry Pi board, power supply, microSD card, HDMI cable, keyboard, mouse, and monitor. Opt for starter kits that bundle these essentials for convenience.
Install an operating system: Download a Raspberry Pi-compatible OS such as Raspberry Pi OS, easily accessible from the official website. Use software like Balena Etcher to flash the OS onto your microSD card.
Assemble and connect: Insert the microSD card into the Raspberry Pi, then connect it to your monitor using the HDMI cable. Attach the keyboard and mouse through the USB ports, and finally, power up the board with the power supply.
Initiate your first project: Start simple with basic programming using Scratch or Python, pre-installed on many Raspberry Pi OS versions. Explore tutorials and resources online to expand your skills and understanding.
These straightforward steps can launch your journey into Raspberry Pi projects, unlocking endless possibilities for innovation and learning.
Understanding Raspberry Pi and Its Benefits
What is Raspberry Pi?
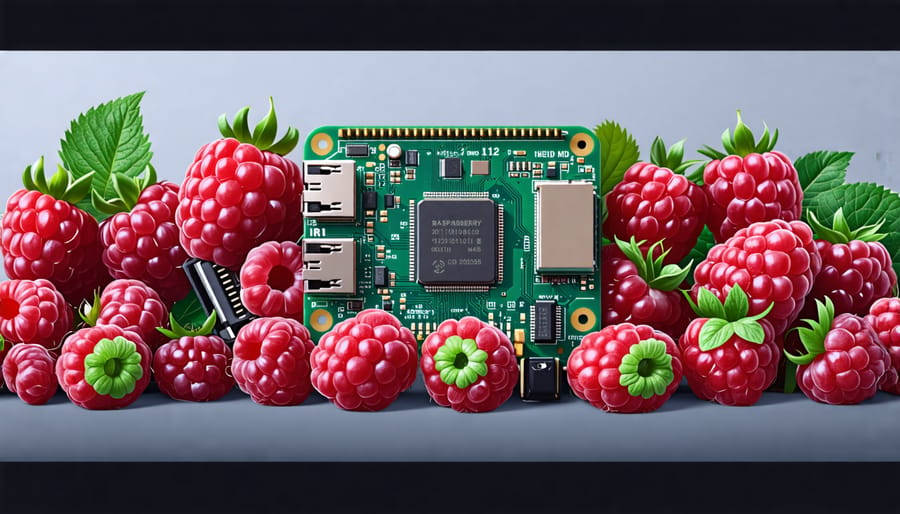
Raspberry Pi is a small, affordable, and versatile computer designed initially to promote coding and computing education. Since its introduction in 2012 by the Raspberry Pi Foundation, it has evolved through several iterations, each enhancing its performance and capabilities. The charm of Raspberry Pi lies in its credit-card-sized design, which packs enough power to run a variety of programs and projects, from simple coding exercises to complex hardware integrations. Over the years, the Raspberry Pi family has expanded to include powerful models like the Raspberry Pi 4, featuring enhanced processing power and memory, making it suitable for more demanding applications. Designed to engage tech enthusiasts, hobbyists, and educators alike, Raspberry Pi is an ideal gateway to exploring programming concepts, electronics, and computing innovations. Its evolution has transformed it from a humble educational tool into a versatile platform, inspiring countless DIY projects and fostering a vibrant community of makers and innovators across the globe.
Key Benefits of Using Raspberry Pi
Raspberry Pi stands out as a remarkable tool for tech enthusiasts, hobbyists, and educators due to its versatility, affordability, and educational value. As a compact and powerful mini-computer, it opens doors to a wide array of projects, from robotics to home automation, making it a perfect fit for those eager to innovate. Its affordability is a significant advantage, allowing users to experiment without substantial financial risk. With models available at a fraction of the cost of traditional computers, Raspberry Pi enables affordable exploration of computing concepts and applications. Moreover, Raspberry Pi is a fantastic educational resource. It encourages hands-on learning experiences, helping users understand computer science principles and programming in an engaging and interactive way. Many educational institutions integrate it into their curriculum, promoting STEM skills and fostering creativity in a practical context. Embrace Raspberry Pi’s potential to transform your ideas into tangible projects while gaining invaluable tech skills along the way.
Essential Components for Building a Raspberry Pi Computer
Choosing the Right Raspberry Pi Model
Choosing the right Raspberry Pi model involves understanding your objectives and budget. For most beginners and enthusiasts, starting with the Raspberry Pi 4 Model B is a solid choice. It offers a balance of performance and cost, making it suitable for a wide range of projects from simple coding to complex home automation systems.
If you’re aiming for budget-friendly learning experiences or simple projects, the Raspberry Pi Zero is a compact and cost-efficient option. On the other hand, educators or those tackling more processor-intensive tasks might prefer the Raspberry Pi 400, with its built-in keyboard and ease of setup. The choice depends largely on your project’s hardware needs and your willingness to spend.
Remember, the flexibility of Raspberry Pi models allows you to upgrade easily as your projects grow in complexity. Prioritize your project’s requirements first and ensure your chosen model aligns with those needs, allowing you to explore and innovate seamlessly while staying within your budget.
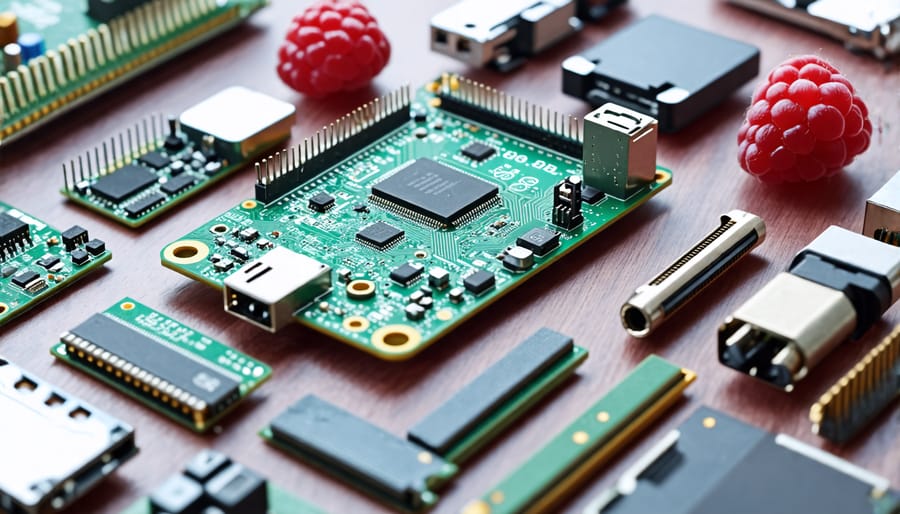
Additional Hardware and Accessories
To build a Raspberry Pi computer, having the right additional hardware and accessories is key to maximizing your setup’s potential. First and foremost, you’ll need a reliable power supply. The Raspberry Pi requires a micro USB or USB-C power supply, delivering at least 5 volts and 2.5 amps to ensure consistent performance. It’s crucial to avoid underpowered adapters, which can lead to instability and unexpected shutdowns.
Equally important is a microSD card, which acts as your Pi’s hard drive. A card with a minimum of 16GB storage is recommended, though 32GB offers more room for operating systems and projects. Opt for a Class 10 card to guarantee fast data transfer speeds. Before usage, ensure to flash it with the appropriate OS for your Pi model, such as Raspberry Pi OS.
A case is also a must-have to protect your Raspberry Pi from dust and damage while cooling features like ventilation or built-in fans are beneficial in avoiding overheating during intense tasks. There is a wide variety of cases available, from basic enclosures to stylish 3D-printed designs.
Don’t forget about input devices: a USB keyboard and mouse are essential for interacting with your new computer. While wireless options are convenient, if you choose wired, make sure they are compatible with Raspberry Pi’s USB ports.
These components are fundamental to extending the capabilities of your Raspberry Pi and ensuring a rewarding experience as you embark on your computing projects. With the right accessories, you’re set to explore the limits of this versatile platform.
Setting Up Your Raspberry Pi
Assembling the Hardware
Begin your Raspberry Pi journey by gathering all necessary components: a Raspberry Pi board, microSD card, power supply, HDMI cable, monitor, USB keyboard, and mouse. Start by inserting the microSD card into the Raspberry Pi’s card slot. This card contains the operating system and will serve as the device’s storage. Next, connect the Raspberry Pi to your monitor using the HDMI cable. Ensure the cable fits securely into the HDMI port on the board and your monitor’s corresponding input.
Attach your USB keyboard and mouse to the Raspberry Pi’s USB ports. If you’re running low on ports, consider using a USB hub for additional devices. Now, plug the power supply into the Raspberry Pi’s power input. At this point, your Raspberry Pi should power on automatically, and you should see activity on the monitor. If not, double-check all connections to ensure they’re secure.
Once powered, the Raspberry Pi should boot up the operating system from the microSD card. If the system doesn’t start as expected, verify that the microSD card is correctly inserted and contains the necessary software. This basic setup is your gateway to exploring numerous projects, from home automation to learning programming languages and beyond.
Installing the Operating System
To kickstart your Raspberry Pi journey, installing the operating system is a crucial first step. Begin by downloading the official Raspberry Pi OS, which is designed specifically for the device. Head over to the website, and snag the latest version. Once downloaded, you’ll need to flash the OS onto a microSD card.
To do this, you’ll use an imaging tool like Balena Etcher, a free and user-friendly application. Simply insert your microSD card into your computer using a card reader, launch Balena Etcher, and select the downloaded OS image. Verify that your microSD card is selected as the target drive, then click ‘Flash!’ and wait for the process to complete. This can take a few minutes, so feel free to grab a coffee.
When the flashing is finished, safely remove your microSD card and insert it into your Raspberry Pi. Connect the Pi to your monitor using an HDMI cable, plug in a USB keyboard and mouse, and finally, connect your power supply. Upon powering up, your Raspberry Pi will boot directly from the microSD card, landing you on the setup screen. Follow the on-screen instructions to configure your settings, including language, time zone, and Wi-Fi connection. Congratulations, your Raspberry Pi is now ready to explore a world of innovation and endless projects!
Basic Configuration and Updates
Once your Raspberry Pi is up and running, it’s crucial to perform basic configuration and updates to ensure optimal performance and security. Start by opening a terminal window and typing `sudo raspi-config` to access the configuration tool. Here, you can set your locale, time zone, and expand the filesystem to make full use of the SD card space. Next, connect your Pi to the internet, ideally through Wi-Fi. Afterward, update the system using `sudo apt update` and `sudo apt upgrade` commands. Regular updates ensure you benefit from the latest features and security patches, keeping your Raspberry Pi reliable and efficient.
Exploring Basic Programming and Software Installation
Introduction to Programming with Raspberry Pi
Diving into the world of programming with Raspberry Pi offers a gateway to endless creative possibilities, whether you’re a hobbyist or an educator. The Raspberry Pi, a versatile, compact computer, serves as an excellent tool for learning and experimenting with computer programming. One of the most popular programming languages on the Raspberry Pi is Python, known for its readability and simplicity, making it ideal for beginners. Python opens up a myriad of project possibilities, from basic LED blinking to building complex IoT systems. Besides Python, languages like Scratch offer an intuitive, visual option, particularly appealing to young learners. For those looking to delve deeper, languages like C++ and Java are also compatible with Raspberry Pi, allowing for more advanced projects. As you embark on your programming journey with Raspberry Pi, you’ll not only build practical skills but also engage in fun, hands-on projects that bring digital creations to life.
Installing Essential Software
Installing the essential software on your Raspberry Pi is a thrilling step on your journey to mastering this compact computer. Start by updating your system using the command `sudo apt-get update && sudo apt-get upgrade` to ensure you have the latest packages. For programming and development, Python is a great choice and comes pre-installed on Raspberry Pi with the Raspbian OS. To expand your toolkit, consider installing Node-RED, a fantastic flow-based programming tool ideal for IoT projects. Use the command `sudo apt install nodered`.
If you’re interested in developing web applications, you’ll want to install Node.js and npm. To do this, you can follow the guide on the official Node.js website to get the latest version. Don’t forget to explore Scratch for a beginner-friendly programming environment, perfect for those just starting out. Your Raspberry Pi is also an excellent platform for learning Linux commands, so consider installing the Vim text editor with `sudo apt install vim` to get started with code editing. By installing these tools, you’ll be ready to embark on countless projects, whether you’re a hobbyist or an educator. Enjoy the process and happy coding!
Enhanced Security for Your Raspberry Pi Setup
Enhancing the security of your Raspberry Pi is crucial to protect it from potential vulnerabilities. Start by changing the default username and password. Many tutorials skip this step, but it’s essential for safeguarding your device. Next, regularly update your Raspberry Pi’s operating system and installed packages. This ensures you have the latest security patches and features. Configuring a firewall using tools like ufw (Uncomplicated Firewall) can add an additional layer of protection against unauthorized access. It’s also wise to disable SSH access if you don’t need it or use SSH keys instead of passwords for secure authentication.
Regularly auditing services running on your Pi helps identify unnecessary ones that can be shut down to minimize exposure. Another tip is to keep your Raspberry Pi’s software and applications updated to patch known vulnerabilities. Implementing network-level security measures, such as using a VPN, further secures data and communication on your Pi.
For more detailed instructions on these essentials, check out our comprehensive guide on Raspberry Pi Security. By following these practices, you can enjoy your Raspberry Pi projects with peace of mind, knowing your setup is secure and robust against threats.
Conclusion
Congratulations on setting up your Raspberry Pi! You’ve taken the first major step into the world of endless possibilities. From creating a media center to building a home automation system, your Raspberry Pi is a gateway to countless projects. As you expand your skills, consider exploring programming languages like Python or dive into building IoT applications. Remember, each project is a learning opportunity. Embrace the challenges, and don’t hesitate to experiment. As you continue your Raspberry Pi journey, keep pushing boundaries and discover what this versatile little computer can achieve. Enjoy the adventure, and happy tinkering!