
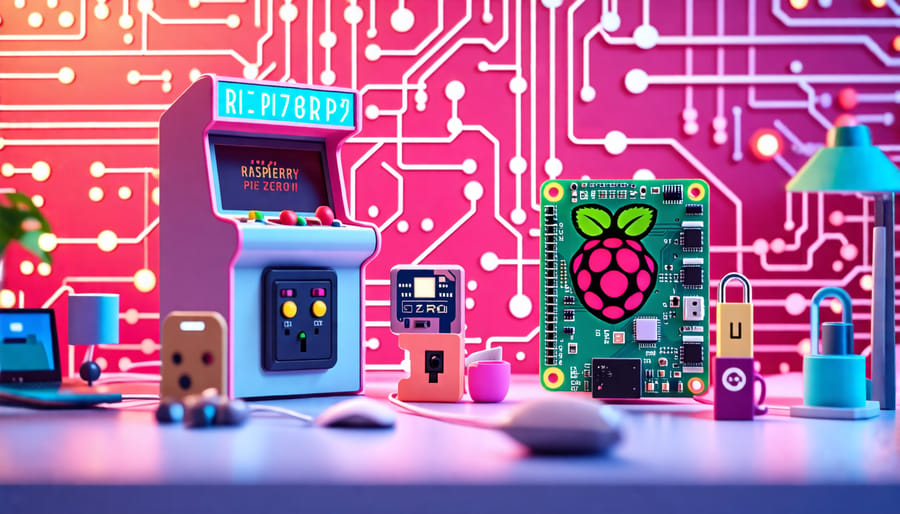
Explore the possibilities with Raspberry Pi Zero W by transforming it into a mini retro gaming console. Install the RetroPie software, connect a controller, and relive classic arcade games. Enhance your home automation by turning the Pi Zero W into a smart home hub; load it with Home Assistant or OpenHAB and integrate your devices for seamless control. Dive into network security with a Raspberry Pi Zero W configured as a VPN server to securely access your network from anywhere. For an educational twist, program your Pi to serve as a weather station: attach a sensor module and employ Python to record and visualize data. Tailor each project to your skill level while utilizing online resources for guidance, ensuring a successful and enriching experience.
Getting Started with Raspberry Pi Zero W
Initial Setup
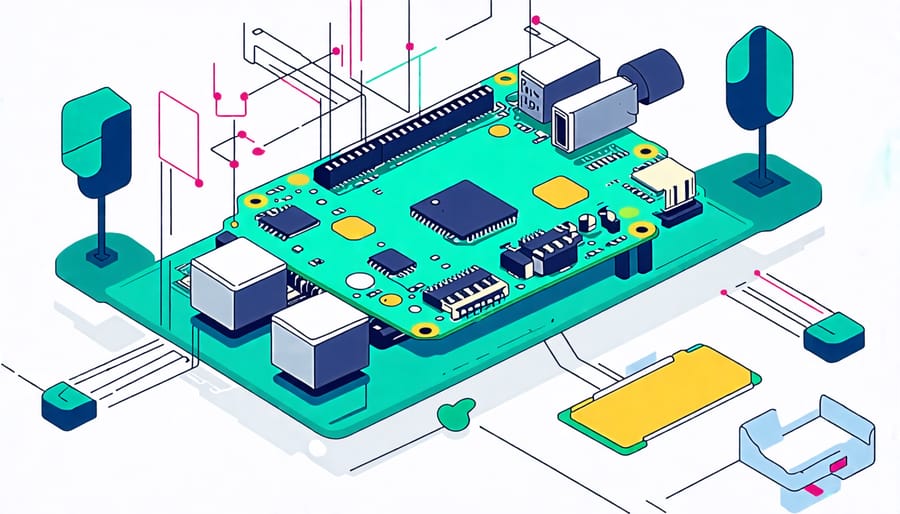
To kickstart your Raspberry Pi Zero W hacking projects, setting up the hardware and installing the software is essential. First, gather your hardware components: the Raspberry Pi Zero W board, a microSD card (at least 8GB), a microUSB power supply, and optional peripherals like a microHDMI adapter, keyboard, and mouse. Begin by inserting the microSD card into your computer and download the latest Raspberry Pi OS image. Use a tool like Balena Etcher to flash the image onto your microSD card. Once done, insert the card into your Pi Zero W.
Connect the microUSB power supply to your Pi, using the microHDMI adapter if you plan to connect to a monitor. For headless setup, enable SSH by creating a file named ‘ssh’ in the boot directory of your microSD card. Power on the device, and it will boot up, allowing you to connect via SSH using the Pi’s local IP address. With these steps complete, your Raspberry Pi Zero W is ready for any exciting hacking project you choose to pursue.
Essential Tools and Accessories
Equipping yourself with the right tools and accessories can significantly enhance your Raspberry Pi Zero W hacking projects. First and foremost, a well-configured power source is essential, especially if you’re aiming for portability with a solar-powered Raspberry Pi. A reliable microSD card, preferably with high storage capacity and speed, ensures smooth operation and ample space for projects. Wireless keyboards and mice provide convenience during setup and debugging. For connectivity and expansion, HDMI adapters and GPIO kits unlock more potential. Essential software includes an OS like Raspberry Pi OS, and tools such as the Python programming environment to kickstart your innovation journey.
Project Ideas for Beginners
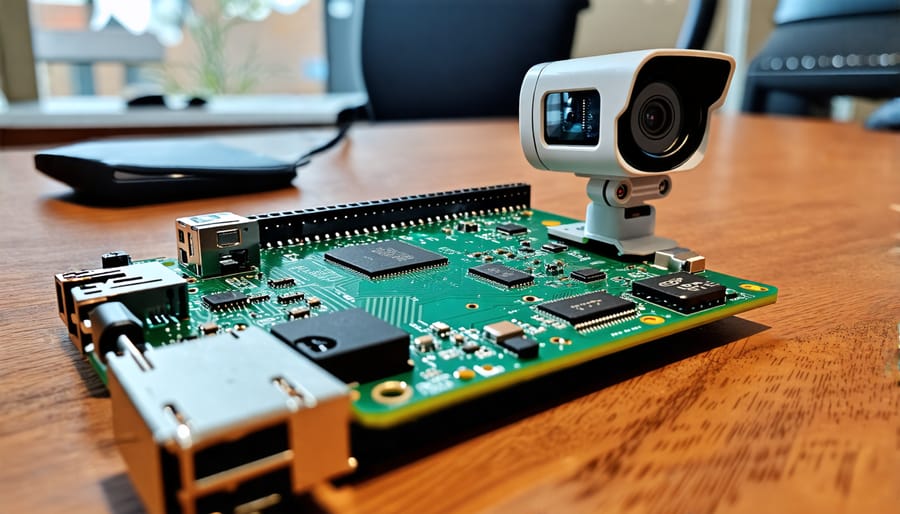
Simple Security Camera
To set up a simple security camera using your Raspberry Pi Zero W, you’ll need a few essential components: a Raspberry Pi Zero W, a compatible camera module, a microSD card with Raspberry Pi OS installed, a power source, and a stable internet connection. Let’s dive into the process step by step.
First, ensure your Raspberry Pi is prepared. You’ll want to flash Raspberry Pi OS onto your microSD card using software like balenaEtcher. Once complete, insert the microSD card into your Raspberry Pi Zero W and power it up. Connect your Pi to a Wi-Fi network via the terminal using the command `sudo raspi-config`, navigating to ‘Network Options’.
Next, attach the camera module to the Pi. This typically means connecting it to the camera port on your Raspberry Pi Zero W board. Be gentle, as the connectors can be delicate. With the hardware set up, enable the camera software by running `sudo raspi-config` again and selecting ‘Interfacing Options’, then ‘Camera’. Reboot the system to apply changes.
Now, it’s time to install the motion software, which will turn your Pi into a security camera. Open a terminal window and type `sudo apt-get install motion`. You can configure motion settings by editing its configuration file with `sudo nano /etc/motion/motion.conf`. Key adjustments include tweaking the threshold for motion sensitivity and file storage location for captured images or videos.
Finalize your setup by starting the motion service with `sudo service motion start`. You can access the camera feed remotely via a web browser by entering your Raspberry Pi’s IP address followed by the port defined in the motion configuration file, typically 8081.
With your security camera up and running, you can experiment with additional features like notifications or saving footage to external storage. Enjoy your effective and budget-friendly security solution, powered by the versatile Raspberry Pi Zero W!
Weather Station
Creating your own personal weather station using a Raspberry Pi Zero W can be an exciting and rewarding project for tech enthusiasts. This beginner-friendly project involves using a range of sensors to gather data on temperature, humidity, and atmospheric pressure, allowing you to monitor local weather conditions in real-time.
To get started, you’ll need a Raspberry Pi Zero W, a microSD card, a power supply, a breadboard, and a few basic sensors like the DHT22 (for temperature and humidity) and a BMP180 (for atmospheric pressure). First, install the Raspberry Pi OS on your microSD card and power up the Pi. You’ll want to ensure you have Python installed, as well as GPIO and sensor-specific libraries, which you can easily find and install via the Raspberry Pi’s command terminal.
Next, connect the sensors to your Raspberry Pi through the breadboard using jumper wires. The DHT22 sensor, for example, typically has four pins: VCC, Data, NC, and Ground. Connect them accordingly to the GPIO pins on your Pi. After wiring the sensors, you’ll need to write a Python script to read the data from the sensors. Many examples and libraries are available online to ease this process, ensuring even beginners find it accessible.
Once your script is running, you can collect real-time data from your sensors and even store it in a CSV file or send it to an online platform for more advanced analysis or visualization. This project not only enhances your coding and electronics skills but also provides practical insight into the small-scale meteorological processes around you, transforming your Raspberry Pi into a powerful little weather machine. Embrace the challenge and have fun experimenting with your new weather station!
Intermediate and Advanced Projects
Smart Home Automation
Discovering the exciting possibilities of smart home automation is easier than you might think with the Raspberry Pi Zero W. This versatile microcomputer can serve as the brain of your home automation system, helping you control smart lighting and various devices seamlessly. Begin your journey into smart automation by integrating your Raspberry Pi Zero W with popular platforms like Home Assistant or OpenHAB. These platforms offer user-friendly interfaces with powerful control features, allowing you to manage your devices remotely via smartphone apps or voice commands.
To begin, start by setting up your Raspberry Pi Zero W with the latest Raspbian OS. Once installed, connect it to your home network and install the necessary automation software. For instance, Home Assistant has a straightforward installation process suited for beginners. You’ll find ample guides online to aid you through this setup. The real fun begins when you connect your smart devices. Equip your home with inexpensive smart bulbs and plugs that are compatible with your chosen platform. With a bit of configuration, you can automate lighting schedules, dimming settings, and device control to match your lifestyle.
Eager to enhance your setup further? Explore other home automation projects for more inspiration. Whether you’re a novice or an experienced enthusiast, integrating the Raspberry Pi Zero W into your smart home is both rewarding and insightful.
Retro Gaming Console
Transforming a Raspberry Pi Zero W into a portable retro gaming console is an exciting project that merges nostalgia with modern tech fun. Begin by ensuring you have a Raspberry Pi Zero W, a microSD card (16GB or larger recommended), a power source, and a suitable case to house your mini console. Additionally, you’ll need a mini HDMI cable and a USB OTG cable to connect the console to your display and controllers.
Start by downloading a retro gaming emulator suite, such as RetroPie, onto your microSD card. RetroPie supports emulators for classics like NES, SNES, and Sega, among others. Follow the download instructions on the RetroPie website and install the image onto your microSD card using a tool like Balena Etcher.
After installation, insert the microSD card into your Raspberry Pi Zero W and power it up. Connect to your Wi-Fi by navigating through the setup menu. For games, you’ll need to acquire ROM files. Remember, downloading ROMs for games you don’t own is illegal, so ensure compliance with legal standards.
Once your setup is complete, you can map your controllers and organize your game library for easy access. This setup not only boosts your technical skills but also provides endless entertainment—encouraging both novices and seasoned tech enthusiasts to delve deeper into the world of Raspberry Pi projects.
Network Intrusion Detection System
Unlock the potential of your Raspberry Pi Zero W by transforming it into a Network Intrusion Detection System (NIDS), a handy project that keeps your home network secure. You’ll start by installing the lightweight Raspbian OS onto your Pi Zero W. Once your Pi is set up and connected to your Wi-Fi, you’re ready to dive into IDS software, such as Snort or Suricata.
These platforms analyze network traffic for suspicious activity in real-time, alerting you to potential threats like unauthorized access or data breaches. Begin with installing Snort by entering a few commands in the terminal, and while it might seem complex, remember that this is a learning journey. Configure Snort to suit network specifics by modifying its configuration files, and don’t hesitate to consult online forums or guides as you go.
As you progress, practice capturing and analyzing packets within your network—this hands-on approach reinforces learning. If you’re a beginner, take it step-by-step; and for seasoned enthusiasts, explore advanced configurations and ruleset integrations. By completing this project, you gain not only network protection but also invaluable insights into cybersecurity, equipping you with skills to tackle more advanced projects in the future. Happy hacking!
Tips for Successful Hacking Projects
Troubleshooting Common Issues
When embarking on Raspberry Pi Zero W hacking projects, you may encounter a few common challenges. First, ensure your device has a stable power source; inadequate power can cause erratic behavior. Use a quality power supply and cables for best results. If you experience connectivity issues, check your Wi-Fi settings and ensure your network configuration is correct. Reviewing basic Pi security tips can also help prevent network-related problems. Additionally, confirming software dependencies and updates is crucial; outdated or missing libraries can lead to unexpected errors. With patience and persistence, these projects offer rewarding experiences.
Community Support and Resources
For tech enthusiasts diving into Raspberry Pi Zero W hacking projects, an array of online communities and resources await to fuel your creativity and solve challenges along the way. Start with the official Raspberry Pi Foundation’s forums, a staple for troubleshooting and sharing ideas. Reddit’s Raspberry Pi subreddit is another lively space where you can find diverse project discussions and advice. GitHub is invaluable, offering a repository of projects and scripts to explore and adapt. Websites like Hackster.io and Instructables showcase detailed guides and project walkthroughs, providing step-by-step assistance and inspiration. These platforms connect you with fellow innovators and offer a wealth of shared knowledge.
Conclusion
In conclusion, the Raspberry Pi Zero W is a powerful and versatile tool that opens up endless possibilities for creative hacking projects. Whether you’re a seasoned tech enthusiast or just beginning your journey into the world of Raspberry Pi, this compact device provides a perfect platform to explore innovative ideas. Its small form factor coupled with WiFi and Bluetooth capabilities makes it an ideal choice for projects that require portability and connectivity. From building your own mini-retro gaming console to developing a smart home automation system, the Raspberry Pi Zero W encourages experimentation and learning.
Embrace the spirit of creativity and exploration by diving into hands-on projects that challenge your skills and expand your knowledge. As you embark on this exciting path, remember to seek out resources and community forums, which are invaluable in overcoming potential hurdles and finding inspiration. By combining a curiosity-driven approach with the tangible capabilities of the Raspberry Pi Zero W, you can create projects that are not only functional but also uniquely yours. Engage with fellow enthusiasts, share your progress, and let the Raspberry Pi Zero W be your gateway to a world of technological innovation and discovery.