
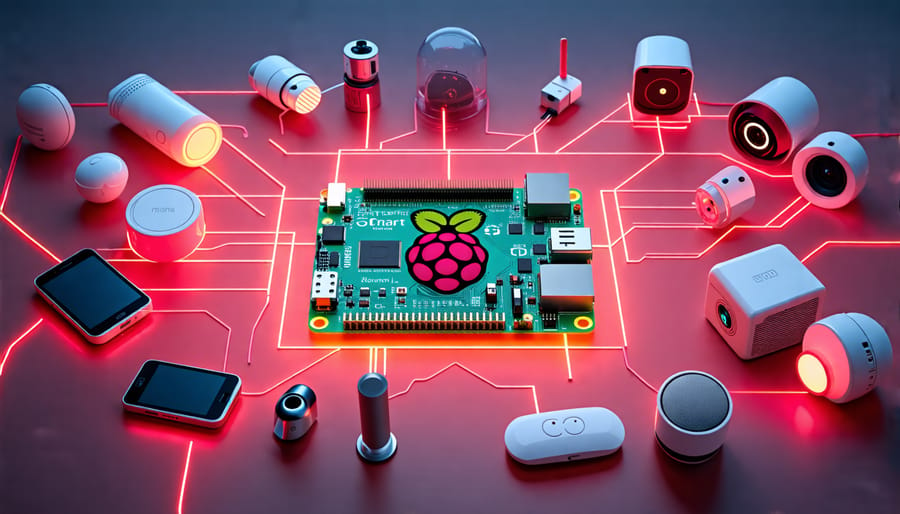
Unlock the power of home automation with Raspberry Pi, the credit card-sized computer that’s revolutionizing the way we control our homes. This tiny device packs a mighty punch, enabling you to create custom solutions that streamline your daily routines, enhance security, and elevate your living space to new heights of convenience and efficiency.
Imagine waking up to a gentle light that gradually illuminates your room, synced perfectly with your natural sleep cycle. With a few simple commands, your Raspberry Pi can automate your blinds, adjust the thermostat, and even start brewing your morning coffee. From voice-controlled lighting to intelligent security systems, the possibilities for Raspberry Pi home automation projects are truly endless.
Whether you’re a beginner looking to dip your toes into the world of smart home technology or a seasoned tinkerer ready to tackle advanced projects, this guide will provide you with step-by-step instructions, practical tips, and inspiring ideas to help you transform your home into a hub of automation. Get ready to unleash your creativity and embark on a journey that will redefine the way you interact with your living space.
Essential Components and Setup
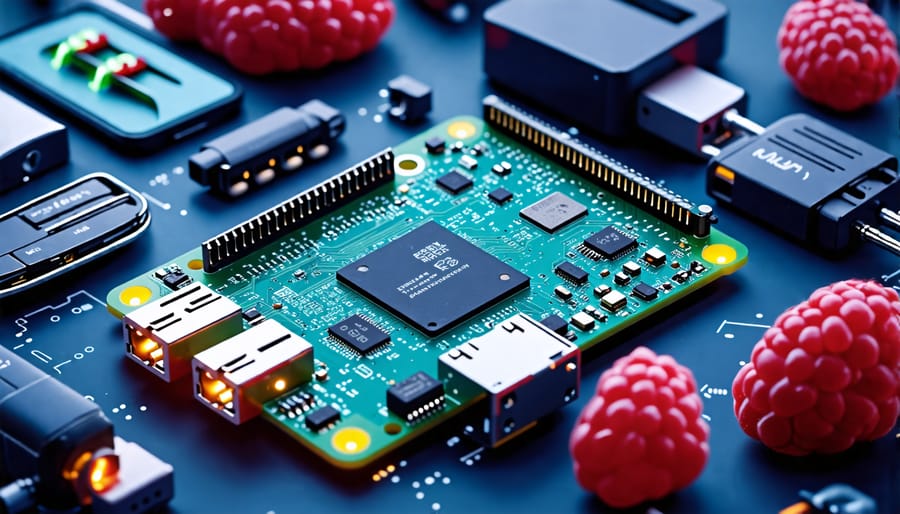
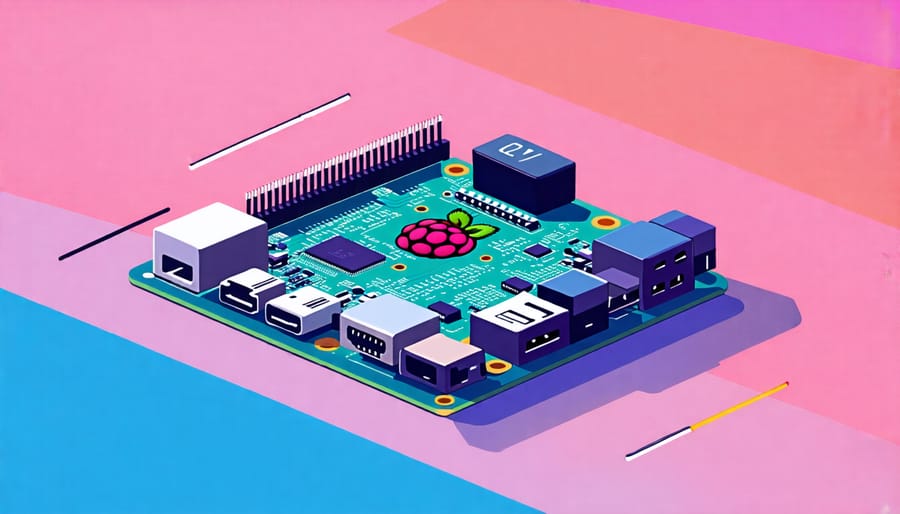
To embark on your Raspberry Pi home automation journey, you’ll need a few essential components. At the heart of your setup is the Raspberry Pi itself—a credit card-sized computer that packs a powerful punch. Consider opting for the latest model, such as the Raspberry Pi 4, which offers improved performance and connectivity options. You’ll also need a power supply, micro SD card (8GB or larger), and an HDMI cable to connect your Pi to a monitor for the initial setup.
Next, think about the sensors and actuators you’ll use to interact with your home environment. Popular choices include temperature and humidity sensors, motion detectors, cameras, relays for controlling appliances, and LED lights. Many of these components can be connected directly to the Raspberry Pi’s GPIO pins using jumper wires or a breadboard.
On the software side, you’ll typically start with the Raspberry Pi OS (previously known as Raspbian), a user-friendly Linux distribution optimized for the Pi. It comes pre-installed with Python, a versatile programming language that’s well-suited for home automation tasks. You can explore libraries like RPi.GPIO for interacting with the GPIO pins and integrating your sensors and actuators.
For a more streamlined experience, consider using a home automation platform like Home Assistant or OpenHAB. These open-source solutions provide a centralized interface to manage your devices and create automation rules. They offer extensive compatibility with various smart home protocols and devices, making it easier to expand your system over time.
To put it all together, start by assembling your Raspberry Pi and connecting it to your home network. Install the necessary software and libraries, and begin experimenting with basic projects like controlling an LED or reading data from a sensor. As you gain confidence, you can tackle more complex tasks like setting up a smart thermostat or building a voice-controlled assistant.
Remember, the Raspberry Pi community is vast and supportive. You’ll find numerous online resources, tutorials, and forums dedicated to Robotics with Raspberry Pi and home automation. Don’t hesitate to seek guidance and inspiration from experienced makers as you embark on your own projects.
Beginner-Friendly Projects

Smart Lighting Control
With a Raspberry Pi, you can easily set up smart lighting control for your home. Start by connecting your smart bulbs or LED strips to the Pi using protocols like Zigbee or Z-Wave. Next, install home automation software such as Home Assistant or OpenHAB, which provide intuitive interfaces for managing your lights. These platforms allow you to create custom lighting scenes, such as “movie night” or “morning wake-up,” by adjusting brightness, color, and timing. You can also set up automations based on triggers like motion sensors or schedules. For example, have your lights turn on automatically when you arrive home or gradually dim as bedtime approaches. With a bit of Python programming, you can even integrate your lighting with other smart home devices or create voice-activated controls using assistants like Alexa or Google Home. Raspberry Pi-powered smart lighting offers endless possibilities for customization and convenience.
Voice-Activated Home Assistant
Integrating a voice-activated home assistant like Alexa or Google Assistant with your Raspberry Pi opens up a world of hands-free control possibilities. To get started, you’ll need to set up your Raspberry Pi with the necessary software and configure it for remote access. Next, install the appropriate SDK for your chosen voice assistant, such as the Alexa Skills Kit or Google Assistant SDK. These tools provide the framework for creating custom voice commands that can interact with your Raspberry Pi.
Once set up, you can program your voice assistant to control various aspects of your smart home, such as turning lights on and off, adjusting thermostats, or even triggering custom scripts. With a little creativity and programming know-how, you can create a truly personalized, voice-activated home automation experience using your Raspberry Pi and favorite voice assistant platform.
Wireless Temperature Monitoring
Monitor temperature across your home with a Raspberry Pi and temperature sensors. Set up the Pi with a sensor like the DS18B20, and place sensors in key locations like your living room, bedroom, or even outside. Write a simple Python script to read the temperatures at regular intervals and log the data to a file or database. You can also set up alerts to notify you if the temperature exceeds set thresholds. With this project, you’ll gain insights into temperature fluctuations and can optimize your heating and cooling for comfort and efficiency. It’s a great introduction to using sensors with the Raspberry Pi.
Intermediate and Advanced Projects
Smart Door Lock System
Creating a secure, Wi-Fi enabled door lock system using Raspberry Pi is an exciting home automation project. To get started, you’ll need a Raspberry Pi board, a compatible electronic door lock mechanism, and a few other components like a relay module and jumper wires.
First, connect the Raspberry Pi to the relay module, which will control the lock mechanism. Then, wire the relay module to the lock according to the manufacturer’s instructions. You may need to modify the lock slightly to integrate it with the relay.
Next, set up the Raspberry Pi with the necessary software. Install the Raspberry Pi OS and configure it to connect to your home Wi-Fi network. You’ll also need to install and set up a server application, such as Home Assistant or Node-RED, to create a user-friendly interface for controlling the lock remotely.
With the hardware and software in place, you can create automations and rules for your smart lock. For example, you can set it to automatically lock after a certain time or when your smartphone leaves the vicinity. You can also integrate it with other Raspberry Pi security projects like surveillance cameras or motion sensors for added security.
Remember to prioritize security when setting up your smart lock. Use strong passwords, enable two-factor authentication, and keep your Raspberry Pi and associated software updated to prevent unauthorized access. With proper implementation, your Raspberry Pi-powered smart door lock system will provide convenient, secure access to your home.
Intelligent Energy Management
Transform your Raspberry Pi into an intelligent energy management hub with a few simple steps. Begin by connecting smart plugs to your Pi, allowing you to control and monitor individual appliances. Next, install an energy monitoring tool like EmonPi to track your home’s overall energy consumption in real-time. By analyzing this data, you can identify energy-hungry devices and optimize their usage to reduce waste and costs.
Take your system to the next level by integrating it with a smart thermostat, ensuring your home maintains a comfortable temperature while minimizing energy usage. You can also set up automated rules to turn off devices when not in use or during off-peak hours. With a little creativity and programming, your Raspberry Pi can become a powerful tool for reducing your carbon footprint and saving money on your energy bills.
Whole-Home Automation Hub
Transform your Raspberry Pi into a powerful central hub for automating and controlling your entire smart home. With its versatility and low cost, the Pi can seamlessly integrate with various smart devices, such as lights, thermostats, security cameras, and more. By installing home automation software like Home Assistant or OpenHAB on your Raspberry Pi, you can create a unified interface to manage all your connected devices from a single dashboard.
Customize your automations based on your preferences and routines, such as setting your lights to turn on automatically when you arrive home or adjusting your thermostat based on the weather forecast. The Raspberry Pi’s GPIO pins also allow you to connect sensors and actuators directly, enabling you to build your own custom smart home devices and integrations. With a Raspberry Pi at the heart of your home automation system, you’ll have the flexibility and control to create a truly personalized and efficient smart home experience.
Tips, Tricks, and Troubleshooting
Here are some insider tips and tricks to help you get the most out of your Raspberry Pi home automation projects:
1. Start small and simple. Don’t try to automate your entire home at once. Focus on one room or system, like lighting control, and build from there as you gain experience.
2. Use high-quality components, especially for sensors and relays that will be handling electrical currents. Cheap parts may save money upfront but can cause reliability issues down the road.
3. Pay attention to Raspberry Pi security from the start. Change default passwords, keep your operating system and software up to date, and consider network isolation for your automation devices.
4. Leverage existing open-source home automation software like Home Assistant or OpenHAB. These mature platforms offer a wide range of integrations and features to build upon.
5. Plan for power outages. Use an uninterruptible power supply (UPS) for your Raspberry Pi and critical components. Configure safe default states for devices to avoid unexpected behavior when power is restored.
6. Extensively test your automations before relying on them. Simulate different conditions and edge cases to ensure your system reacts as intended.
When troubleshooting issues, start by checking the basics: power supply, wiring connections, and software logs. Many problems trace back to loose connections or incompatible versions. The official Raspberry Pi forums and community sites are great resources for troubleshooting specific issues.
With thoughtful planning, component selection, and implementation, you can create robust Raspberry Pi home automation projects that make your life easier and more convenient. Start small, learn as you go, and don’t hesitate to ask for help when you need it.
Future of Raspberry Pi Home Automation
The future of Raspberry Pi in home automation is brimming with exciting possibilities. As the Raspberry Pi continues to evolve, we can expect to see more powerful and feature-rich models that enable even more sophisticated home automation projects. One emerging trend is the integration of artificial intelligence and machine learning, which could allow your Raspberry Pi to learn your preferences and anticipate your needs, creating a truly personalized home experience.
Another promising development is the growth of the Raspberry Pi community, with makers and enthusiasts continually pushing the boundaries of what’s possible. This collaborative spirit is likely to drive innovation and lead to groundbreaking new projects that redefine home automation.
As the Internet of Things (IoT) expands, the Raspberry Pi is well-positioned to serve as a central hub for controlling and automating a wide range of smart devices. From voice-controlled lighting to intelligent energy management, the opportunities are endless.
Moreover, the increasing affordability and accessibility of sensors, actuators, and other components means that home automation with Raspberry Pi will become even more achievable for hobbyists and beginners alike. As you continue to explore and experiment with Raspberry Pi in your own home automation journey, stay curious, creative, and open to new ideas – the future is yours to shape!
Conclusion
In conclusion, Raspberry Pi home automation projects offer a world of possibilities for tech enthusiasts, hobbyists, and educators alike. By exploring the various examples and tutorials covered in this article, you’ve gained valuable insights into how these tiny, affordable computers can revolutionize the way you interact with your home. From voice-controlled lighting to intelligent security systems, the potential applications are limited only by your imagination and creativity.
As you embark on your own Raspberry Pi home automation journey, remember that the key to success lies in experimentation, perseverance, and a willingness to learn. Don’t be afraid to start small, and gradually build upon your knowledge and skills as you tackle more complex projects. With the vast array of resources and supportive communities available online, you’ll never be short of inspiration or guidance.
So, what are you waiting for? Grab your Raspberry Pi, roll up your sleeves, and start building the smart home of your dreams today!