
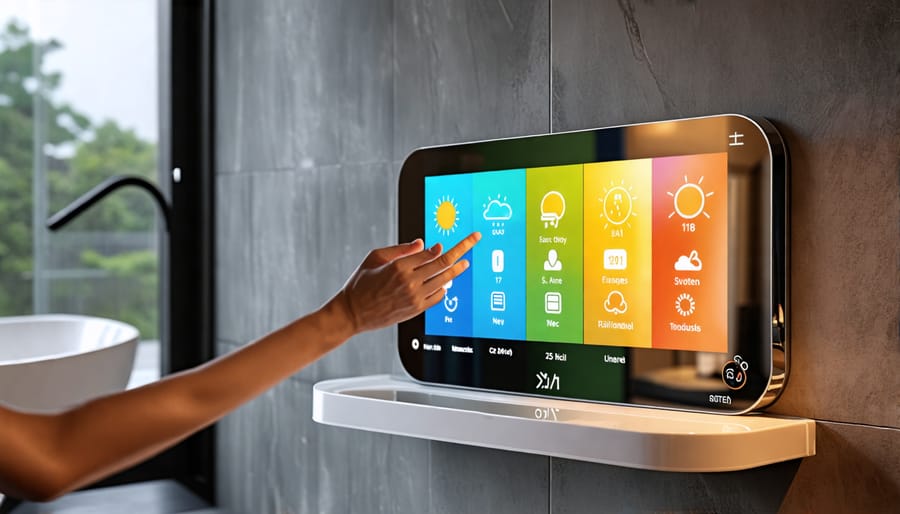
Imagine transforming your ordinary mirror into a futuristic, interactive hub of information and entertainment. With a Raspberry Pi, a few components, and some coding magic, you can create your very own smart mirror that displays personalized data like weather, news, calendar events, and more. Dive into this captivating DIY project that combines the power of technology with the sleek aesthetics of a mirror, turning your daily routine into an extraordinary experience. Discover how to plan, build, and customize your smart mirror, unleashing your inner maker and impressing everyone who encounters this awe-inspiring creation. Get ready to revolutionize the way you interact with your reflection and unlock a world of possibilities with a smart mirror powered by Raspberry Pi.
Planning Your Smart Mirror
Choosing the Right Display
When selecting a display for your smart mirror, consider the size that best fits your desired location and the project’s overall aesthetic. The display’s resolution is also crucial for ensuring crisp, clear visuals. Look for displays with high contrast ratios and wide viewing angles for optimal visibility in various lighting conditions. Compatibility with your chosen Raspberry Pi model is essential to avoid any connection issues. Additionally, consider the display’s power consumption and whether it requires a separate power supply or can be powered directly by the Raspberry Pi. Lastly, evaluate the cost of the display in relation to your budget and the overall project cost. By carefully weighing these factors, you can choose a display that meets your needs and ensures a successful smart mirror build.
Raspberry Pi Model and Accessories
For this smart mirror project, we recommend using a Raspberry Pi 4 with at least 2GB of RAM. The Raspberry Pi 4 offers improved performance and connectivity compared to previous models, ensuring a smooth experience for your smart mirror.
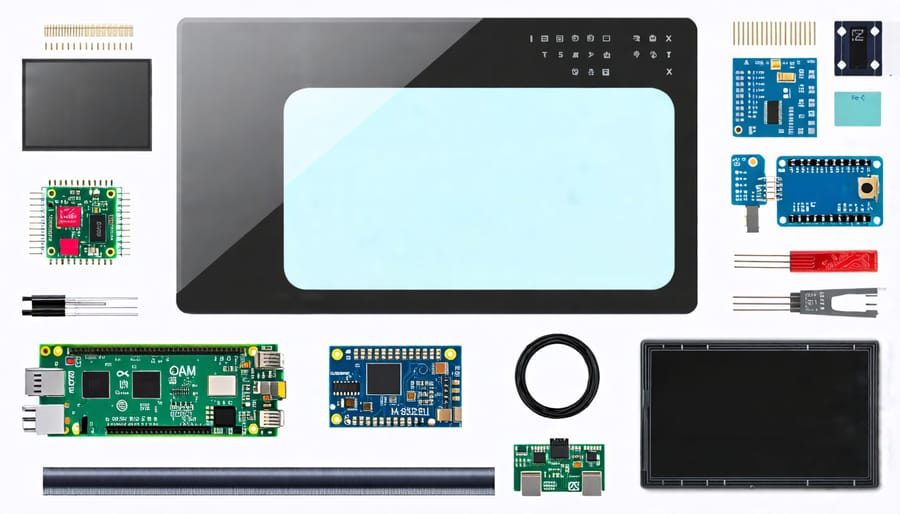
In addition to the Raspberry Pi board, you’ll need a few essential accessories. A compatible power supply, such as the official Raspberry Pi 4 power adapter, is crucial for reliable operation. You’ll also require a microSD card (at least 8GB) to install the operating system and store your smart mirror software.
To interact with your Raspberry Pi during the initial setup, you’ll need a USB keyboard and mouse. Once your smart mirror is up and running, you can use a wireless keyboard and mouse for a cleaner look.
Depending on your display choice, you might need an HDMI cable or a compatible adapter to connect the Raspberry Pi to your monitor or TV. Lastly, consider using a case to protect your Raspberry Pi and keep the wiring tidy.
Two-Way Mirror and Frame
Choosing the right two-way mirror is crucial for your smart mirror project. Look for a high-quality, acrylic two-way mirror that offers good transparency and reflectivity. Ensure the mirror’s dimensions match your desired screen size. When it comes to the frame, you can either build a custom one or repurpose an existing picture frame. If building from scratch, use wood or aluminum for a sleek, modern look. Consider the mirror’s thickness when designing the frame to ensure a seamless fit. Alternatively, finding a ready-made frame that accommodates your mirror can save time and effort. Remember to choose a frame that complements your home’s décor for a polished, integrated appearance.
Setting Up Your Raspberry Pi
Installing the Operating System
To install the operating system on your Raspberry Pi for the smart mirror project, start by downloading the latest version of Raspberry Pi OS from the official website. Once downloaded, use an image writing tool like Etcher to flash the OS image onto a microSD card. Insert the microSD card into your Raspberry Pi and connect it to a monitor, keyboard, and mouse. Power on the Pi and follow the on-screen instructions to set up the basic configuration, such as language, time zone, and Wi-Fi connection. After the initial setup, open the terminal and run the command “sudo apt-get update” followed by “sudo apt-get upgrade” to ensure your system is up to date. With the operating system installed and updated, you’re now ready to proceed with setting up the software for your smart mirror project.
Configuring the Display and Network
To configure the display, connect your Raspberry Pi to the monitor using an HDMI cable. Ensure the display settings in the Raspberry Pi configuration match your monitor’s resolution and refresh rate. For network connectivity, you have two options: Ethernet or Wi-Fi. If using Ethernet, simply plug the cable into the Raspberry Pi’s Ethernet port. For Wi-Fi, configure the network settings in the Raspberry Pi configuration menu or by editing the wpa_supplicant.conf file.
To access your Raspberry Pi remotely, consider setting up VNC remote access, which allows you to control your smart mirror from another device on the same network. This is particularly useful for making changes or troubleshooting without physically connecting a keyboard and mouse to the Raspberry Pi.
Building the Smart Mirror Software
MagicMirror² Framework
The MagicMirror² framework is a powerful, open-source platform that simplifies the process of creating your own smart mirror. Developed by Michael Teeuw, this modular framework allows you to customize your mirror’s functionality by adding various modules and widgets. With MagicMirror², you can display important information such as weather forecasts, news headlines, calendar events, and social media updates right on your mirror’s surface.
One of the standout features of MagicMirror² is its user-friendly interface and extensive documentation. Even if you’re new to coding or Raspberry Pi projects, the framework provides clear instructions and a supportive community to help you get started. The modular nature of MagicMirror² means you can easily add or remove features as desired, tailoring your smart mirror to your specific needs and preferences.
The framework supports a wide range of third-party modules, allowing you to extend your mirror’s capabilities beyond the default options. From displaying your favorite Spotify playlists to monitoring your smart home devices, MagicMirror² offers endless possibilities for customization. With a little creativity and some coding skills, you can create a truly unique and personalized smart mirror that impresses your friends and family while providing you with valuable information at a glance.
Installing and Configuring Modules
Installing and configuring modules for your Raspberry Pi smart mirror is a crucial step in customizing its functionality. One of the most popular modules is the MagicMirror² platform, which offers a wide range of pre-built modules and allows for custom module development. To install MagicMirror², follow the official documentation and use the provided shell script for a streamlined setup process.
Once installed, you can easily configure modules by editing the “config.js” file in the MagicMirror² directory. This file allows you to enable, disable, and customize various modules, such as the clock, weather, news feed, calendar, and more. Each module has its own set of configuration options, which you can adjust to your preferences.
For example, to display weather information, you’ll need to obtain an API key from a weather service provider and add it to the weather module’s configuration. Similarly, to show your calendar events, you’ll need to provide the necessary credentials and specify the calendar source.
In addition to the pre-built modules, you can also explore the MagicMirror² community’s repository of third-party modules or even create your own using JavaScript and CSS. This flexibility allows you to tailor your smart mirror’s functionality to your specific needs and interests.
Customizing the Interface
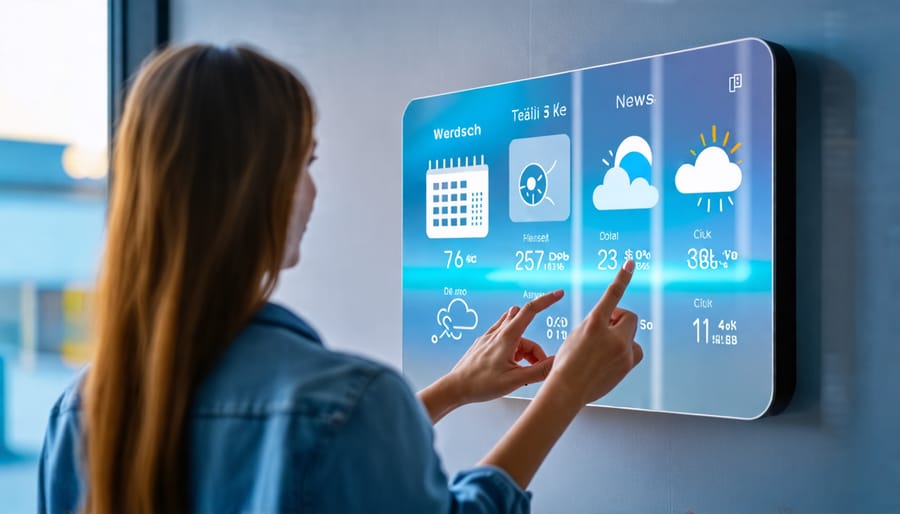
One of the best aspects of building your own smart mirror is the ability to customize the interface to your liking. Start by choosing a layout that suits your needs, whether you prefer a minimalistic design or a more feature-rich display. Consider the information you want to see at a glance, such as weather forecasts, calendar events, news headlines, or even motivational quotes. Experiment with different fonts, colors, and icons to create a visually appealing and easy-to-read interface. You can also explore various smart mirror ideas and modules shared by the Raspberry Pi community to further enhance your mirror’s functionality and aesthetics. Don’t be afraid to tweak and refine your design until you find the perfect balance between form and function.
Assembling the Smart Mirror
Now that you have all the components ready, it’s time to assemble your smart mirror. Begin by attaching the monitor to the back of the mirror using a strong adhesive or mounting brackets. Ensure that the monitor is centered and secure. Next, connect the Raspberry Pi to the monitor using an HDMI cable, and plug in the power supply.
Attach the frame to the mirror, making sure it fits snugly around the edges. If you’re using a two-way mirror, place it in front of the monitor with the reflective side facing outward. Secure the mirror to the frame using a non-abrasive adhesive or mounting tape.
Connect any additional peripherals, such as a microphone or camera, to the Raspberry Pi using the appropriate cables. Use cable ties or adhesive clips to keep the wires organized and hidden behind the mirror.
Finally, mount the completed smart mirror on your wall using sturdy brackets or a custom-built stand. Ensure that the mirror is level and securely fastened to prevent accidents. Once the mirror is in place, plug in the power supply and boot up your Raspberry Pi.
With the assembly complete, you can now customize your smart mirror’s software and enjoy the futuristic experience of having a personal digital assistant right in your mirror. Don’t be afraid to experiment with different layouts, widgets, and features to make your smart mirror truly unique.
Conclusion
In conclusion, building your own smart mirror with a Raspberry Pi is an exciting and rewarding DIY project. By following the steps outlined in this article, you can create a futuristic and functional device that enhances your daily routine. With the flexibility of the Raspberry Pi, you can customize your smart mirror to suit your specific needs and preferences, whether it’s displaying weather updates, news headlines, or your daily schedule. As you gain more experience, you can even explore advanced features like voice control or integration with other smart home devices. For those seeking an eco-friendly twist, consider creating a solar-powered smart mirror to reduce energy consumption. So, grab your tools, let your creativity flourish, and embark on this fascinating journey of building your very own smart mirror. The possibilities are endless, and the satisfaction of bringing your vision to life is truly unmatched.