
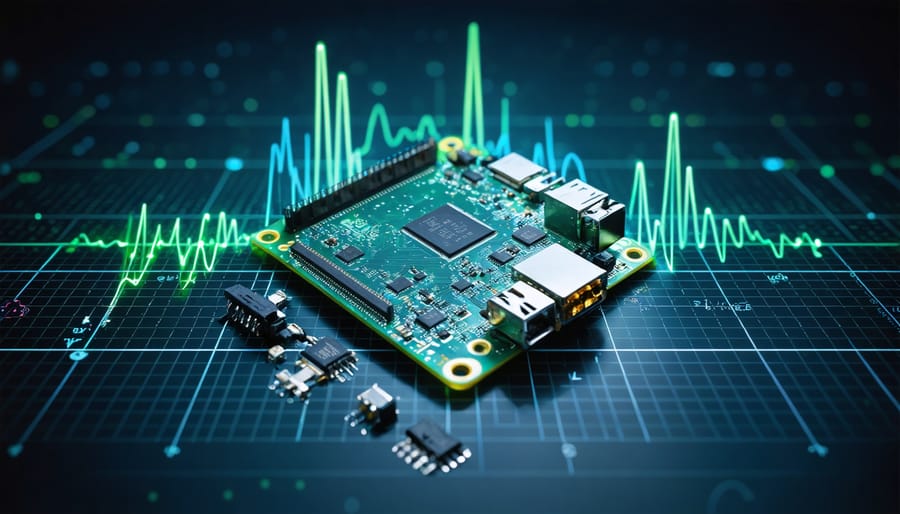
Transform your Raspberry Pi into a powerful digital signal processing (DSP) laboratory capable of real-time audio manipulation, data acquisition, and signal analysis. The Pi’s ARM processor, combined with specialized Python libraries like scipy.signal and numpy, enables sophisticated DSP applications at a fraction of the cost of traditional equipment. By leveraging the GPIO pins and adding simple analog-to-digital converters, makers and engineers can implement everything from basic audio filters to complex machine learning algorithms for signal classification.
The intersection of Raspberry Pi’s accessibility and DSP’s computational power opens up remarkable possibilities: build audio equalizers that respond to music in real-time, develop sensor networks that process environmental data, or create sophisticated communication systems that decode radio signals. Whether you’re a student exploring signal processing fundamentals or an engineer prototyping advanced applications, the Pi provides an ideal platform for hands-on DSP experimentation.
This guide explores essential DSP concepts, practical implementation techniques, and optimized code examples specifically tailored for the Raspberry Pi’s architecture. Learn how to maximize processing efficiency, handle real-time constraints, and create professional-grade DSP applications using affordable, readily available hardware.
Setting Up Your Raspberry Pi for DSP
Required Hardware Components
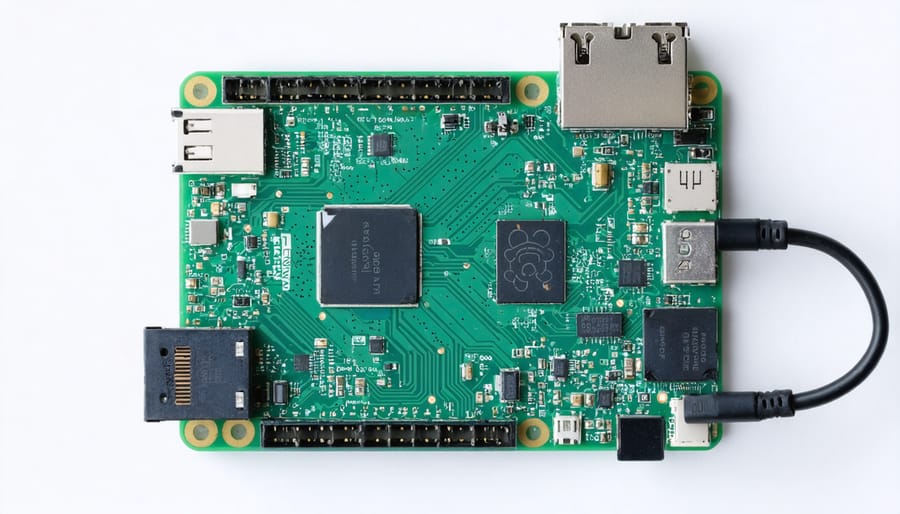
To get started with digital signal processing on the Raspberry Pi 4 Model B, you’ll need several key hardware components. The essential items include:
1. ADC (Analog-to-Digital Converter): MCP3008 or ADS1115 for converting analog signals to digital data. These modules communicate with the Pi via SPI or I2C protocols.
2. DAC (Digital-to-Analog Converter): MCP4725 or similar module for converting processed digital signals back to analog form.
3. Audio Input: A USB microphone or analog microphone with a pre-amp circuit for sound capture.
4. Sensors (choose based on your project):
– Sound sensors for audio processing
– Accelerometers for vibration analysis
– Temperature sensors for environmental monitoring
5. Breadboard and jumper wires for prototyping and connections
6. Power supply: A reliable 5V/3A power adapter
7. Optional components:
– LCD display for real-time signal visualization
– Amplifier module for audio output
– Storage media for data logging
Remember to verify component compatibility and voltage levels before connecting to your Pi to prevent damage.
Software Installation and Configuration
To begin working with digital signal processing on your Raspberry Pi, you’ll need to set up several essential software components. Start by updating your system with ‘sudo apt-get update’ and ‘sudo apt-get upgrade’. Install Python 3 if it’s not already present, along with pip3 for package management.
Next, install the NumPy and SciPy libraries using ‘pip3 install numpy scipy’. These libraries are fundamental for DSP operations. For real-time audio processing, install PortAudio and PyAudio with ‘sudo apt-get install portaudio19-dev’ followed by ‘pip3 install pyaudio’.
For specialized DSP applications, consider installing the Scientific Python stack by running ‘sudo apt-get install python3-matplotlib python3-pandas’. If you’re planning to work with audio signals, you’ll need proper ADC configuration for audio recording.
Finally, install an integrated development environment (IDE) like Thonny or Visual Studio Code for a better coding experience. Thonny comes pre-installed on Raspberry Pi OS, while VS Code can be installed through the recommended ARM package from Microsoft’s website.
Real-time Signal Processing Techniques
Audio Signal Processing
The Raspberry Pi’s audio processing capabilities make it an excellent platform for implementing various audio filters and effects. By leveraging its processing power, you can create real-time audio modifications ranging from basic equalizers to complex sound manipulations. Getting started requires a proper audio interface setup to ensure optimal sound quality.
Popular audio processing applications include low-pass and high-pass filters, which can be implemented using Python libraries like scipy.signal or NumPy. For example, a basic low-pass filter can help remove unwanted high-frequency noise from audio signals, while a high-pass filter can eliminate low-frequency rumble.
More advanced effects like reverb, delay, and chorus can be created using digital signal processing techniques. The PyDSP library offers a straightforward approach to implementing these effects. Here’s what you can achieve:
– Real-time audio filtering
– Custom effect chains
– Audio visualization
– Frequency analysis
– Dynamic range compression
– Pitch shifting
To optimize performance, consider using hardware-accelerated libraries and maintaining appropriate buffer sizes. For best results, use a dedicated USB audio interface rather than the built-in audio jack, as this provides better sound quality and lower latency for real-time processing tasks.
Sensor Data Processing
The Raspberry Pi’s GPIO pins provide a gateway to interfacing with various analog sensors, though they only accept digital inputs natively. To work with analog sensors, you’ll need an analog-to-digital converter (ADC) like the MCP3008 or ADS1115. These components convert continuous analog signals into discrete digital values that the Pi can process.
Once you’ve captured sensor data, digital filtering becomes essential for cleaning up noise and extracting meaningful information. The Pi excels at implementing common digital filters like moving averages, low-pass, and high-pass filters using Python libraries such as NumPy and SciPy. For instance, a simple moving average filter can smooth out temperature sensor readings by averaging several consecutive samples.
Real-time sensor data processing requires efficient code optimization. Consider using circular buffers for storing sensor readings and implementing windowing techniques to process data in chunks. The NumPy library’s vectorized operations significantly speed up calculations compared to traditional Python loops.
For more advanced applications, the Pi can handle sophisticated filtering techniques like Kalman filters for sensor fusion or FFT (Fast Fourier Transform) for frequency analysis. These tools are particularly useful when working with accelerometers, gyroscopes, or audio sensors.
Remember to consider sampling rates carefully – the Pi’s processing power allows for decent sampling frequencies, but you’ll need to balance this with your application’s requirements and the chosen ADC’s capabilities.
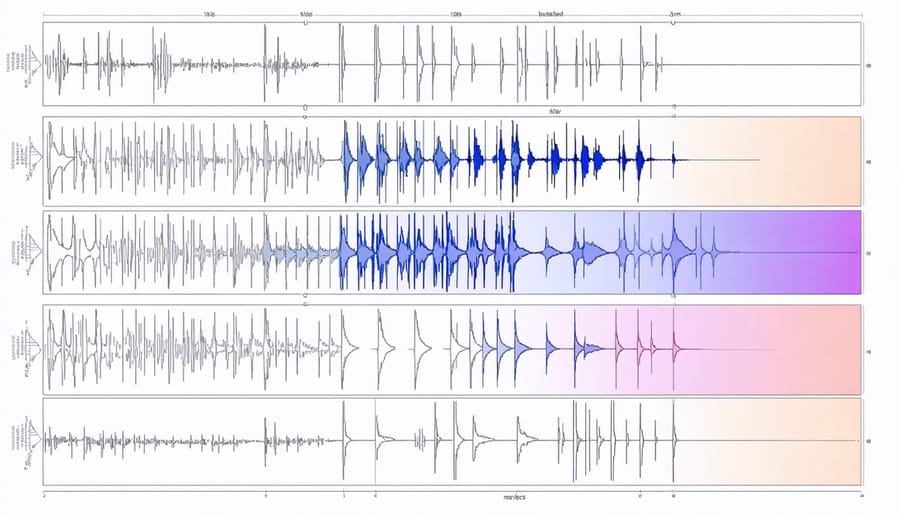
FFT Implementation
The Fast Fourier Transform (FFT) is a cornerstone of digital signal processing on the Raspberry Pi, enabling efficient frequency analysis of audio and sensor data. Using the NumPy library, you can implement FFT calculations with just a few lines of code. Here’s a practical example:
“`python
import numpy as np
from scipy.fftpack import fft
# Sample data processing
sample_rate = 44100
data = np.array(your_signal_data)
fft_result = fft(data)
frequencies = np.fft.fftfreq(len(data), 1/sample_rate)
“`
The FFT output provides magnitude and phase information for different frequency components in your signal. For real-time applications, consider using windowing functions like Hanning or Hamming to reduce spectral leakage:
“`python
window = np.hanning(len(data))
windowed_data = data * window
fft_result = fft(windowed_data)
“`
To optimize FFT performance on the Raspberry Pi, choose array lengths that are powers of 2 (e.g., 1024, 2048, 4096). This significantly improves computation speed. For real-time applications, you can process data in smaller chunks:
“`python
chunk_size = 1024
while True:
chunk = get_audio_chunk() # Your data collection method
spectrum = np.abs(fft(chunk))
# Process spectrum data
“`
Remember that FFT processing can be CPU-intensive. For demanding applications, consider using the GPU through libraries like OpenGL ES, or implement hardware-based solutions using the Pi’s GPIO pins.
Optimization Strategies
Hardware Acceleration
The Raspberry Pi’s hardware acceleration capabilities can significantly boost digital signal processing performance when properly utilized. The VideoCore GPU, present in all Pi models, offers powerful parallel processing capabilities that can be leveraged for DSP tasks through OpenGL ES and OpenVG APIs.
To tap into this potential, projects can use libraries like OpenMAX IL, which provides direct access to hardware-accelerated audio and video processing. For real-time audio processing, the GPU can handle complex operations like FFT calculations much faster than the CPU alone. The VideoCore IV GPU in newer Pi models can process multiple data streams simultaneously, making it ideal for applications like audio filtering and spectrum analysis.
Hardware-specific optimizations also extend to the Pi’s ARM processor through NEON SIMD (Single Instruction, Multiple Data) instructions. These enable parallel processing of multiple data points with a single instruction, perfect for DSP operations like filtering and convolution. By using NEON-optimized libraries such as Ne10 or ARM Compute Library, developers can achieve up to 4x performance improvement in common DSP tasks.
To maximize hardware acceleration, consider using specialized DSP libraries that are pre-optimized for the Pi’s architecture. The Raspberry Pi OS also includes various kernel-level optimizations that can be enabled through config.txt settings, such as adjusting GPU memory allocation and enabling specific hardware codecs for audio processing.
Code Optimization
When processing digital signals on a Raspberry Pi, optimizing your code is crucial for achieving real-time performance. Start by utilizing NumPy’s vectorized operations instead of Python loops, as they’re significantly faster for array manipulations. For remote development and testing, setting up remote desktop access can streamline your workflow.
Consider using the multiprocessing module to parallelize computationally intensive tasks across the Pi’s cores. For DSP-specific optimizations, implement circular buffers to manage streaming data efficiently and minimize memory allocation overhead. The scipy.signal library offers pre-compiled functions that are much faster than custom implementations.
Memory management is particularly important on the Pi. Use numpy.float32 instead of float64 when possible, and pre-allocate arrays rather than growing them dynamically. For real-time applications, setting process priorities using nice or rt-preempt can improve responsiveness.
If you’re working with audio signals, consider using the sounddevice library with callback mode to reduce latency. For maximum performance, critical sections of code can be compiled using Numba’s @jit decorator, which can provide significant speedups for numerical computations without requiring C code.
Remember to profile your code using cProfile or line_profiler to identify bottlenecks before optimizing. Sometimes, simple algorithmic improvements can yield better results than low-level optimizations.
Practical Project Examples
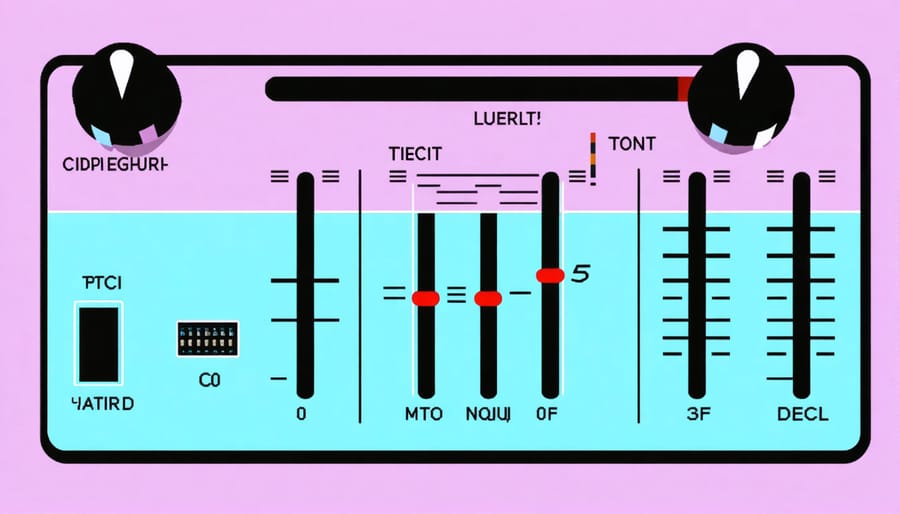
Audio Equalizer
An audio equalizer is one of the most practical applications of digital signal processing on the Raspberry Pi, allowing real-time manipulation of audio frequencies. Using Python and the NumPy library, you can create a system that adjusts different frequency bands of an audio signal, similar to professional audio equipment.
To build a basic equalizer, you’ll need to implement a Fast Fourier Transform (FFT) to convert the audio signal from the time domain to the frequency domain. The process involves capturing audio input through the Pi’s audio interface, splitting the signal into frequency bands, applying gain adjustments, and then converting the modified signal back to the time domain using Inverse FFT.
Here’s a simplified implementation approach:
1. Install the required libraries (NumPy, PyAudio) using pip
2. Configure audio input/output streams
3. Create frequency band filters (typically low, mid, and high)
4. Apply real-time FFT processing
5. Implement gain controls for each frequency band
6. Convert the processed signal back to audio output
The Raspberry Pi 4’s processing power handles this task well, though you might need to optimize your code for better performance. Consider using buffer sizes of 1024 or 2048 samples for a good balance between latency and processing overhead. For best results, use a powered USB audio interface rather than the Pi’s built-in audio jack to minimize noise and improve overall audio quality.
Vibration Analyzer
A vibration analyzer using the Raspberry Pi provides valuable insights into mechanical systems through digital signal processing. By connecting an ADXL345 accelerometer to your Pi’s GPIO pins via I2C, you can create a sophisticated monitoring system that detects and analyzes vibration patterns in real-time.
To set up the hardware, connect the ADXL345’s SDA and SCL pins to GPIO pins 2 and 3 respectively, and provide power through the 3.3V and ground pins. Install the required Python libraries using pip:
“`python
pip install adafruit-circuitpython-ADXL345
“`
The system captures acceleration data across three axes (X, Y, Z) at a sampling rate of 100Hz. This raw data undergoes Fast Fourier Transform (FFT) processing to convert time-domain signals into frequency-domain representation, revealing specific vibration frequencies and amplitudes.
Here’s a basic implementation example:
“`python
import board
import busio
import adafruit_adxl345
import numpy as np
i2c = busio.I2C(board.SCL, board.SDA)
accelerometer = adafruit_adxl345.ADXL345(i2c)
while True:
x, y, z = accelerometer.acceleration
# Process and analyze the data
“`
This system proves particularly useful for predictive maintenance in machinery, structural health monitoring, and vibration analysis in DIY projects. By setting threshold values and implementing alert systems, you can detect unusual vibration patterns that might indicate mechanical issues before they become serious problems.
Digital Signal Processing on the Raspberry Pi opens up a world of exciting possibilities for makers and developers. From audio processing and real-time data analysis to sensor integration and IoT applications, the fundamentals we’ve explored provide a solid foundation for your projects. By leveraging the Pi’s GPIO capabilities and optimizing your code, you can achieve impressive results even with limited resources. Remember to start with simple projects and gradually work your way up to more complex applications. Consider joining online communities and forums to share your experiences and learn from others. Whether you’re building a music synthesizer, developing a sensor network, or creating an automated monitoring system, the skills you’ve learned here will serve as stepping stones for future innovations. Keep experimenting, documenting your progress, and expanding your knowledge of DSP concepts to unlock the full potential of your Raspberry Pi projects.