
Transform your Raspberry Pi into a capable video editing workstation with surprisingly modest hardware requirements – even a basic Pi 4 with 4GB RAM can handle 1080p editing when properly configured. The rising popularity of Pi-based video editing stems from its cost-effectiveness and portability, making it an ideal solution for content creators on a budget or those needing a lightweight editing setup.
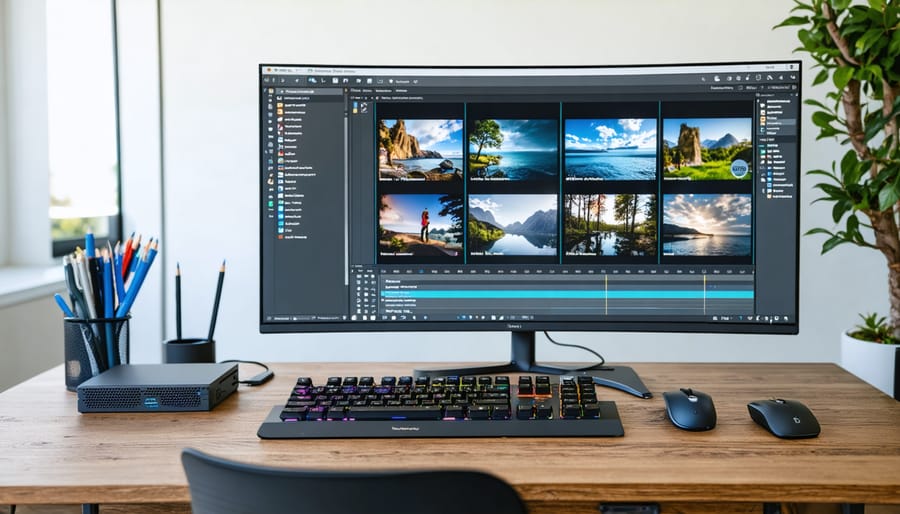
OpenShot and Kdenlive lead the pack as the most reliable video editing software options for Raspberry Pi, offering robust feature sets that rival traditional desktop editors. While these applications may run slightly slower than on high-end PCs, strategic optimizations like using hardware acceleration and working with proxy files can significantly enhance performance. The Pi’s dedicated video processing hardware, combined with proper cooling solutions, enables smooth editing of most common video formats.
Recent improvements in the Raspberry Pi OS have made video editing more accessible than ever, with better GPU acceleration support and optimized media codecs available out of the box. Whether you’re cutting together simple YouTube videos or working on more complex projects, the Raspberry Pi provides a capable platform that balances performance with affordability.
Setting Up Your Raspberry Pi for Video Processing
Hardware Requirements and Optimization
For optimal video editing performance, the Raspberry Pi 4 Model B with 8GB RAM is highly recommended. This configuration provides the best balance of processing power and memory for handling video files. To prevent thermal throttling during intensive editing tasks, implementing proper cooling solutions is crucial.
A quality heat sink and active cooling fan are essential components. The aluminum heat sinks should be attached to both the CPU and RAM chips, while a 5V fan can be mounted directly above them. For enhanced thermal management, consider using a case with built-in ventilation or an ICE Tower Cooler, which can maintain temperatures below 50°C even under heavy loads.
Storage considerations are equally important. Use a high-quality Class 10 microSD card with at least 64GB capacity for the operating system. For video storage and editing, connect a USB 3.0 external SSD to take advantage of faster data transfer speeds. This setup significantly reduces rendering times and provides smoother preview playback.
Additional hardware recommendations include:
– A powered USB hub for connecting multiple devices
– A minimum 3A power supply to ensure stable operation
– An external monitor with HDMI 2.0 support for full HD preview
– A wireless keyboard and mouse to reduce cable clutter
Software Installation and Configuration
To begin setting up your Raspberry Pi for video editing, you’ll need to install the right software. Start by ensuring your system is up to date by running ‘sudo apt update’ and ‘sudo apt upgrade’ commands in the terminal.
OpenShot is one of the most popular choices for Raspberry Pi video editing. Install it by entering ‘sudo apt install openshot-qt’ in the terminal. The installation process typically takes 5-10 minutes, depending on your internet connection.
For more advanced editing capabilities, consider installing Kdenlive. Though it requires more system resources, it offers professional-grade features. Install it using ‘sudo apt install kdenlive’. To ensure optimal performance, it’s recommended to use system monitoring tools while running these applications.
After installation, configure your video editor by:
1. Setting the default project format (1080p recommended for best performance)
2. Configuring the cache location (preferably on an external SSD)
3. Adjusting render settings to match your Pi’s capabilities
4. Setting up keyboard shortcuts for efficient editing
For smoother performance, consider enabling GPU acceleration if your Pi model supports it. This can be done through the raspi-config tool by allocating more memory to the GPU.
Remember to restart your Raspberry Pi after completing these installations and configurations to ensure everything works properly.
Best Video Editing Software for Raspberry Pi
OpenShot and Kdenlive Setup
OpenShot and Kdenlive are two powerful, free video editors that work well on the Raspberry Pi. To install OpenShot, open the terminal and type:
sudo apt-get update
sudo apt-get install openshot
For Kdenlive, use:
sudo apt-get update
sudo apt-get install kdenlive
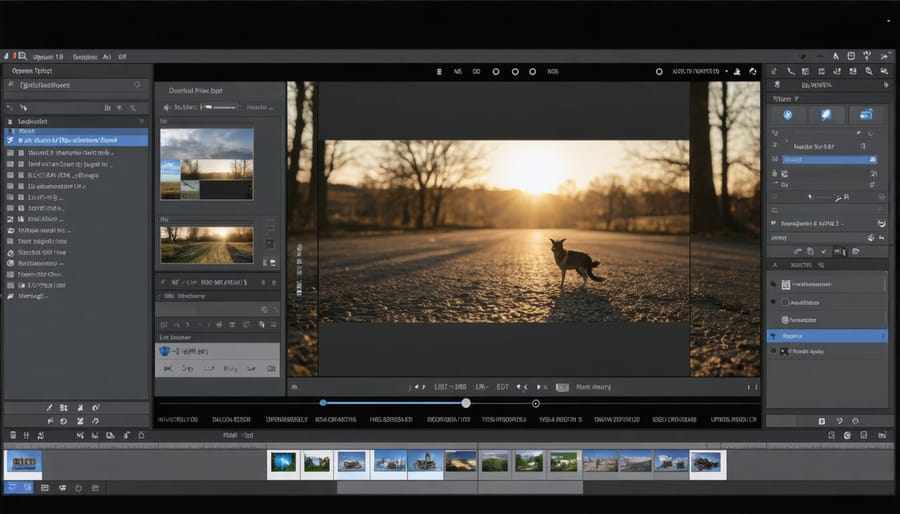
After installation, you’ll find both editors in your Applications menu under “Sound & Video.” OpenShot offers a more straightforward interface, making it ideal for beginners. Its drag-and-drop functionality allows you to easily arrange clips on the timeline, and basic transitions and effects are readily accessible through the sidebar.
Kdenlive provides more advanced features but requires slightly more system resources. It excels in multi-track editing and offers professional-grade tools like color correction and audio mixing. To optimize performance on your Raspberry Pi, set the preview quality to “Preview” instead of “Full Res” in both editors.
For smooth editing, it’s recommended to work with lighter video formats like MP4 (H.264) rather than heavy raw files. Both editors support proxy editing, which creates lower-resolution copies of your footage for editing while maintaining the original quality for export.
Consider these recommended settings for optimal performance:
– Set timeline resolution to 720p while editing
– Disable real-time effects preview
– Close unnecessary background applications
– Use a USB 3.0 external drive for project files
Remember to save your work frequently, as video editing can be resource-intensive on the Raspberry Pi.
Command-Line Video Processing Tools
For those comfortable with command-line interfaces, FFmpeg offers powerful video processing capabilities on the Raspberry Pi. This versatile tool can handle tasks from basic video conversion to complex editing operations, all while being remarkably efficient with system resources.
To get started with FFmpeg, install it using the terminal command:
`sudo apt-get install ffmpeg`
Here are some essential FFmpeg commands for video editing:
To trim a video:
`ffmpeg -i input.mp4 -ss 00:00:30 -t 00:00:10 output.mp4`
This extracts a 10-second clip starting at 30 seconds.
For video compression:
`ffmpeg -i input.mp4 -crf 23 output.mp4`
The CRF value (0-51) controls quality – lower numbers mean better quality but larger files.
To combine multiple videos:
`ffmpeg -f concat -i videolist.txt -c copy output.mp4`
Create a text file listing your videos first with `file ‘video1.mp4’` format.
Other useful CLI tools include:
– HandBrakeCLI for video transcoding
– ImageMagick for creating timelapses from images
– Sox for audio processing
These tools can be combined using shell scripts to create automated video processing workflows. While the learning curve might be steeper than GUI applications, the ability to automate tasks and process videos without visual interface overhead makes CLI tools particularly valuable for Raspberry Pi users.
Remember to monitor your Pi’s temperature during intensive processing tasks, as video encoding can be demanding on the system.
Advanced Video Processing Techniques
GPU Acceleration Methods
While the Raspberry Pi may not be a powerhouse, you can significantly improve video editing performance by leveraging GPU acceleration. The VideoCore GPU in Raspberry Pi can handle certain video processing tasks, reducing the load on the CPU and speeding up rendering times.
To enable GPU acceleration, first ensure your system is properly configured by adjusting the GPU memory split in raspi-config. Allocate at least 128MB of memory to the GPU for optimal video processing performance. You can do this by navigating to Performance Options in raspi-config and selecting GPU Memory.
OpenMAX acceleration is particularly useful for video encoding and decoding tasks. Many video editing applications on Raspberry Pi, including OpenShot and KdenLive, can utilize this hardware acceleration when properly configured. To enable OpenMAX, check your video editing software’s settings for hardware acceleration options.
For advanced users, the MMAL (Multi-Media Abstraction Layer) framework provides direct access to the VideoCore hardware. This can be particularly useful when writing custom video processing scripts or working with specialized editing tools.
Remember that while GPU acceleration can significantly improve performance, it’s important to maintain realistic expectations. Complex effects and transitions may still process slowly compared to desktop computers, so consider optimizing your workflow by using proxy files for editing and final rendering only when necessary.
Video Compression and Optimization
Video compression is crucial when editing on the Raspberry Pi due to its limited processing power and storage capabilities. To maintain a balance between file size and quality, focus on optimizing your export settings in your chosen editing software.
For H.264 encoding, which offers excellent compression while maintaining good quality, aim for a bitrate between 2-5 Mbps for 1080p footage. This range provides a good balance between file size and visual quality on the Pi. For 720p content, you can reduce this to 1-3 Mbps.
Consider using the following optimization techniques:
– Two-pass encoding: While it takes longer to process, this method analyzes your video twice to optimize compression
– Keyframe intervals: Set to every 2-3 seconds (50-75 frames) for smooth playback
– Audio compression: Use AAC encoding at 128-192 kbps for good quality audio at reasonable file sizes
When working with the Pi’s hardware encoder (H.264), you can achieve faster rendering times by matching your export settings to common presets:
– YouTube: 1080p at 4 Mbps
– Web delivery: 720p at 2 Mbps
– Local playback: 1080p at 5 Mbps
Remember to export in progressive format (e.g., 1080p) rather than interlaced to reduce processing demands. For projects requiring multiple exports, create a preset with your optimal settings to ensure consistency across all your videos.
Batch Processing and Automation
One of the most powerful features of the Raspberry Pi for video editing is its ability to handle batch processing and automated workflows. By leveraging command-line tools like FFmpeg and creating simple shell scripts, you can process multiple videos simultaneously without manual intervention. This is particularly useful when you need to convert video formats, resize files, or apply consistent effects across numerous videos.
To get started with batch processing, create a basic shell script that loops through your video files and applies the desired FFmpeg commands. For example, you could automatically compress all videos in a folder or add watermarks to multiple files. This automation becomes even more powerful when combined with remote desktop access, allowing you to monitor your processing tasks from anywhere.
Here’s a practical use case: Set up a watch folder where dropping new video files automatically triggers processing based on predefined parameters. This could include tasks like converting videos to web-friendly formats, extracting audio, or generating thumbnails. Using tools like cron jobs, you can schedule these processes to run during off-peak hours when your Raspberry Pi has more available resources.
For more complex workflows, consider using Python scripts to create custom automation solutions that can handle conditional processing based on file properties or metadata. This approach turns your Raspberry Pi into a dedicated video processing server, maximizing its utility for content creators and video enthusiasts.
Performance Tips and Troubleshooting
To optimize your Raspberry Pi’s video editing performance, start by ensuring your system is properly cooled with a heatsink and fan, as video processing can be CPU-intensive. Overclocking your Pi can provide additional processing power, but do this cautiously to avoid system instability.
If you experience slow rendering times, try reducing your video resolution during editing and export at higher quality later. Working with proxy files (lower-resolution copies) can significantly improve editing smoothness. You can also access your workstation remotely to start rendering jobs and monitor progress while away.
Common issues and solutions:
– System freezing: Close unnecessary background processes and ensure adequate power supply
– Corrupted exports: Use recommended codec settings and avoid interrupting render processes
– Memory errors: Increase your swap file size and regularly clear cached files
– Slow preview playback: Lower preview quality in your editing software
For better performance, store your project files on an external SSD rather than the SD card. This reduces read/write bottlenecks and extends your SD card’s lifespan. Regular maintenance like updating software packages and cleaning temporary files can also help maintain optimal performance.
Video editing on a Raspberry Pi is both achievable and rewarding with the right setup and approach. By selecting appropriate hardware configurations, installing optimized software solutions, and implementing performance-enhancing techniques, you can create a capable video editing workstation on your Pi. Whether you’re a hobbyist filmmaker or an educator looking for an affordable editing solution, the Raspberry Pi offers a viable platform for basic to intermediate video editing tasks. Start with lightweight editors like OpenShot or KdenLive, gradually expanding your capabilities as you become more comfortable with the system. Remember to maintain realistic expectations about performance limitations while exploring creative ways to work within these constraints. As you continue your journey, consider joining the Raspberry Pi community forums for additional support and inspiration from fellow enthusiasts who share their experiences and solutions.