
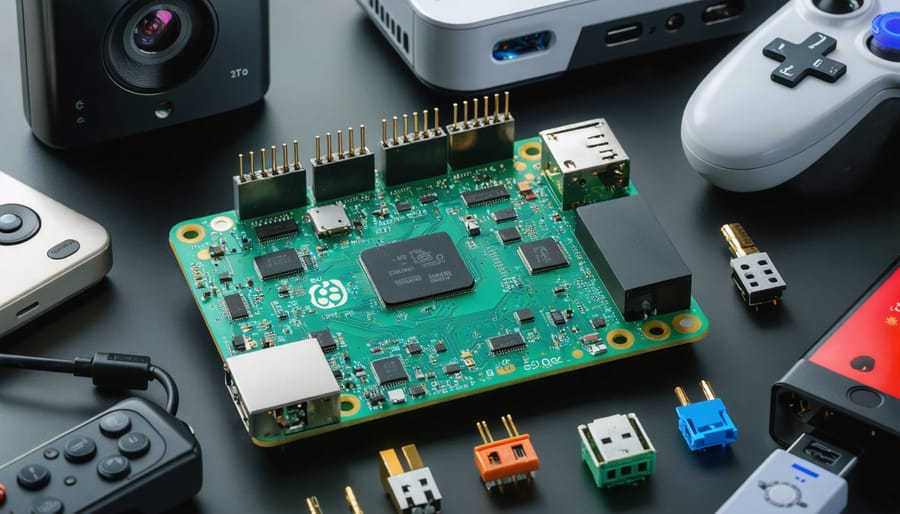
Transform your Raspberry Pi Zero into a powerhouse of innovation with 2023’s most exciting and accessible projects. Whether you’re building smart home automation projects or crafting AI-powered solutions, the $10 microcomputer continues to push boundaries of what’s possible for makers and enthusiasts.
From machine learning applications that run efficiently on the Zero’s compact hardware to ultra-portable retro gaming consoles, this year’s project landscape combines cutting-edge technology with practical functionality. The Pi Zero’s small form factor and low power consumption make it ideal for IoT sensors, security cameras, and portable media centers – all achievable with basic programming knowledge and readily available components.
Discover how recent software optimizations and new libraries have expanded the Pi Zero’s capabilities, enabling projects that were previously limited to more powerful boards. Whether you’re a beginner looking to build your first digital assistant or an experienced maker ready to create sophisticated embedded systems, 2023’s project ecosystem offers unprecedented opportunities to innovate and create.
Smart Home Security Solutions
DIY Security Camera System
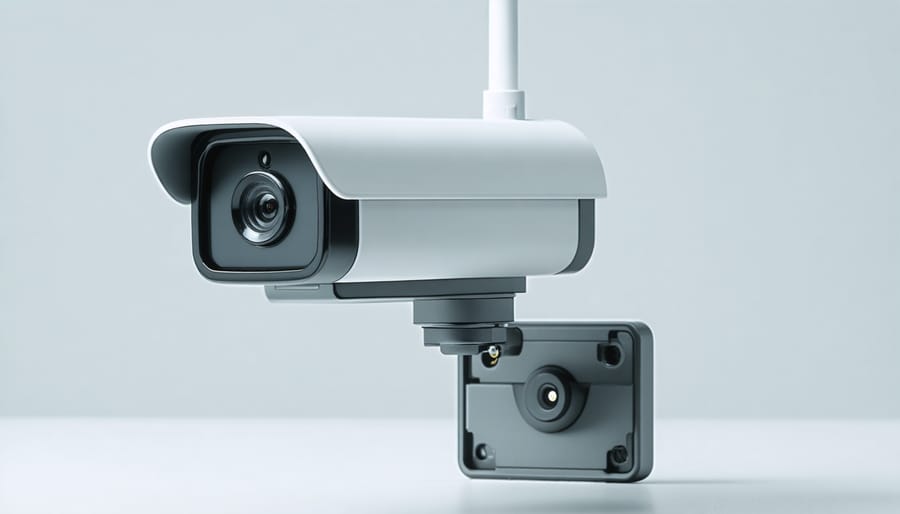
Transform your Raspberry Pi Zero into a sophisticated security camera system with minimal investment. By combining a high-quality camera setup with motion detection software, you can create a powerful surveillance solution that rivals commercial systems.
Start by connecting a compatible camera module to your Pi Zero’s CSI port. The official Raspberry Pi Camera Module v2 or NoIR Camera v2 work excellently for this purpose. Install MotionEyeOS, a specialized Linux distribution designed for video surveillance, which provides an intuitive web interface for managing your camera system.
The real magic happens with motion detection capabilities. Configure MotionEyeOS to capture images or record video clips when movement is detected, and set up notifications to your smartphone or email. You can even stream live footage to your devices through a secure connection.
To make your system truly wireless, power it using a portable battery bank and connect it to your home network via Wi-Fi. Consider weatherproofing the setup if you plan to use it outdoors. For added functionality, integrate your camera with home automation platforms like Home Assistant or create custom scripts to trigger specific actions when motion is detected.
This project offers an excellent balance of cost-effectiveness and functionality, making it perfect for home security or monitoring applications.
Smart Doorbell with Face Recognition
Transform your Raspberry Pi Zero into a sophisticated smart doorbell system that uses facial recognition to enhance your home security. This project combines AI capabilities with real-time notifications, making it both practical and cutting-edge.
Using a Pi Camera module and OpenCV libraries, the system captures visitors’ faces and processes them through a pre-trained machine learning model. When someone approaches your door, the system automatically identifies whether they’re a known family member, friend, or stranger, and sends notifications to your smartphone accordingly.
The build requires a Pi Zero W, Pi Camera, PIR motion sensor, and a basic doorbell button. The software stack includes Python, OpenCV, and Flask for the web interface. You’ll need to create a database of known faces by training the system with multiple photos of regular visitors.
Key features include customizable notification settings, video streaming capability for remote monitoring, and an event log that records all visitors. The system can even announce visitors by name through a connected speaker when it recognizes them.
For power efficiency, the Pi Zero runs in low-power mode until motion is detected, making it suitable for continuous operation. The entire setup can be housed in a 3D-printed case that’s weather-resistant and aesthetically pleasing.
This project offers an excellent introduction to computer vision and IoT integration while providing practical home security benefits.
Portable Gaming Projects
Handheld Retro Gaming Console
Transform your Raspberry Pi Zero into a pocket-sized gaming paradise with this exciting project that leverages the board’s impressive retro gaming capabilities. Using RetroPie as your operating system, you can create a portable console that runs classic games from various platforms including NES, SNES, Game Boy, and Sega Genesis.
To build this project, you’ll need a Pi Zero W, a small LCD screen (3.5″ recommended), a battery pack, and a game controller or buttons for input. The compact size of the Pi Zero makes it perfect for fitting into a custom 3D-printed case, which you can design yourself or download from popular repositories.
Getting started is straightforward: flash RetroPie onto your SD card, connect your display via GPIO pins, and wire up your controls. The most challenging part is typically the case assembly and power management, but detailed tutorials and community support make this achievable even for beginners.
For enhanced gaming experience, consider adding features like a battery level indicator, safe shutdown button, and audio amplifier. With proper optimization, you can expect 4-6 hours of gameplay on a single charge. This project not only provides endless entertainment but also serves as an excellent introduction to GPIO programming and electronic assembly.
Remember to verify game ROM compatibility and respect copyright laws when selecting games for your system.

Wireless Game Streaming Device
Transform your Raspberry Pi Zero into a portable game streaming powerhouse that lets you play your favorite PC games anywhere in your home. This project leverages the compact size of the Pi Zero to create a handheld device that streams games from your main gaming PC using Moonlight or Steam Link.
To begin, you’ll need a Raspberry Pi Zero W (for wireless connectivity), a small LCD screen (3.5″ to 5″), a battery pack, and some basic controls like buttons or a mini gamepad. The setup process involves installing the Moonlight client on your Pi Zero and configuring your host PC with NVIDIA GeForce Experience or Steam Link.
The magic happens through the optimization of your local network connection. Configure your Pi Zero to prioritize gaming traffic and minimize latency by adjusting QoS settings on your router. With proper setup, you can achieve surprisingly smooth gameplay with minimal input lag.
For the best experience, consider adding a 3D-printed case to house all components and create a professional-looking device. Many makers have shared their case designs online, or you can design your own to match your specific component layout.
This project is particularly appealing because it combines the portability of handheld gaming with the power of your gaming PC, all while keeping costs significantly lower than commercial alternatives. Plus, the modular nature allows for future upgrades and customizations.
IoT and Environmental Monitoring
Weather Station
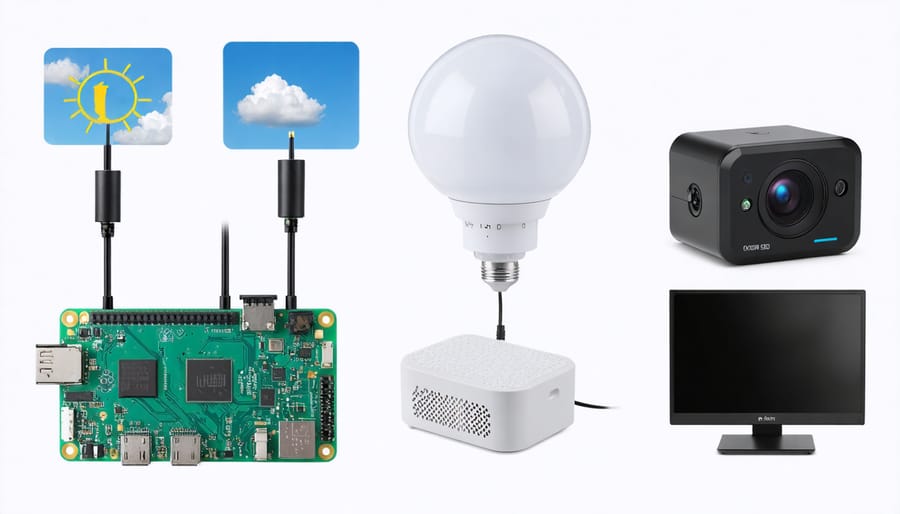
Transform your Raspberry Pi Zero into a sophisticated weather monitoring system that collects and displays real-time environmental data. This compact project combines sensors, data logging, and web connectivity to create a powerful meteorological station right in your backyard.
Start by connecting a BME280 or DHT22 sensor to your Pi Zero for measuring temperature, humidity, and atmospheric pressure. After setting up the essential Pi configuration commands, install the required Python libraries for sensor communication and data processing.
Create a Python script to collect readings at regular intervals and store them in a database. You can use SQLite for local storage or MongoDB for cloud-based data management. To visualize your weather data, implement a web interface using Flask or Django, which allows you to access readings from any device on your network.
Consider adding features like:
– Rain detection using a simple rain sensor
– Wind speed measurement with an anemometer
– UV index monitoring
– Custom alerts for extreme weather conditions
– Data visualization with charts and graphs
– API integration for weather forecasting
House your weather station in a weatherproof case and power it using a solar panel for true off-grid operation. This project not only provides valuable local weather data but also serves as an excellent introduction to IoT applications and sensor integration.
Plant Monitoring System
Transform your Raspberry Pi Zero into a smart plant monitoring system that keeps your green friends happy and healthy. This project combines sensors, automation, and data logging to create an intelligent gardening assistant that’s perfect for both indoor plants and small gardens.
Using a DHT22 sensor for temperature and humidity readings, along with a soil moisture sensor, you can track your plant’s vital signs in real-time. Connect these to your Pi Zero through GPIO pins and implement a Python script to collect and process the data. The system can be expanded with a light sensor to ensure your plants receive optimal sunlight exposure.
The real magic happens with automated notifications. Set up your Pi Zero to alert you via email or push notifications when your plants need water, if temperatures drop too low, or when humidity levels aren’t ideal. For more advanced implementations, add a small pump connected to a relay module for automatic watering when soil moisture drops below specified thresholds.
Display your plant’s data through a web interface accessible from any device on your network. Use frameworks like Flask to create a simple dashboard showing current readings and historical data through graphs. This helps you understand your plants’ needs better and optimize their care routine.
Power the system using a portable battery pack or solar panel to make it truly wireless, perfect for garden placement or areas away from power outlets.
Network and Security Tools
Network Traffic Monitor
Transform your Raspberry Pi Zero into a powerful network traffic monitoring tool that helps you analyze and understand the data flowing through your home network. This compact yet effective setup uses lightweight monitoring tools like tcpdump and Wireshark to capture and analyze network packets in real-time.
To get started, you’ll need a Pi Zero W (for wireless capabilities), a microSD card, and a USB OTG adapter for additional connectivity options. Begin by installing Raspbian Lite OS, which provides a minimal footprint perfect for this application. Then, install essential monitoring tools using simple terminal commands:
sudo apt-get install tcpdump
sudo apt-get install wireshark
Configure your Pi Zero to operate in promiscuous mode, allowing it to capture all network traffic passing through your network interface. Create a simple Python script to process and log the captured data, or use Wireshark’s built-in analysis tools for detailed packet inspection.
For enhanced portability, add a small LCD display to view real-time statistics without needing an external monitor. You can even set up email alerts for suspicious network activity or configure the device to save detailed logs to a remote server.
This project is particularly useful for network administrators, security enthusiasts, or anyone interested in understanding their network’s behavior. Remember to use this tool responsibly and respect privacy laws when monitoring network traffic.
Pi-hole on Pi Zero
Transform your Raspberry Pi Zero into a powerful network-wide ad blocker with Pi-hole, a solution that effectively blocks unwanted advertisements and tracking scripts before they reach any device on your network. This project is particularly well-suited for the Pi Zero due to its low power consumption and minimal resource requirements.
Setting up Pi-hole on your Pi Zero involves installing the Raspberry Pi OS Lite, configuring your network settings, and running the Pi-hole installation script. Once configured, Pi-hole acts as your network’s DNS server, filtering out known advertising domains and tracking services while maintaining fast browsing speeds for all connected devices.
The beauty of this setup lies in its set-and-forget nature. After the initial configuration, Pi-hole works silently in the background, protecting all devices on your network – from smartphones and tablets to smart TVs and gaming consoles. You can monitor blocking statistics and manage whitelist/blacklist domains through Pi-hole’s clean web interface.
For optimal performance, consider using an ethernet adapter with your Pi Zero, though Wi-Fi works well for smaller networks. The project typically blocks 95-99% of ads across your entire network, potentially reducing network traffic by up to 30%. Regular updates ensure protection against new advertising domains, making this one of the most practical and cost-effective uses for a Pi Zero in 2023.
As we’ve explored throughout this article, the Raspberry Pi Zero continues to prove itself as an incredibly versatile and powerful platform for makers and innovators in 2023. Its compact size and modest price point haven’t limited its potential; rather, they’ve inspired increasingly creative applications across home automation, entertainment, security, and educational projects.
The projects we’ve covered demonstrate how the Pi Zero remains at the forefront of the DIY tech movement, enabling enthusiasts to explore emerging technologies like machine learning and IoT without significant financial investment. What’s particularly exciting is how the maker community continues to push boundaries, finding new ways to maximize the capabilities of this tiny computer.
Looking ahead, the future of Pi Zero projects appears brighter than ever. With the growing accessibility of AI tools, improved sensor technologies, and expanding software support, we can expect to see even more innovative projects emerge. The rise of environmental monitoring applications and smart home integration suggests that sustainable and practical projects will likely dominate future developments.
Whether you’re a beginner taking your first steps into the world of DIY electronics or an experienced maker looking for your next challenge, the Pi Zero provides an excellent platform for learning, experimentation, and creation. As we move forward, the only real limit to what can be achieved with the Pi Zero is our imagination.
Remember, every project you create contributes to the larger Raspberry Pi community, inspiring others and pushing the boundaries of what’s possible with this remarkable piece of technology.