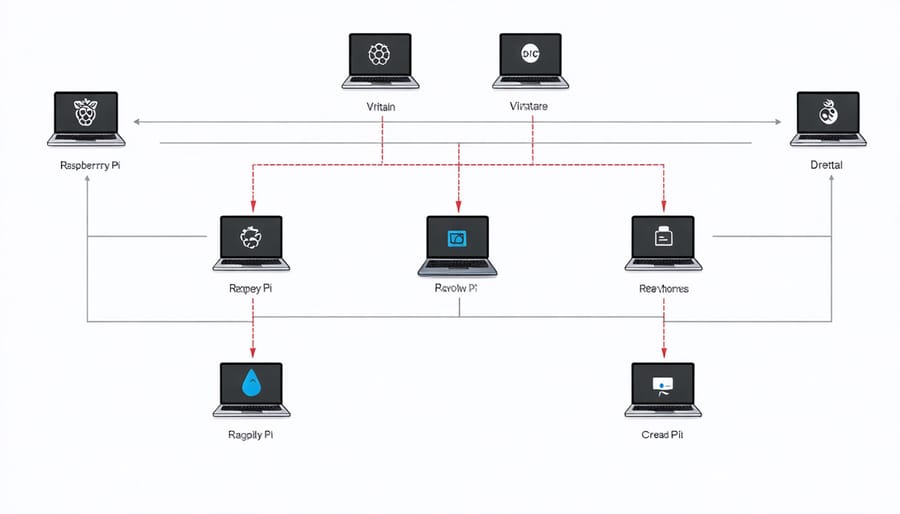
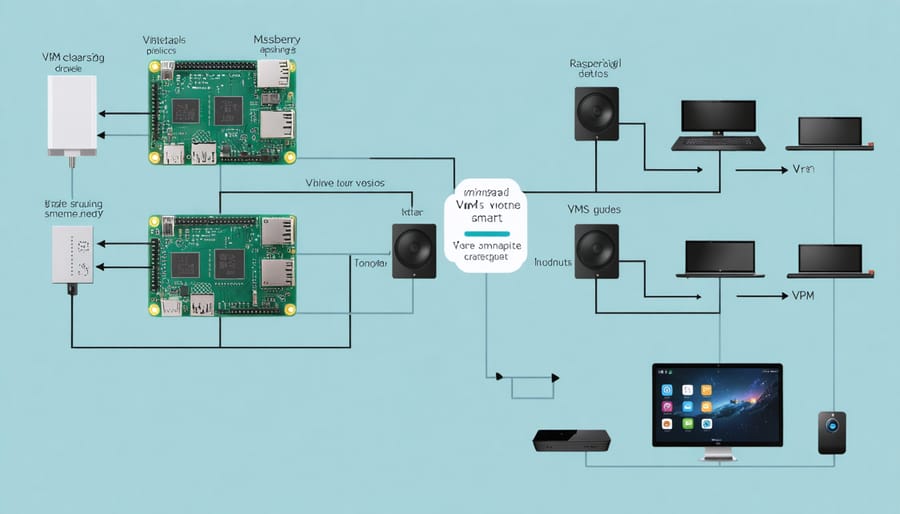
Transform your Raspberry Pi into a powerful virtualization platform by leveraging containerization and virtual machines to run multiple operating systems simultaneously. This revolutionary approach enables seamless IoT integration while maximizing your single-board computer’s potential.
Docker containers, KVM hypervisors, and LXC/LXD technologies now make it possible to run enterprise-grade virtualization solutions on the Pi’s ARM architecture, opening new possibilities for home labs, development environments, and educational projects. Despite the Pi’s resource constraints, modern virtualization techniques enable efficient resource allocation, allowing multiple virtual instances to operate smoothly on this compact yet powerful platform.
Whether you’re building a cost-effective testing environment, developing containerized applications, or experimenting with clustered computing, Raspberry Pi virtualization offers an accessible entry point into advanced computing concepts. This guide explores essential virtualization strategies, from basic container deployment to advanced multi-node configurations, helping you harness the full potential of your Raspberry Pi for sophisticated computing tasks.
Why Virtualize Your Raspberry Pi?

Resource Optimization
Virtualization transforms how we utilize Raspberry Pi’s hardware capabilities, enabling multiple virtual machines to run simultaneously on a single device. This optimization technique allows users to maximize their Pi’s resources by efficiently distributing CPU power, memory, and storage across different virtual instances.
Through virtualization, you can run multiple operating systems and applications in isolated environments while sharing the same physical hardware. This approach is particularly beneficial for testing environments, development projects, and educational scenarios where multiple system configurations are needed.
Resource allocation becomes more flexible and efficient with virtualization. You can assign specific amounts of RAM and CPU cores to each virtual machine based on its requirements, ensuring optimal performance across all instances. When one virtual machine isn’t actively using its allocated resources, these can be dynamically redistributed to other VMs that need more power.
This efficient resource sharing makes virtualization an excellent solution for home labs, IoT projects, and learning environments where hardware costs need to be minimized while maintaining functionality. By consolidating multiple workloads onto a single Raspberry Pi, you reduce power consumption and make the most of your investment.
Isolation and Security
Virtualization on Raspberry Pi offers robust isolation and security benefits that are particularly valuable for IoT applications. By running different applications in separate virtual environments, you create distinct boundaries that prevent potential security breaches from spreading across your system. If one containerized application becomes compromised, others remain protected and continue operating normally.
This isolation also ensures resource management stability. For instance, if one IoT application experiences a memory leak or CPU spike, it won’t affect other critical processes running on your Raspberry Pi. This is especially important when running multiple sensors or smart home applications that need consistent performance and reliability.
Additionally, virtualization enables you to implement different security policies for each container or virtual machine. You can apply specific firewall rules, access controls, and monitoring tools tailored to each application’s requirements. This granular control makes it easier to maintain security best practices and comply with different security standards across your IoT projects.
For development and testing, isolation allows you to experiment with new configurations or updates without risking your production environment, making your IoT development process safer and more efficient.
Setting Up Virtualization on Raspberry Pi
Required Hardware and Software
To get started with virtualizing your Raspberry Pi, you’ll need specific hardware and software components. For the hardware, a Raspberry Pi 4 Model B with at least 4GB RAM is recommended, though 8GB is ideal for running multiple virtual machines simultaneously. You’ll also need a high-quality microSD card (32GB minimum, Class 10 or better) and a reliable power supply rated at 5V/3A.
For cooling, consider adding a heatsink and fan combination, as virtualization can increase the CPU temperature significantly. A case with good ventilation is also recommended to prevent thermal throttling.
On the software side, you’ll need a compatible operating system. Raspberry Pi OS (64-bit) serves as an excellent base system, though Ubuntu Server 64-bit is another popular choice. For virtualization platforms, you have several options:
– QEMU/KVM: The most popular choice, offering good performance and wide compatibility
– Docker: Excellent for container-based virtualization
– LXC/LXD: Lightweight Linux container solution
– VirtualBox: Though limited on ARM architecture, it works for specific use cases
Additional recommended tools include:
– Virt-manager for GUI-based VM management
– Virtual Machine Manager for easier control
– SSH client for remote management
– Backup solution for VM snapshots
These components will provide a solid foundation for your Raspberry Pi virtualization projects while ensuring stable performance and reliability.
Installation Process
To set up virtualization on your Raspberry Pi, follow these step-by-step instructions:
First, ensure your Raspberry Pi is running the latest version of Raspberry Pi OS by executing:
“`
sudo apt update && sudo apt upgrade -y
“`
Install the required virtualization packages by running:
“`
sudo apt install qemu-system-arm qemu-kvm libvirt-daemon-system libvirt-clients bridge-utils
“`
Enable KVM support by adding your user to the required groups:
“`
sudo usermod -aG kvm $USER
sudo usermod -aG libvirt $USER
“`
Create a directory for your virtual machines:
“`
mkdir ~/virtual-machines
cd ~/virtual-machines
“`
To verify the installation and check if virtualization is properly enabled, run:
“`
ls -l /dev/kvm
virsh list –all
“`
For optimal performance, make these recommended adjustments to your config.txt file:
“`
sudo nano /boot/config.txt
“`
Add these lines:
“`
arm_64bit=1
dtoverlay=vc4-kms-v3d
gpu_mem=256
“`
Finally, reboot your Raspberry Pi:
“`
sudo reboot
“`
After rebooting, your Raspberry Pi will be ready for creating and managing virtual machines. Remember that performance will depend on your Pi model and available resources. For best results, use a Raspberry Pi 4 with at least 4GB of RAM.

Configuration Tips
To achieve optimal performance when virtualizing your Raspberry Pi, start by allocating appropriate resources for each virtual machine. Dedicate no more than 75% of available RAM to virtual machines, leaving sufficient memory for the host system. When using storage, opt for high-speed SD cards or SSDs to minimize I/O bottlenecks.
Enable hardware acceleration when available, particularly for GPU-intensive tasks. Configure your virtual network adapters in bridge mode for direct network access, or NAT mode for enhanced security. Remember to disable unnecessary services on both host and guest systems to conserve resources.
Regular maintenance is crucial; clean up unused images and containers, and implement automated backups of your virtual machines. Monitor system temperatures and consider additional cooling if running multiple VMs simultaneously. Use lightweight Linux distributions for guest systems to maximize performance.
Set up resource limits for each VM to prevent any single instance from consuming excessive resources. Finally, maintain updated virtualization software and guest operating systems to benefit from the latest performance improvements and security patches.
Real-World IoT Applications
Home Automation Server
Virtualization on a Raspberry Pi opens up exciting possibilities for home automation projects, allowing you to run multiple services independently and securely. By creating separate virtual machines, you can isolate different smart home applications while maximizing your Pi’s resources.
Consider this practical setup: one VM dedicated to Home Assistant for device control and automation, another running Node-RED for workflow automation, and a third managing OpenHAB for additional smart device integration. This separation ensures that if one service encounters issues, the others continue functioning without interruption.
To implement this configuration, start by allocating appropriate resources to each VM. For example:
– Home Assistant VM: 1GB RAM, 2 CPU cores
– Node-RED VM: 512MB RAM, 1 CPU core
– OpenHAB VM: 512MB RAM, 1 CPU core
This arrangement leaves resources available for system operations and potential expansion. Each VM can be backed up independently, making system maintenance and updates more manageable. You can also experiment with new automation tools without risking your existing setup.
For optimal performance, consider using lightweight Linux distributions like Alpine or DietPi as the base operating system for each VM. This approach minimizes resource overhead while maintaining full functionality. Additionally, using container technologies like Docker within VMs can further optimize resource usage and simplify service deployment.
Remember to implement proper network segmentation between VMs to enhance security while ensuring necessary communication between your automation services. This creates a robust, flexible home automation server that can grow with your needs.

Sensor Data Collection
Virtualization on Raspberry Pi opens up exciting possibilities for managing multiple sensor networks efficiently. By creating virtual instances, you can isolate different sensor networks while running them simultaneously on a single Raspberry Pi device, maximizing both hardware utilization and data collection capabilities.
Each virtual instance can handle a specific type of sensor or sensor group, preventing interference between different sensor protocols and data streams. For example, you might run temperature and humidity sensors in one virtual environment while managing motion and light sensors in another. This separation ensures stable operation and simplified troubleshooting when issues arise.
Docker containers are particularly effective for sensor data collection, as they provide lightweight virtualization perfect for resource-constrained Raspberry Pi devices. You can create dedicated containers for different sensor types, each with its own Python environment and necessary libraries, without the overhead of full virtual machines.
To implement this setup, consider using Docker Compose to define and manage multiple sensor containers. Each container can run its own data collection script, storing data in a shared volume or sending it to a central database. This approach allows for easy scaling – adding new sensors is as simple as spinning up additional containers with the appropriate configuration.
For real-time monitoring, you can implement a message broker like MQTT within your virtualized environment. This enables efficient communication between sensor containers and your main application, while maintaining the isolation benefits of virtualization. The modular nature of this setup also makes it easier to update individual components without affecting the entire system.
Remember to monitor resource usage across your virtual instances, as sensor data collection can be processor-intensive, especially when dealing with multiple sensor networks simultaneously.
Troubleshooting and Performance Optimization
When virtualizing Raspberry Pi, you might encounter several common challenges. Here’s how to address them and optimize your virtual environment for better performance.
One frequent issue is slow performance in virtual machines. To improve speed, allocate sufficient RAM and CPU cores to your virtual instance. For most applications, assigning 2GB RAM and 2 CPU cores provides a good balance. However, avoid allocating all available resources, as this can destabilize your host system.
Storage bottlenecks can significantly impact performance. Using SSD storage for your virtual machine files instead of traditional HDDs can dramatically improve load times and overall responsiveness. Additionally, enabling storage caching in your virtualization software can help boost read/write speeds.
Network connectivity problems are another common hurdle. If your virtual Raspberry Pi can’t connect to the network, verify that the network adapter is properly configured in bridge mode. For better network performance, consider using the virtio network driver when available.
Memory leaks can occur during long-running sessions. Regular reboots of your virtual instances can help maintain stability. Monitor your system’s memory usage using tools like htop or free, and implement automatic cleanup scripts if necessary.
If you experience graphics-related issues, adjusting your virtual display settings can help. Start with basic VGA output and gradually increase resolution and color depth as needed. For headless applications, consider disabling the graphical interface entirely to conserve resources.
Resource conflicts between multiple virtual instances can degrade performance. Implement proper resource scheduling and avoid running too many virtual machines simultaneously. Using containers instead of full virtualization for certain applications can reduce resource overhead.
For optimal performance:
– Regular system updates
– Clean unused virtual machine snapshots
– Monitor CPU temperature
– Use appropriate virtualization extensions
– Implement proper backup strategies
– Optimize your host system’s configuration
Remember that virtualization always introduces some overhead, so maintain realistic expectations about performance compared to bare-metal installations.
Virtualizing your Raspberry Pi opens up exciting possibilities for IoT projects, testing environments, and resource optimization. By implementing virtualization solutions like Docker containers or KVM, you can maximize your Pi’s potential while maintaining isolation between different applications and services. Remember to consider your specific use case when choosing between containerization and full virtualization, and always monitor your system’s resources to ensure optimal performance.
Whether you’re a beginner or an experienced user, start small with basic container deployments and gradually expand your virtualization environment as you become more comfortable. The Raspberry Pi community offers extensive support and resources for troubleshooting and advanced implementations. Take advantage of these resources, experiment with different configurations, and don’t hesitate to share your experiences with others in the community.
Ready to begin? Start by setting up your first container or virtual machine and explore the endless possibilities that virtualization brings to your Raspberry Pi projects.


