Unlock the potential of your Raspberry Pi with a high-quality display. Choosing the right screen is crucial for your projects, whether you’re building a DIY media center, creating an interactive digital signage, or developing a portable gaming console. Our comprehensive guide walks you through the entire process, from selecting compatible displays to configuring settings and troubleshooting common issues. With step-by-step instructions and expert tips, you’ll be up and running in no time, ready to bring your innovative ideas to life on a vibrant, responsive display.
Choosing the Right Display
Display Types
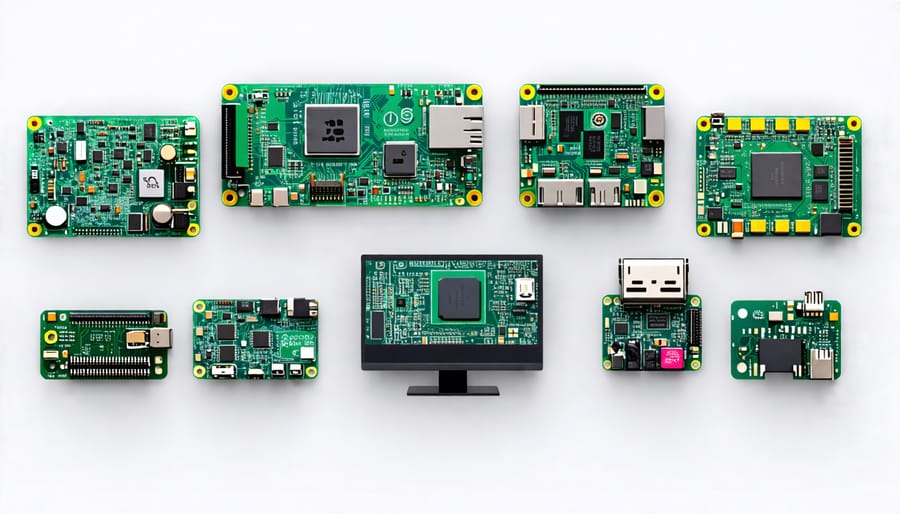
The Raspberry Pi is compatible with several types of displays, providing flexibility for various projects. The most common option is using an HDMI display, which can be a computer monitor or a TV. This allows for easy setup and high-quality video output. Another option is the DSI (Display Serial Interface) port, which is specifically designed for connecting small LCD screens directly to the Raspberry Pi board.
For more compact projects, users can opt for touchscreens that connect via the GPIO pins or USB. These displays come in different sizes and resolutions, enabling interactive applications and Remote Desktop functionality. Additionally, the Raspberry Pi can output composite video signals through the 3.5mm jack, making it compatible with older displays or projectors. With the variety of display options available, users can choose the best fit for their specific project requirements and budget.

Key Considerations
When selecting a display for your Raspberry Pi, consider the resolution and size that best suit your project’s needs. Higher resolutions offer sharper visuals but may require more processing power. Touchscreen capability adds interactivity but can increase costs. Evaluate the display’s power requirements to ensure compatibility with your Raspberry Pi’s power supply. Other factors include viewing angles, color accuracy, and durability. For outdoor projects, consider sunlight readability and weatherproofing. Connectivity options like HDMI, DSI, or GPIO should match your Raspberry Pi model. Lastly, assess the display’s dimensions and mounting options to ensure a seamless integration with your project’s enclosure or setup.
Gathering Required Accessories
To set up your Raspberry Pi display, you’ll need a few essential accessories. First, procure an HDMI cable to connect your Raspberry Pi to the display. If your display lacks an HDMI port, you may need an adapter, such as HDMI to DVI or HDMI to VGA, depending on the available ports. Next, ensure you have a compatible power supply for your Raspberry Pi, typically a 5V micro-USB charger. A keyboard and mouse are necessary for initial setup and navigation. Consider using a USB hub if your Raspberry Pi has limited USB ports. Additionally, you might need a case to protect your Raspberry Pi and manage cables efficiently. Optional accessories include a Wi-Fi dongle for wireless connectivity and a heat sink or fan for better thermal management. Gather these accessories before proceeding with the display setup to ensure a smooth and hassle-free process.
Connecting the Display

HDMI Connection
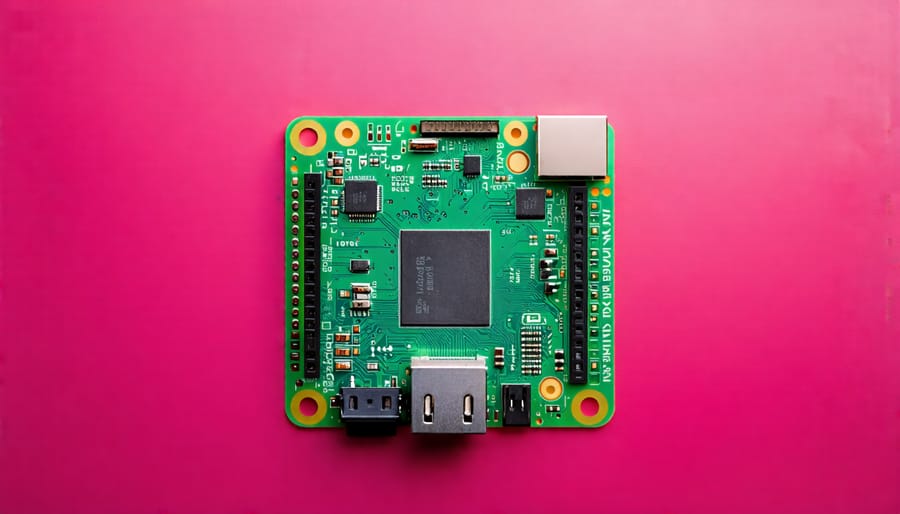
Connecting an HDMI display to your Raspberry Pi is a straightforward process. First, ensure your display has an HDMI input and your Pi is powered off. Locate the HDMI port on your Raspberry Pi, which is typically situated next to the USB ports. Plug one end of an HDMI cable into this port and the other end into your display’s HDMI input. Power on your Raspberry Pi, and it should automatically detect and configure the connected display. If the display doesn’t show up, check the cable connections and ensure your display is set to the correct input source. With a successful HDMI connection, you’re ready to start exploring the visual capabilities of your Raspberry Pi setup.
DSI/Touchscreen Connection
To connect a DSI or touchscreen display to your Raspberry Pi, start by carefully connecting the display’s ribbon cable to the DSI port on your Pi. Ensure the cable is oriented correctly and fully inserted. If using a touch-enabled display, connect the touchscreen controller to the GPIO pins according to the manufacturer’s instructions. Refer to the Raspberry Pi 4 Pinout guide for precise pin locations. Once connected, configure your Pi to recognize the display by editing the config.txt file. Add the appropriate display settings, such as the display size, resolution, and touchscreen driver, if applicable. Save the changes and reboot your Pi. Your DSI or touchscreen display should now be fully functional.
Configuring Display Settings
config.txt Settings
To customize your Raspberry Pi’s display settings, you can modify the config.txt file located in the /boot directory. This file contains various configuration options that control the behavior of your Raspberry Pi, including display-related settings. By editing this file, you can change the resolution, overscan, and other display parameters to optimize your setup.
To access the config.txt file, you can use a text editor like Nano or Vim from the command line or open it using a graphical text editor if you’re using a desktop environment. Make sure to create a backup of the original file before making any changes.
Some common display settings you can modify in the config.txt file include:
– hdmi_mode: Set the HDMI video mode (resolution and refresh rate)
– hdmi_group: Set the HDMI output group (CEA or DMT)
– overscan_left, overscan_right, overscan_top, overscan_bottom: Adjust overscan settings to remove black borders
– disable_overscan: Set to 1 to disable overscan entirely
– hdmi_force_hotplug: Set to 1 to force HDMI output even if no display is detected
Remember to save your changes and reboot your Raspberry Pi for the new settings to take effect. Experiment with different configurations until you find the optimal display settings for your specific setup.
Desktop Display Settings
To adjust your Raspberry Pi’s display settings via the desktop interface, start by clicking on the Raspberry Pi logo in the top-left corner of the screen. From the drop-down menu, select “Preferences” and then choose “Screen Configuration.” In this window, you can modify various aspects of your display, such as resolution, rotation, and overscan settings. If you have multiple monitors connected, you can arrange them to your liking and designate a primary display. Additionally, you can fine-tune the output to fit your screen by adjusting the overscan settings, which is particularly useful for older TVs or monitors that may not display the full image. Once you’ve made your desired changes, click “Apply” to see the results. If you’re satisfied with the new settings, click “OK” to save them. With these simple steps, you can customize your Raspberry Pi’s display to suit your needs and preferences.

Troubleshooting Common Issues
No Signal
If your Raspberry Pi is connected to a display but showing “No Signal,” don’t panic. First, ensure that the HDMI cable is securely connected to both the Raspberry Pi and the display. Try using a different HDMI cable to rule out any issues with the cable itself. Next, check if the display is set to the correct input source. If you’re still seeing no signal, try rebooting your Raspberry Pi. If the issue persists, verify that your Raspberry Pi is compatible with the display’s resolution and refresh rate. You can also try adjusting the config.txt file to force a specific resolution or disable overscan. If all else fails, consider trying a different display or seeking further assistance from the Raspberry Pi community forums.
Incorrect Resolution
If your Raspberry Pi display is showing an incorrect resolution, you can try a few solutions. First, check your config.txt file in the boot partition and ensure the hdmi_mode and hdmi_group settings are correct for your display. You can also try adding hdmi_safe=1 to force a compatible resolution. If that doesn’t work, update your Raspberry Pi’s firmware to the latest version, as this can often resolve display issues. Lastly, if you’re using a custom resolution, double-check that the settings are supported by your display and that the syntax in the config.txt file is correct.
Touchscreen Not Working
If your touchscreen is not responding, try the following solutions:
1. Check the connections between the touchscreen and the Raspberry Pi. Ensure the ribbon cable is securely inserted and the pins are not bent.
2. Verify that the touchscreen driver is installed and configured correctly. Follow the manufacturer’s instructions or consult the Raspberry Pi community forums for guidance.
3. Calibrate the touchscreen using the built-in calibration tool or a third-party utility. This process helps align the touch input with the display.
4. If the issue persists, try updating the operating system and touchscreen driver to the latest versions. Compatibility issues may arise with outdated software.
If none of these solutions work, consider reaching out to the touchscreen manufacturer’s support team or the Raspberry Pi community for further assistance.
Conclusion
Setting up a display for your Raspberry Pi opens up a world of possibilities for creating interactive projects, digital signage, and more. By following the steps outlined in this guide, you’ll be well on your way to bringing your Raspberry Pi projects to life on a vibrant display. Remember to choose the right display for your needs, gather the necessary cables and accessories, and take your time during the setup process. Don’t be afraid to experiment with different configurations and software options to find the perfect setup for your project. With a little patience and persistence, you’ll soon be enjoying the fruits of your labor on a stunning Raspberry Pi-powered display. So what are you waiting for? Start your Raspberry Pi display setup journey today and unleash your creativity!


