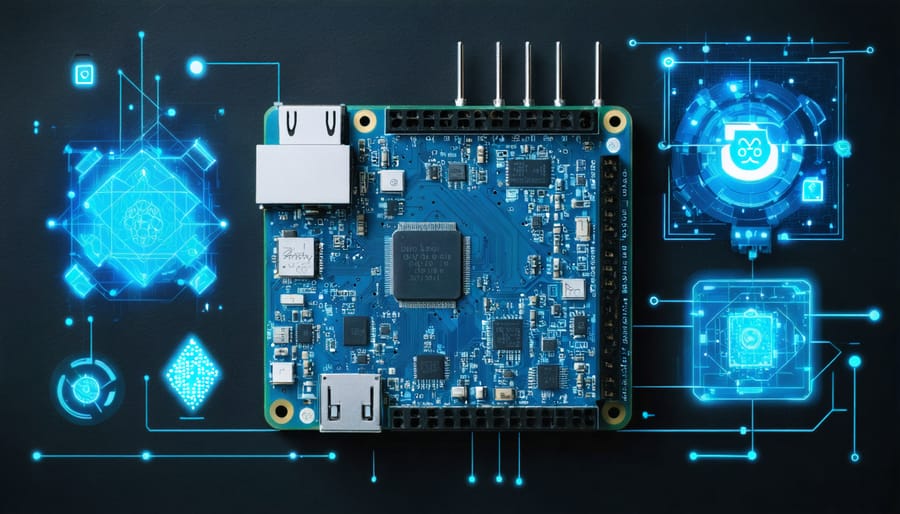
Transform your Raspberry Pi into a powerful computer vision system by combining OpenCV libraries with the Pi’s compact form factor and machine learning capabilities. The Pi’s GPIO pins enable direct connection to cameras and sensors, creating an affordable yet sophisticated vision processing platform that rivals commercial solutions at a fraction of the cost.
Connect the official Raspberry Pi Camera Module or a compatible USB webcam to capture high-quality video streams at up to 1080p resolution. Install essential computer vision libraries like OpenCV, TensorFlow Lite, and Pi Camera API using simple terminal commands to enable real-time image processing, object detection, and motion tracking.
Leverage pre-trained machine learning models or train custom ones to recognize specific objects, faces, or patterns. The Pi 4’s quad-core processor handles complex vision algorithms efficiently, while optional accessories like the Neural Compute Stick accelerate AI inference for faster processing speeds.
Deploy your machine vision system in practical applications ranging from automated quality control and security surveillance to robotics guidance and smart home automation. The Pi’s extensive GPIO capabilities allow seamless integration with motors, servos, and other actuators for creating complete vision-controlled systems.
These capabilities make the Raspberry Pi an ideal platform for both learning computer vision fundamentals and developing production-ready machine vision applications while maintaining a manageable budget and complexity level.
Essential Hardware Setup for Machine Vision
Camera Module Selection
When building a machine vision system with Raspberry Pi, selecting the right Raspberry Pi camera module is crucial for success. The most popular options include the Camera Module v2, High Quality Camera, and Camera Module 3.
The Camera Module v2 offers a sweet spot for most projects, featuring an 8MP Sony IMX219 sensor with fixed focus and good low-light performance. It’s perfect for beginners and general-purpose machine vision applications, offering 1080p video at 30fps and still images at 3280 x 2464 pixels.
For projects requiring superior image quality, the High Quality Camera stands out with its 12.3MP Sony IMX477 sensor and interchangeable lens support. This module excels in detailed inspection tasks and professional applications where image clarity is paramount.
The newest Camera Module 3 comes in two variants: standard and wide-angle. Both feature HDR capabilities, improved low-light performance, and autofocus. The standard version uses a 12MP sensor, while the wide-angle variant offers a 120-degree field of view, making it ideal for surveillance and robotics applications.
When choosing a module, consider your project’s specific requirements: resolution needs, lighting conditions, field of view, and budget constraints. For basic computer vision projects, the v2 module suffices, while more demanding applications might benefit from the advanced features of the Module 3 or High Quality Camera.
Additional Components
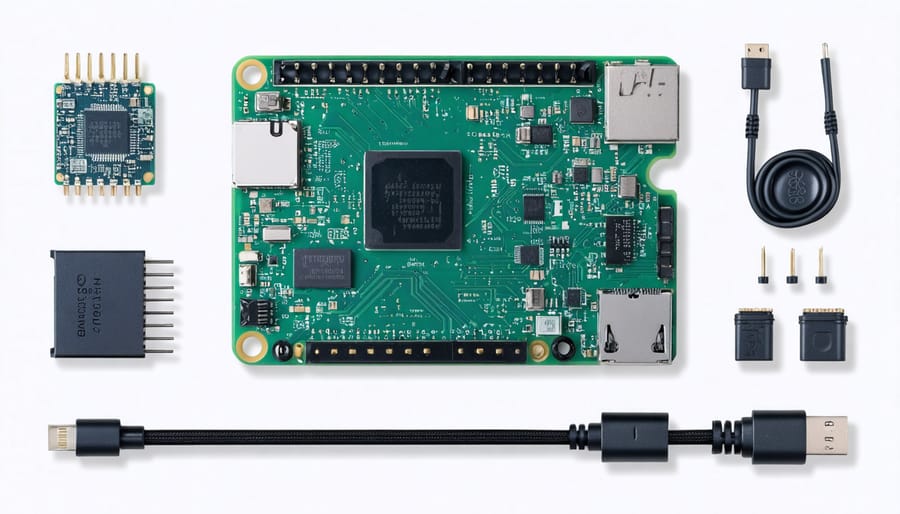
To build an effective machine vision system with your Raspberry Pi, you’ll need several key components beyond the basic board. The essential peripheral is a camera module – either the official Raspberry Pi Camera Module or a compatible USB webcam. The Pi Camera Module V2 offers excellent image quality and fast frame rates, while the newer HQ Camera Module provides even better resolution for more demanding applications.
Proper lighting is crucial for consistent image recognition. Consider adding LED ring lights or strip lights that provide uniform illumination. For projects requiring precise positioning, a camera mount or adjustable stand will help maintain stable image capture.
To enhance processing capabilities, a cooling solution such as a heat sink or fan may be necessary, especially when running computationally intensive vision algorithms. Additional storage through a high-speed SD card or external SSD is recommended for storing image data and training sets.
Optional but valuable additions include:
– A dedicated display for real-time monitoring
– GPIO expansion boards for connecting sensors
– Servo motors for camera movement
– Power bank for portable applications
– Cases with camera mounts for protection
For advanced projects, consider adding depth sensors or infrared cameras for enhanced sensing capabilities. A reliable power supply with at least 2.5A output is recommended to ensure stable operation, especially when using multiple peripherals.
Software Requirements and Installation
OpenCV Installation
Installing OpenCV on your Raspberry Pi is essential for implementing machine vision projects. While the process requires several steps, we’ll walk you through the most reliable method to get everything up and running.
First, ensure your Raspberry Pi’s operating system is up to date by running these commands in the terminal:
“`
sudo apt-get update
sudo apt-get upgrade
“`
Next, install the required dependencies:
“`
sudo apt-get install build-essential cmake pkg-config
sudo apt-get install libjpeg-dev libtiff5-dev libjasper-dev libpng-dev
sudo apt-get install libavcodec-dev libavformat-dev libswscale-dev libv4l-dev
sudo apt-get install libxvidcore-dev libx264-dev
sudo apt-get install libfontconfig1-dev libcairo2-dev
sudo apt-get install libgdk-pixbuf2.0-dev libpango1.0-dev
sudo apt-get install libgtk2.0-dev libgtk-3-dev
sudo apt-get install libatlas-base-dev gfortran
sudo apt-get install python3-dev
“`
Now, install OpenCV using pip3:
“`
sudo pip3 install opencv-python
“`
To verify the installation, open Python and try importing OpenCV:
“`
python3
>>> import cv2
>>> cv2.__version__
“`
If you see the version number without any errors, congratulations! OpenCV is successfully installed. For optimal performance, consider rebooting your Raspberry Pi after installation.
Note: If you encounter any memory issues during installation, you might need to increase your swap space temporarily. Remember to set it back to the default value after installation is complete.
Additional Libraries
While OpenCV is the go-to library for machine vision on Raspberry Pi, several other powerful libraries can enhance your computer vision projects. SimpleCV offers a more beginner-friendly approach, with straightforward syntax and built-in functions for common tasks like face detection and object tracking. It’s particularly useful for those just starting their machine vision journey.
For deep learning applications, TensorFlow Lite and PyTorch are excellent choices. These libraries are optimized for Raspberry Pi’s limited resources while still providing robust capabilities for implementing neural networks and machine learning models. TensorFlow Lite, in particular, works well for deploying pre-trained models on the Pi.
Scikit-image is another valuable library that complements OpenCV well. It provides additional image processing algorithms and scientific computing capabilities that might not be available in OpenCV. For projects requiring advanced image analysis, the combination of OpenCV and scikit-image can be particularly powerful.
Those interested in augmented reality applications should consider using ARToolKit, which provides tools for creating marker-based AR applications. Meanwhile, Picamera2 offers native Python support for the Raspberry Pi camera module, with excellent integration capabilities with other vision libraries.
For specific industrial applications, libraries like Mahotas and PIL (Python Imaging Library) provide specialized functions for texture analysis and basic image manipulation, respectively.
Practical Applications and Projects
Object Detection System
Building a basic object detection system with your Raspberry Pi opens up exciting possibilities for computer vision applications. Let’s create a straightforward system using OpenCV and Python that can identify common objects in real-time.
First, ensure you have a Raspberry Pi Camera Module or USB webcam connected to your Pi. Install the necessary libraries by running:
“`
sudo apt-get update
sudo apt-get install python3-opencv
pip3 install numpy
“`
For this project, we’ll use the pre-trained MobileNet-SSD model, which offers a good balance between speed and accuracy. Download the model files and create a simple Python script that:
1. Initializes the camera
2. Loads the pre-trained model
3. Processes video frames in real-time
4. Draws bounding boxes around detected objects
The system can detect up to 20 different object classes, including people, cars, and household items. While processing speed depends on your Raspberry Pi model, you can expect 2-5 frames per second on a Pi 4, which is suitable for many practical applications.
To enhance performance, consider:
– Reducing the input image resolution
– Using threading to separate capture and processing
– Implementing region of interest (ROI) processing
– Optimizing the model for edge computing
This basic setup serves as a foundation for more advanced projects like security systems, automated counting, or robot vision systems. Remember to adjust detection confidence thresholds based on your specific needs and environmental conditions.
Motion Detection Camera
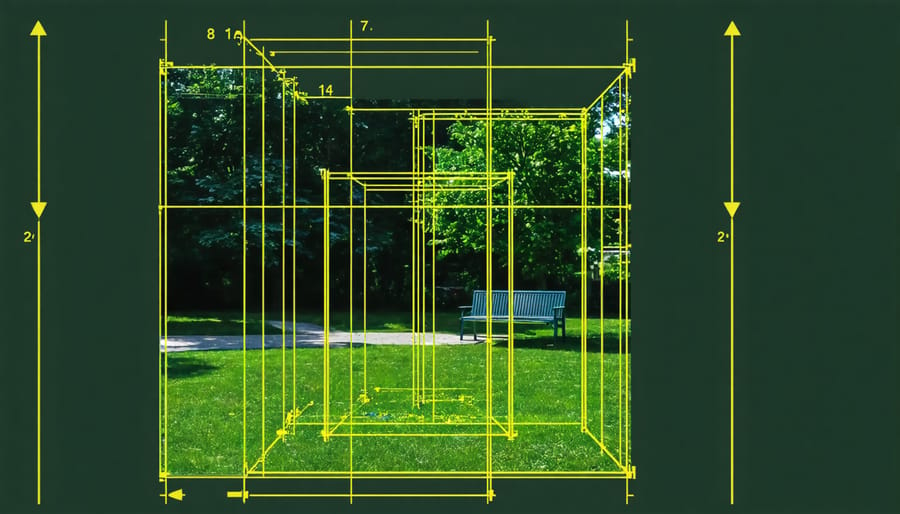
One of the most popular applications of machine vision with Raspberry Pi is creating a smart security camera setup that can detect and respond to motion. This project combines basic computer vision techniques with practical home security applications.
To build a motion detection camera, you’ll need a Raspberry Pi (3B+ or newer recommended), a Pi Camera Module or USB webcam, and OpenCV installed on your system. The basic concept involves comparing consecutive frames from the camera feed to detect changes that indicate movement.
The implementation typically uses background subtraction techniques, where the system maintains a reference frame and compares it with current frames to identify differences. When significant changes are detected, the system can trigger various actions such as recording video, capturing images, sending notifications, or activating connected devices.
Here’s what makes this project particularly useful:
– Real-time monitoring capabilities
– Customizable sensitivity settings
– Option to store footage locally or in the cloud
– Integration possibilities with home automation systems
– Low power consumption compared to traditional security cameras
Common challenges include dealing with lighting changes, adjusting detection sensitivity to avoid false triggers, and managing storage space for recordings. These can be addressed through proper camera positioning, code optimization, and implementing efficient storage management strategies.
The system can be enhanced with additional features like night vision capabilities, motion tracking, person detection, and remote viewing through a web interface. This makes it an excellent starting point for more advanced machine vision projects while providing practical security benefits.
Face Recognition System
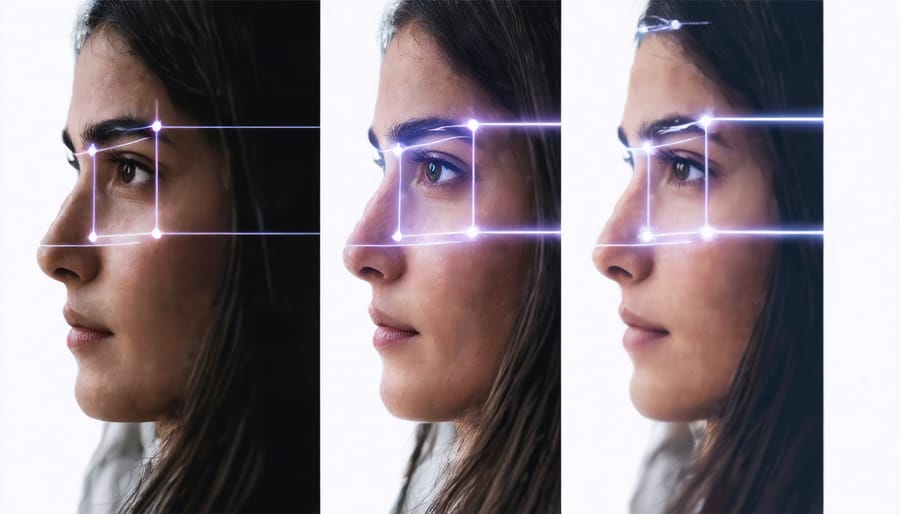
Facial recognition is one of the most exciting capabilities you can add to your Raspberry Pi machine vision system. Using popular libraries like OpenCV and face_recognition, you can create a system that detects, identifies, and tracks faces in real-time.
To get started, you’ll need to install the necessary dependencies. The face_recognition library, built on dlib, provides high-level face detection and recognition functions. Install it using pip, along with OpenCV for image processing. While the initial setup might take some time on the Raspberry Pi, the results are worth the wait.
The basic implementation involves three main steps: face detection, feature extraction, and face recognition. First, your system captures frames from the camera and detects faces using HOG (Histogram of Oriented Gradients) or CNN-based methods. Next, it extracts facial landmarks and creates encodings that uniquely identify each face. Finally, it compares these encodings with known faces in your database.
Here’s a practical application: Create a smart doorbell system that recognizes family members and regular visitors. When someone approaches, the system captures their image, processes it, and checks if they’re in the authorized database. You can configure it to send notifications, log entries, or trigger other actions based on recognition results.
For better performance, consider using a Raspberry Pi 4 with at least 4GB RAM. Additionally, optimize your code by reducing frame resolution and implementing frame skipping to maintain smooth operation. Remember to handle varying lighting conditions by implementing proper image preprocessing and using multiple training images per person for more reliable recognition.
Barcode Scanner
Implementing a barcode and QR code scanner with your Raspberry Pi is an exciting project that combines machine vision with practical applications. The setup primarily uses the Pi Camera module along with Python libraries like OpenCV and pyzbar to detect and decode various barcode formats.
To get started, install the necessary libraries using pip:
“`
pip install opencv-python
pip install pyzbar
“`
The pyzbar library handles the heavy lifting of barcode detection and decoding, while OpenCV manages the video stream from your Pi Camera. Here’s a basic implementation that captures and processes barcodes in real-time:
“`python
import cv2
from pyzbar import pyzbar
from picamera2 import Picamera2
picam2 = Picamera2()
picam2.preview_configuration.main.size = (1280, 720)
picam2.preview_configuration.main.format = “RGB888”
picam2.configure(“preview”)
picam2.start()
while True:
frame = picam2.capture_array()
barcodes = pyzbar.decode(frame)
for barcode in barcodes:
data = barcode.data.decode(“utf-8″)
print(f”Found barcode: {data}”)
“`
This script continuously captures frames from the camera and searches for barcodes or QR codes. When detected, it decodes and displays the content. For better results, ensure proper lighting and a stable camera position. You can enhance the project by adding features like data logging, web interface integration, or automated inventory management systems.
The system can recognize various barcode formats including UPC, EAN, Code 128, and QR codes, making it suitable for retail, inventory management, or educational applications.
Optimization and Troubleshooting
When implementing machine vision projects on Raspberry Pi, you may encounter various performance challenges. To optimize Raspberry Pi performance, start by overclocking your system carefully and monitoring temperature levels to prevent overheating. Using a cooling solution, such as a heatsink or fan, can help maintain stable performance during intensive vision processing tasks.
Common issues include slow frame rates and high latency. To address these, consider reducing image resolution or frame rate to match your project’s specific needs. Converting color images to grayscale when color information isn’t crucial can significantly improve processing speed. Additionally, implementing region of interest (ROI) processing can reduce computational load by focusing only on relevant image areas.
Memory management is crucial for smooth operation. Clear unused variables and implement garbage collection in your code. If using OpenCV, release camera resources properly when not in use, and consider using lower-precision data types where acceptable.
For better real-time performance, try these optimization techniques:
– Enable GPU acceleration when available
– Use threading for parallel processing
– Implement frame skipping for non-critical applications
– Optimize lighting conditions to improve image quality and reduce processing needs
– Store frequently used data in RAM instead of reading from SD card
If experiencing camera connection issues, check cable connections and ensure your camera module is properly seated. Update your system and relevant libraries regularly, as newer versions often include performance improvements and bug fixes.
Machine vision with Raspberry Pi represents an exciting frontier in DIY technology, combining affordable hardware with powerful image processing capabilities. Throughout this guide, we’ve explored the essential components, software setup, and practical applications that make computer vision accessible to enthusiasts of all skill levels. From basic image capture to advanced object detection and motion tracking, the Raspberry Pi proves itself as a versatile platform for experimenting with machine vision technologies.
Remember that success in machine vision projects often comes through experimentation and iteration. Don’t be afraid to modify the code examples we’ve discussed or combine different techniques to create unique solutions. The beauty of working with Raspberry Pi is the vibrant community support and extensive documentation available online.
Whether you’re building a smart security system, developing an automated inspection tool, or simply exploring the possibilities of computer vision, the skills you’ve learned here provide a solid foundation for future projects. We encourage you to start small, build incrementally, and share your experiences with the community. The world of machine vision is constantly evolving, and your next project could inspire others or solve real-world problems in innovative ways.


