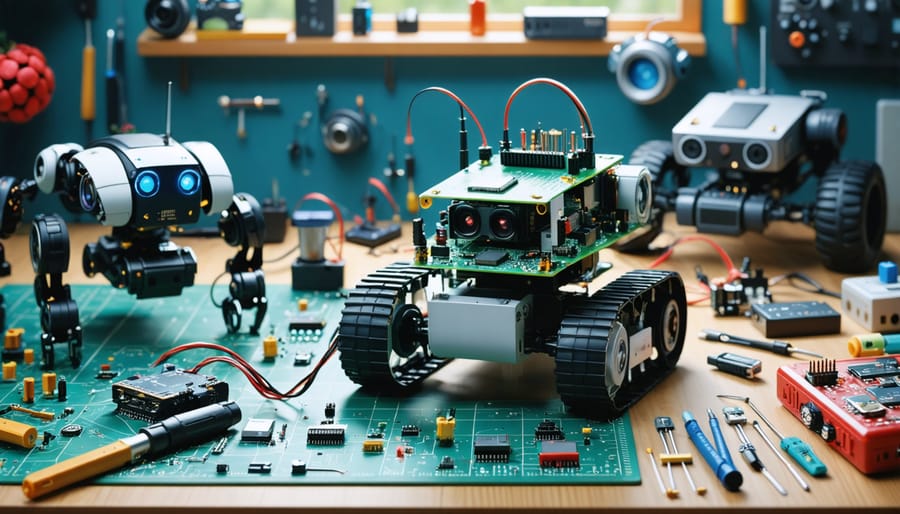
Transform your Raspberry Pi into an exciting robot companion with three beginner-friendly projects that teach core robotics for beginners concepts. Start with a simple line-following robot using basic sensors and Python code, advance to a wireless-controlled rover with real-time camera feedback, and culminate in building an autonomous obstacle-avoiding robot that showcases computer vision capabilities.
These hands-on projects require only standard components – a Raspberry Pi, motors, wheels, sensors, and basic electronic components – making them perfect for newcomers to embedded computing and robotics. Each build introduces fundamental concepts like GPIO programming, motor control, sensor integration, and basic AI principles while remaining accessible to those with minimal coding experience.
Master essential robotics skills through practical application, from wiring your first motor driver to implementing basic machine learning algorithms. Whether you’re a student, educator, or hobby enthusiast, these projects provide a structured path to understanding modern robotics while creating functional, programmable machines that demonstrate real-world automation principles.
Essential Tools and Components for Your First Robot
Basic Hardware Components
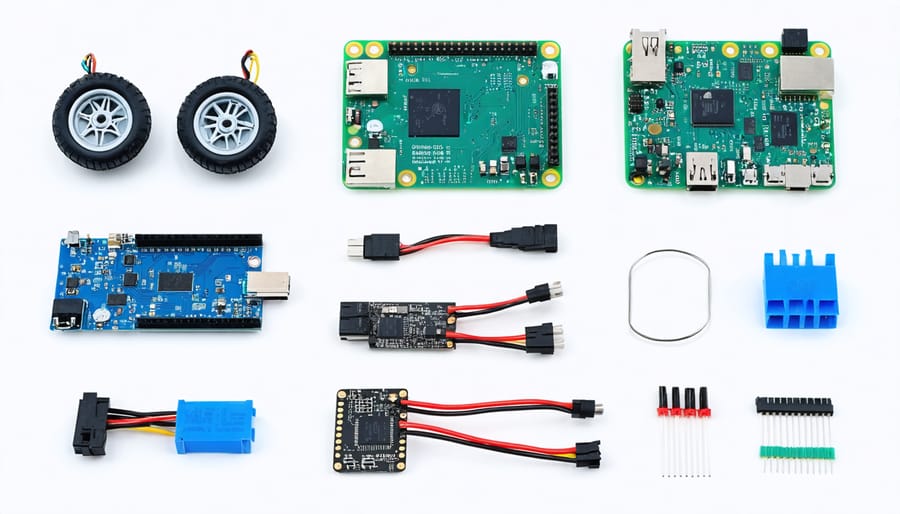
Before diving into building your first robot buggy, you’ll need to gather some essential hardware components. The heart of your project will be the Raspberry Pi board itself, preferably a Pi 4 Model B or Pi 3 Model B+ for optimal performance. You’ll also need a motor controller board (L298N is popular for beginners), two DC motors with wheels, and a chassis to mount everything.
For power management, you’ll require a portable power bank or battery pack (5V, 2.5A minimum) to make your robot mobile. Basic sensors like ultrasonic distance sensors (HC-SR04) and line-following sensors are essential for interaction with the environment. Don’t forget connecting components like jumper wires, a breadboard for prototyping, and a microSD card (16GB minimum) for your Raspberry Pi’s operating system.
Additional helpful components include a small LCD display for debugging, LED indicators, and a wireless keyboard/mouse combo for initial setup. Remember to include mounting hardware like screws, standoffs, and zip ties for secure assembly.
Required Software and Libraries
Before diving into your robot project, you’ll need to gather the essential software tools and libraries. Start by setting up Raspberry Pi OS on your device, as this will be your primary operating system.
For programming, Python is the recommended language due to its simplicity and extensive robotics library support. Install Python 3 and the following key libraries:
– RPi.GPIO for controlling GPIO pins
– gpiozero for simplified hardware interface
– opencv-python for computer vision capabilities
– numpy for mathematical operations
– Flask for web-based robot control (optional)
You’ll also need an integrated development environment (IDE) for writing code. We recommend Thonny Python IDE, which comes pre-installed with Raspberry Pi OS, or Visual Studio Code with the Python extension for a more feature-rich experience.
Don’t forget to install Git for version control and project management. These tools will form the foundation of your robotics journey and can be easily installed using the terminal command ‘sudo apt-get install’ followed by the package name.
Project 1: Line-Following Robot
Parts List and Setup
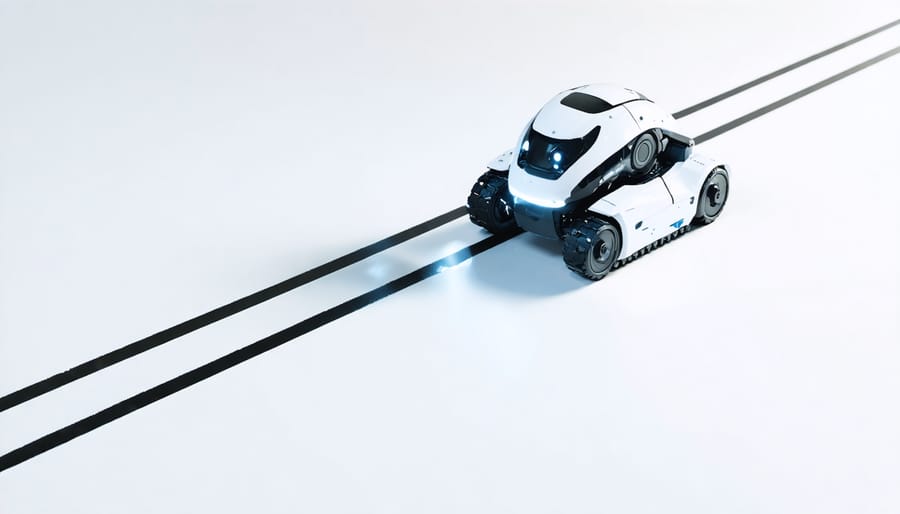
To get started with your Raspberry Pi robot project, you’ll need several essential components. The basic kit includes a Raspberry Pi 4 (2GB RAM or higher), a microSD card (16GB minimum), and a power supply. For mobility, you’ll require two DC motors, wheels, and a robot chassis or base plate. A motor driver board, such as the L298N, is crucial for controlling your motors.
For wiring and connections, gather jumper wires (both male-to-male and male-to-female), a breadboard for prototyping, and basic resistors. Power your robot with either a portable power bank (5V, 2.4A minimum) or a dedicated battery pack with suitable voltage for your motors.
Optional but recommended components include distance sensors (ultrasonic or infrared), a camera module for vision projects, and LED lights for status indicators. You’ll also need basic tools like a screwdriver set and wire strippers.
For initial setup, install the Raspberry Pi OS on your microSD card using the Raspberry Pi Imager tool. Enable SSH and WiFi during installation for wireless control. Once assembled, ensure all connections are secure and double-check your wiring before powering up your robot.
Assembly and Programming Steps
Before beginning assembly, gather all required components and ensure you have a clear workspace. Start by connecting your motors to the motor controller board, carefully following the polarity markings. Reference our Raspberry Pi pinout guide to correctly connect the GPIO pins to your motor controller.
Mount your motors to the chassis using the provided screws and brackets. Attach the wheels to the motor shafts, ensuring they’re secured tightly. Position your Raspberry Pi on the chassis and connect it to the motor controller using jumper wires. Install the battery pack and establish proper power connections.
For programming, begin by setting up your Raspberry Pi with the latest Raspberry Pi OS. Install Python and the required libraries using these commands in the terminal:
sudo apt-get update
sudo apt-get install python3-pip
pip3 install RPi.GPIO
Create a new Python file and start with basic motor control code:
import RPi.GPIO as GPIO
GPIO.setmode(GPIO.BCM)
GPIO.setup(18, GPIO.OUT) # Motor 1
GPIO.setup(23, GPIO.OUT) # Motor 2
Test each motor individually before implementing more complex movements. Add simple functions for forward, backward, left, and right movements. Start with short durations and slow speeds while testing to prevent accidents.
Remember to include proper GPIO cleanup in your code:
GPIO.cleanup()
Test thoroughly after each programming step, making adjustments to motor speed and timing as needed. Once basic movements are working, you can add sensors and more advanced features to your robot.
Project 2: Obstacle-Avoiding Robot
Parts List and Setup
To get started with your Raspberry Pi robot project, you’ll need several essential components. First, gather a Raspberry Pi board (Model 3B+ or 4 recommended), a microSD card (16GB or larger), and a suitable power supply. For the robot’s mobility, you’ll need two DC motors, wheels, and a motor driver board (L298N is popular for beginners).
Additional components include a robot chassis (can be purchased or DIY), jumper wires for connections, and a portable power bank for mobile operation. A breadboard is useful for prototyping, and basic sensors like ultrasonic distance sensors or line followers will enhance your robot’s capabilities.
Before assembly, ensure your Raspberry Pi is properly set up with the latest Raspbian OS installed on the microSD card. You’ll also need basic tools like a screwdriver set, wire cutters, and possibly a soldering iron for some connections.
Optional but recommended items include a USB wireless keyboard/mouse combo for initial setup, and a small display for direct interaction with your Pi during testing phases.
Assembly and Programming Steps
Let’s break down the assembly and programming process into manageable steps that any beginner can follow. Start by connecting your Raspberry Pi to a breadboard using jumper wires. For basic movement control, attach two DC motors to your chosen motor driver board (L298N is recommended for beginners). Connect the motor driver to your Pi’s GPIO pins – typically using pins 17, 18, 22, and 23 for motor control.
For the chassis, you can use a simple pre-made robot platform or create your own using lightweight materials like acrylic or 3D-printed parts. Mount your motors, wheels, and attach a castor wheel at the front for stability. Secure your Raspberry Pi and breadboard to the chassis, ensuring all connections remain stable during movement.
On the programming side, begin by installing the required Python libraries. You’ll need RPi.GPIO for motor control:
sudo apt-get update
sudo apt-get install python3-rpi.gpio
Create a new Python script to define your motor control functions. Start with basic movements like forward, backward, left, and right. Here’s a simple example:
import RPi.GPIO as GPIO
import time
GPIO.setmode(GPIO.BCM)
GPIO.setup(17, GPIO.OUT)
GPIO.setup(18, GPIO.OUT)
Test each movement function individually before combining them into more complex sequences. Add delays between movements using time.sleep() to create controlled navigation patterns. Remember to always include GPIO.cleanup() at the end of your script to safely release the GPIO pins.
For additional features, consider adding sensors like ultrasonic distance sensors or line followers. These components can be integrated gradually as you become more comfortable with the basic setup.
Project 3: Remote-Controlled Robot
Parts List and Setup
To get started with your Raspberry Pi robot project, you’ll need several essential components. The core items include a Raspberry Pi (Model 3B+ or 4 recommended), a microSD card (16GB or larger), and a portable power bank for mobility. For the robot’s movement, you’ll need two DC motors, wheels, and a motor driver board (L298N is popular for beginners).
Additional components include a robot chassis (can be purchased or custom-built), jumper wires for connections, and basic tools like a screwdriver set and wire strippers. Optional sensors such as ultrasonic distance sensors or line followers can enhance your robot’s capabilities.
For initial setup, install the latest Raspberry Pi OS on your microSD card using the Raspberry Pi Imager tool. Configure SSH and Wi-Fi during installation to enable wireless control. Mount your Raspberry Pi securely on the chassis, ensuring easy access to GPIO pins and ports.
Before assembly, test each component individually. Connect your motors to the driver board first, then wire the driver board to the Raspberry Pi’s GPIO pins. Double-check all connections to prevent short circuits or damage to components.
Assembly and Programming Steps
Let’s start with assembling your robot’s chassis. Begin by mounting your Raspberry Pi onto the robot base plate using standoffs and screws. Next, attach your motors to the designated mounting points – typically, you’ll need two DC motors for basic movement. Connect these motors to your motor controller board, which should then be wired to your Raspberry Pi’s GPIO pins.
For power management, connect your battery pack to the motor controller and Raspberry Pi through a voltage regulator to ensure stable power delivery. Mount your wheels to the motor shafts and add a castor wheel at the front for balance.
Now for the programming phase. First, ensure Python 3 is installed on your Raspberry Pi. You’ll need to install the GPIO Zero library using the terminal command:
“`shell
sudo apt-get install python3-gpiozero
“`
Here’s a basic example to get your robot moving:
“`python
from gpiozero import Robot
from time import sleep
robot = Robot(left=(7, 8), right=(9, 10))
# Move forward for 2 seconds
robot.forward()
sleep(2)
# Turn right for 1 second
robot.right()
sleep(1)
# Stop
robot.stop()
“`
Test each movement command individually before combining them into more complex sequences. Remember to double-check your GPIO pin numbers – they should match your physical connections to the motor controller.
For troubleshooting, always verify your power connections first, as most issues stem from power-related problems. Test motors individually before running full movement sequences, and ensure all your ground connections are secure.
Troubleshooting Common Issues
When working on your Raspberry Pi robot project, you might encounter some common issues. Here’s how to address them effectively:
Power Problems:
If your robot isn’t moving or behaves erratically, first check your power supply. Ensure your batteries are fully charged and properly connected. Weak batteries can cause inconsistent motor performance. For best results, use a dedicated power bank or fresh batteries rated for your motor’s requirements.
Motor Control Issues:
When motors aren’t responding correctly, verify your GPIO pin connections. Double-check that your motor driver board is properly wired to both the motors and the Raspberry Pi. A common mistake is reversing the positive and negative connections, which can cause motors to spin in unexpected directions.
Code Not Working:
If your Python code isn’t executing properly, ensure all required libraries are installed. Use “pip install” commands to add missing dependencies. Check for proper indentation in your code, as Python is sensitive to spacing. Print debugging statements can help identify where your code might be failing.
Sensor Reading Errors:
For unreliable sensor readings, check your wiring connections first. Loose or incorrect connections are often the culprit. If using distance sensors, ensure there’s no interference from ambient light or reflective surfaces. Clean sensor surfaces regularly to maintain accuracy.
Wi-Fi Connectivity:
If your robot loses wireless connection, verify your network settings and ensure your Pi is within range of your router. Consider using a static IP address to maintain consistent connectivity. Keep your Raspberry Pi’s operating system updated to avoid compatibility issues.
Remember to power down your robot before making any hardware adjustments. Keep a backup of your working code versions, and make changes incrementally to easily identify what might have caused an issue. When in doubt, consult the official Raspberry Pi forums or documentation for additional support.
Next Steps and Advanced Projects
Once you’ve mastered the basics of Raspberry Pi robotics, you’re ready to tackle more challenging projects. Consider exploring advanced Raspberry Pi projects that incorporate additional sensors, computer vision, or artificial intelligence.
A natural progression would be adding object detection capabilities to your robot using a camera module and OpenCV. This allows your robot to identify and interact with specific objects in its environment. Another exciting step is implementing voice control using libraries like Google Assistant API or Amazon Alexa Skills Kit.
For those interested in autonomous navigation, try building a robot that can map its surroundings and navigate independently using SLAM (Simultaneous Localization and Mapping) algorithms. You could also experiment with swarm robotics by creating multiple smaller robots that communicate and work together.
Consider joining online robotics communities or participating in competitions like PiWars to challenge yourself and learn from others. Local makerspaces and robotics clubs often host workshops and collaborative projects that can help you develop new skills.
Remember to document your projects and share your experiences with the community. This not only helps others learn but also creates opportunities for collaboration and feedback, essential for growing your robotics expertise.
Building your first Raspberry Pi robot can be an incredibly rewarding experience that opens the door to endless possibilities in robotics and programming. Whether you started with a simple line-following robot or dove into building a voice-controlled rover, each project helps develop valuable skills in electronics, coding, and problem-solving. Remember that every expert maker started as a beginner, so don’t be afraid to experiment and learn from mistakes along the way. The Raspberry Pi community is incredibly supportive and full of resources to help you succeed. With the knowledge gained from these starter projects, you’re well-equipped to tackle more advanced builds and create your own unique robot designs. So gather your components, fire up your Raspberry Pi, and start building – your robotics journey begins now!


