What You’ll Need to Get Started
Hardware Requirements
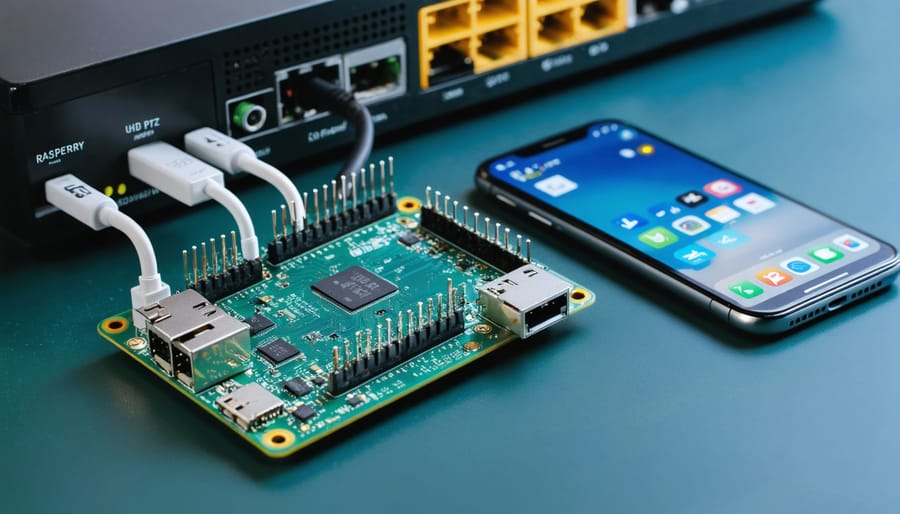
To control your Raspberry Pi from your phone, you’ll need a Raspberry Pi board (any model from Pi 3 or newer, though the Raspberry Pi 4 capabilities offer the best experience), a power supply, and a microSD card with at least 8GB storage. Your phone can be any modern Android or iOS device with WiFi connectivity. Both devices must be connected to the same local network, either through your home router or a direct wireless connection. For initial setup, you’ll also need a keyboard, mouse, and display to configure your Raspberry Pi, though these won’t be necessary once remote control is established. A stable internet connection is crucial for reliable remote access, especially if you plan to control your Pi from outside your local network.

Software Prerequisites
To control your Raspberry Pi from your phone, you’ll need several essential software components installed and properly configured. First, ensure your Raspberry Pi is running the latest version of Raspberry Pi OS (formerly Raspbian), with SSH enabled during initial setup. On your smartphone, you’ll need a reliable SSH client app – we recommend JuiceSSH for Android users or Termius for iOS devices.
For remote desktop control, install VNC Server on your Raspberry Pi and download VNC Viewer on your phone. Both are free and provide secure remote access. You’ll also need a stable internet connection and either a static IP address or a dynamic DNS service configured on your network.
Make sure your Raspberry Pi has been updated with the latest packages by running the standard update commands before proceeding with any remote control setup. This ensures compatibility and security for your remote connection.
Method 1: VNC Viewer Remote Access
Setting Up VNC Server
Setting up VNC on your Raspberry Pi is straightforward and enables seamless remote control from your phone. First, ensure your Pi is running the latest version of Raspberry Pi OS. Open the terminal and run ‘sudo apt-get update’ followed by ‘sudo apt-get upgrade’ to update your system.
To enable VNC, access the Raspberry Pi Configuration tool by typing ‘sudo raspi-config’ in the terminal. Navigate to Interface Options, select VNC, and enable it. For a comprehensive guide on the complete VNC remote access setup, follow our detailed tutorial.
Once enabled, install the VNC server by running ‘sudo apt-get install realvnc-vnc-server’. The service will start automatically after installation. To ensure it runs at startup, execute ‘sudo systemctl enable vncserver-x11-serviced.service’.
For the best experience, set a resolution that works well with your phone’s screen. Edit the config file by typing ‘sudo nano /boot/config.txt’ and add these lines:
framebuffer_width=1280
framebuffer_height=720
Save the changes and reboot your Pi using ‘sudo reboot’. Your VNC server is now ready to accept connections from your phone using any compatible VNC viewer app.
Connecting Via Mobile VNC Client
Once you’ve installed a VNC viewer app on your phone (like VNC Viewer by RealVNC, available on both iOS and Android), connecting to your Raspberry Pi is straightforward. Open the VNC app and tap the plus (+) icon to add a new connection. Enter your Raspberry Pi’s IP address in the “Address” field – you can find this by running ‘hostname -I’ in your Pi’s terminal.
For the port number, use the default 5900 unless you’ve configured a different one. Enter your Pi’s username and password when prompted (default credentials are username: pi, password: raspberry if you haven’t changed them).
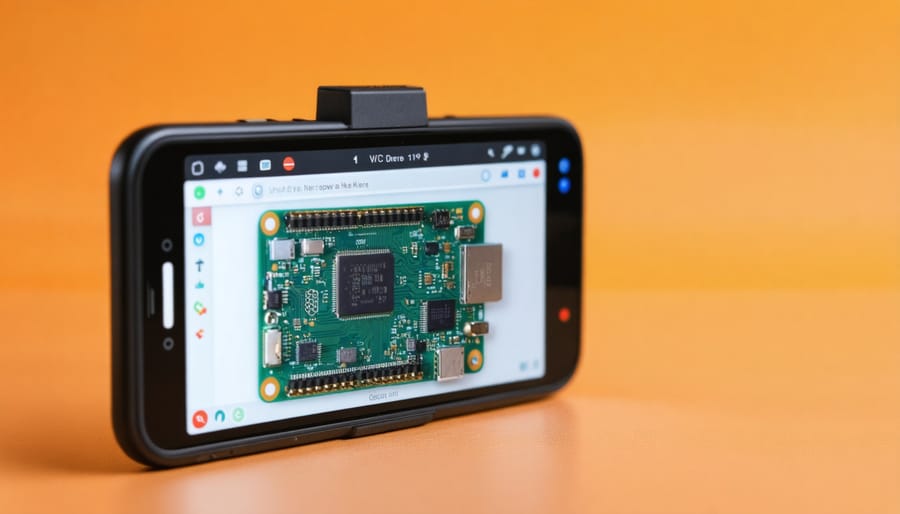
Once connected, you’ll see your Raspberry Pi’s desktop environment on your phone screen. Navigate using touch gestures: single tap for left-click, two-finger tap for right-click, and pinch to zoom in or out. You can use your phone’s keyboard for text input by tapping any text field.
For optimal performance, ensure both your phone and Raspberry Pi are connected to the same network with a strong signal. If you experience lag, try reducing the display quality in the VNC viewer settings – this can significantly improve responsiveness, especially on slower networks.

Method 2: SSH Control
Enabling SSH Access
Before you can control your Raspberry Pi from your phone, you’ll need to enable SSH (Secure Shell) access. Start by connecting your Raspberry Pi to a monitor and keyboard for initial setup. Open the terminal and run sudo raspi-config to access the configuration tool. Navigate to “Interface Options” and select “SSH” to enable it.
For enhanced security, it’s crucial to change your default password. Use the passwd command in the terminal and follow the prompts to set a strong password combining letters, numbers, and special characters.
To enable SSH headlessly (without a monitor), create an empty file named “ssh” (without any extension) in the boot partition of your SD card before first boot. On Windows, you can do this by connecting the SD card and creating the file in the accessible boot folder.
By default, SSH uses port 22. For additional security, consider changing this to a different port and setting up key-based authentication instead of password login. You can also restrict SSH access to specific IP addresses by modifying the sshd_config file.
Once configured, your Raspberry Pi is ready for remote access from your phone using SSH client apps.
Using Terminal Apps
Several mobile terminal apps make connecting to your Raspberry Pi straightforward and secure. For Android users, JuiceSSH and Termius are excellent choices, offering user-friendly interfaces and robust SSH capabilities. iOS users can rely on Termius or Prompt by Panic, both providing seamless SSH connectivity with gesture support.
To use these apps, first ensure your Raspberry Pi’s SSH is enabled and you have its IP address. In your chosen terminal app, create a new connection by entering your Pi’s IP address, username (default is “pi”), and password. For enhanced security, consider setting up SSH keys instead of password authentication.
Once connected, you’ll have full command-line access to your Pi. Common commands like ‘sudo apt update’ for system updates or ‘raspistill’ for camera control work just as they would on a desktop terminal. Most terminal apps also support saving multiple connections and custom command shortcuts, making it easier to manage multiple Pi devices or frequently used commands.
For those interested in integrating their setup into larger home automation systems, exploring home automation projects with the Raspberry Pi can offer new possibilities.
Remember to maintain a stable network connection while using terminal apps, as interruptions can disrupt your SSH session.
Method 3: Web-Based Control Panel
Installing Web Control Software
Several web-based control interfaces make it easy to manage your Raspberry Pi from your phone’s browser. The most popular option is VNC (Virtual Network Computing), which provides a complete desktop experience. To set it up, enable VNC through your Pi’s configuration menu by typing “sudo raspi-config” in the terminal, navigating to Interfacing Options, and selecting VNC.
For a more lightweight solution, consider installing Apache and creating a custom web interface. Start by running “sudo apt-get install apache2 php” to set up a basic web server. You can then create simple PHP scripts to control GPIO pins or execute commands through a mobile-friendly webpage.
WebIOPi is another excellent choice, specifically designed for Raspberry Pi control. Install it by downloading the package from GitHub and running the setup script. It offers an intuitive interface for GPIO control and comes with pre-built controls for various functions.
For beginners, the Raspberry Pi Dashboard provides a user-friendly option. Install it using Node.js with the command “npm install pi-dashboard” and access your Pi’s stats and controls through an elegant web interface.
Remember to secure your web interface with strong passwords and, ideally, implement HTTPS for encrypted connections.
Accessing Your Control Panel
Once your web interface is set up, accessing your Raspberry Pi’s control panel from your phone is straightforward. Open your preferred mobile browser and enter your Pi’s IP address followed by the port number (usually 8080) in the format: http://your-pi-ip:8080. If you’ve configured a domain name, use that instead of the IP address.
For insights on securing your connection, consider learning about hiding your IP address to further protect your remote access.
When accessing for the first time, you’ll be prompted to enter your login credentials. These are the same username and password you created during the initial setup. For security, make sure you’re connected to your local network or accessing through a VPN if you’re trying to connect from outside your home network.
The web interface is optimized for mobile viewing, allowing you to navigate through various controls and options easily. You’ll see a dashboard displaying system statistics, available controls, and configured applications. Common actions like rebooting your Pi, checking system status, or launching applications can be performed with simple taps.
If you’re having trouble connecting, verify that your phone and Raspberry Pi are on the same network and that your firewall settings allow the connection.

Security Best Practices
When controlling your Raspberry Pi from your phone, implementing robust security measures is crucial to protect your device and network from unauthorized access. Your first priority should be to secure your Raspberry Pi by changing the default password to a strong, unique combination of letters, numbers, and special characters.
Enable SSH key-based authentication instead of relying solely on password authentication. This adds an extra layer of security by requiring a matching private key on your phone to establish a connection. Remember to disable password-based SSH authentication once you’ve set up key-based authentication successfully.
Consider implementing these additional security measures:
– Set up a firewall using UFW (Uncomplicated Firewall) to control incoming and outgoing traffic
– Keep your Raspberry Pi’s operating system and installed packages up to date
– Use a VPN when accessing your Pi remotely over public networks
– Enable two-factor authentication where possible
– Regularly monitor system logs for suspicious activities
– Limit SSH access to specific IP addresses
If you’re using VNC or other remote desktop solutions, ensure they’re configured to use encrypted connections. Never expose your Raspberry Pi directly to the internet without proper security measures in place. Instead, consider using a reverse proxy or SSH tunneling for remote access.
For mobile apps that control your Raspberry Pi, only install applications from trusted sources like official app stores. Review app permissions carefully and grant only necessary access. Keep your phone’s operating system and control apps updated to patch security vulnerabilities.
Remember that security is an ongoing process. Regularly review and update your security measures to protect against new threats and vulnerabilities. Taking these precautions will help ensure a safe and reliable remote control experience for your Raspberry Pi projects.
Troubleshooting Common Issues
When controlling your Raspberry Pi from your phone, you might encounter several common issues. Here’s how to resolve them effectively:
Connection Timeout Issues
If you’re experiencing connection timeouts, first verify that your Raspberry Pi and phone are on the same network. Check your Pi’s IP address using the ‘hostname -I’ command and ensure it matches the address you’re trying to connect to. If using a VPN, confirm it’s properly configured and active.
Black Screen or No Display
When using VNC and encountering a black screen, ensure the VNC server is running with the correct resolution settings. Execute ‘sudo raspi-config’ and check that VNC is enabled under Interfacing Options. You may need to set a valid resolution under Display Options.
Authentication Failed
For SSH connection failures, double-check your username and password. The default credentials are username ‘pi’ and password ‘raspberry’ unless you’ve changed them. Verify that SSH is enabled on your Pi through ‘raspi-config’. If using key-based authentication, ensure your keys are properly set up.
Slow Performance
If experiencing lag, try reducing the display quality in your remote access app settings. For VNC connections, lowering the color depth and disabling encryption can improve performance. Consider using a wired connection for your Pi if Wi-Fi performance is consistently poor.
App-Specific Issues
When apps crash or fail to connect, ensure you’re using the latest version of both the mobile app and the corresponding server software on your Pi. Clear the app’s cache and data if problems persist. Sometimes, a simple reboot of both devices can resolve mysterious connection issues.
Remember to keep your Raspberry Pi’s operating system and remote access tools updated to prevent compatibility issues and security vulnerabilities.
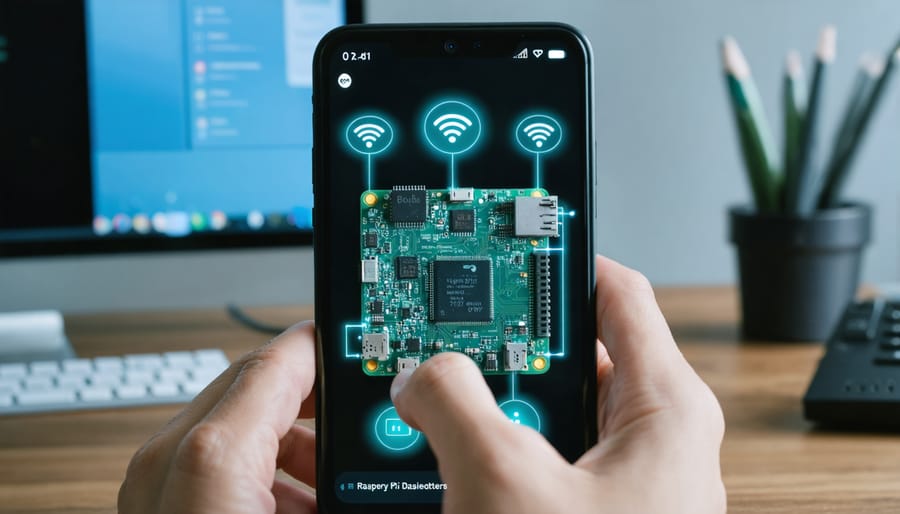
Controlling your Raspberry Pi from your phone opens up a world of possibilities for remote project management and IoT applications. Throughout this guide, we’ve explored various methods to achieve this connection, from VNC viewers to SSH clients and dedicated mobile apps. Each approach offers its own advantages, whether you prioritize ease of use, security, or advanced functionality.
Remember to always keep security in mind when setting up remote access to your Raspberry Pi. Use strong passwords, enable two-factor authentication when possible, and regularly update your system and applications to protect against vulnerabilities.
As you move forward with your remote control setup, consider exploring additional features like custom scripts, automation tools, or integrating your phone-controlled Pi into larger home automation projects. The flexibility of the Raspberry Pi combined with mobile control capabilities creates endless opportunities for innovation.
Start with the basic setup that best matches your needs, and gradually expand your implementation as you become more comfortable with the system. With practice, controlling your Raspberry Pi from your phone will become second nature, enabling you to manage your projects from anywhere with an internet connection.


